
UPGRADE to the Studio! YAY!
I am so excited to show you this past weekend’s project!
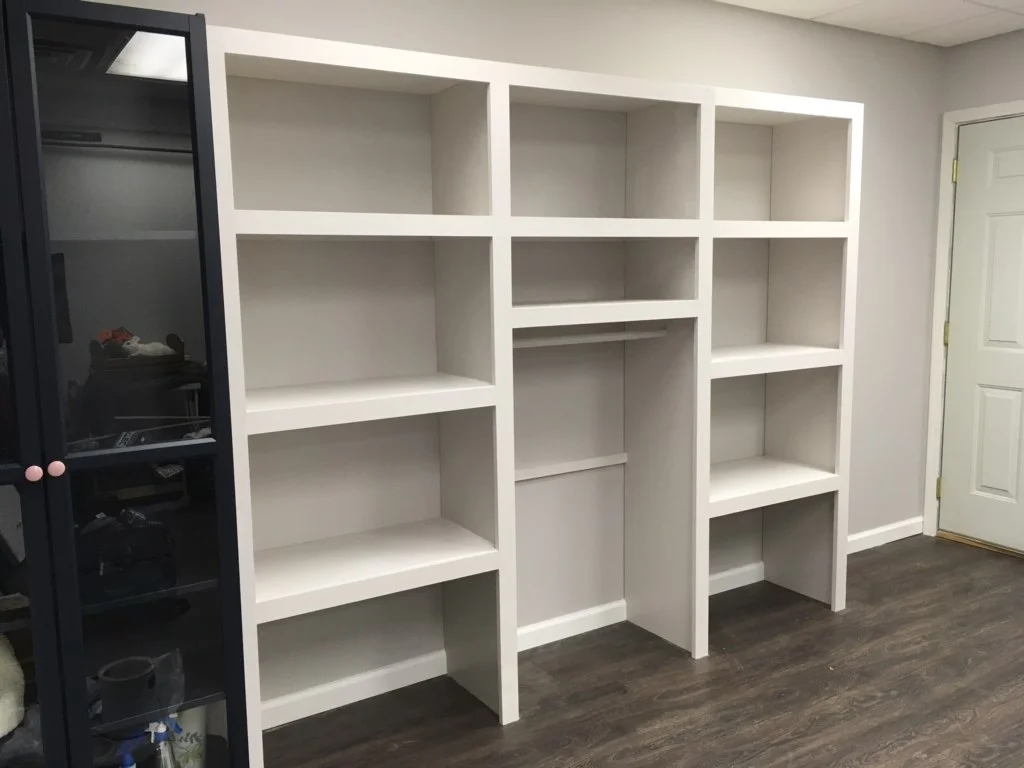
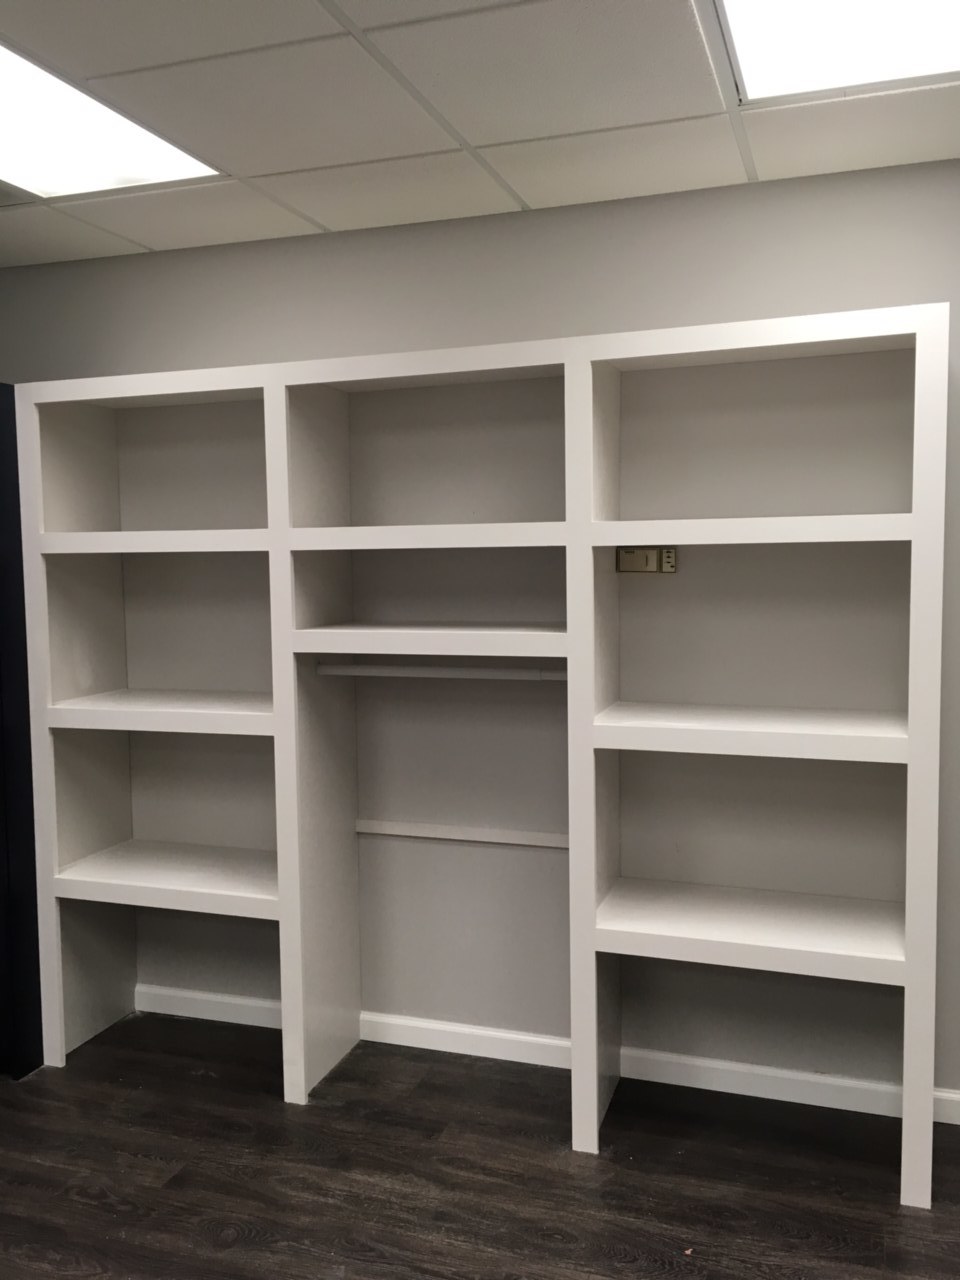
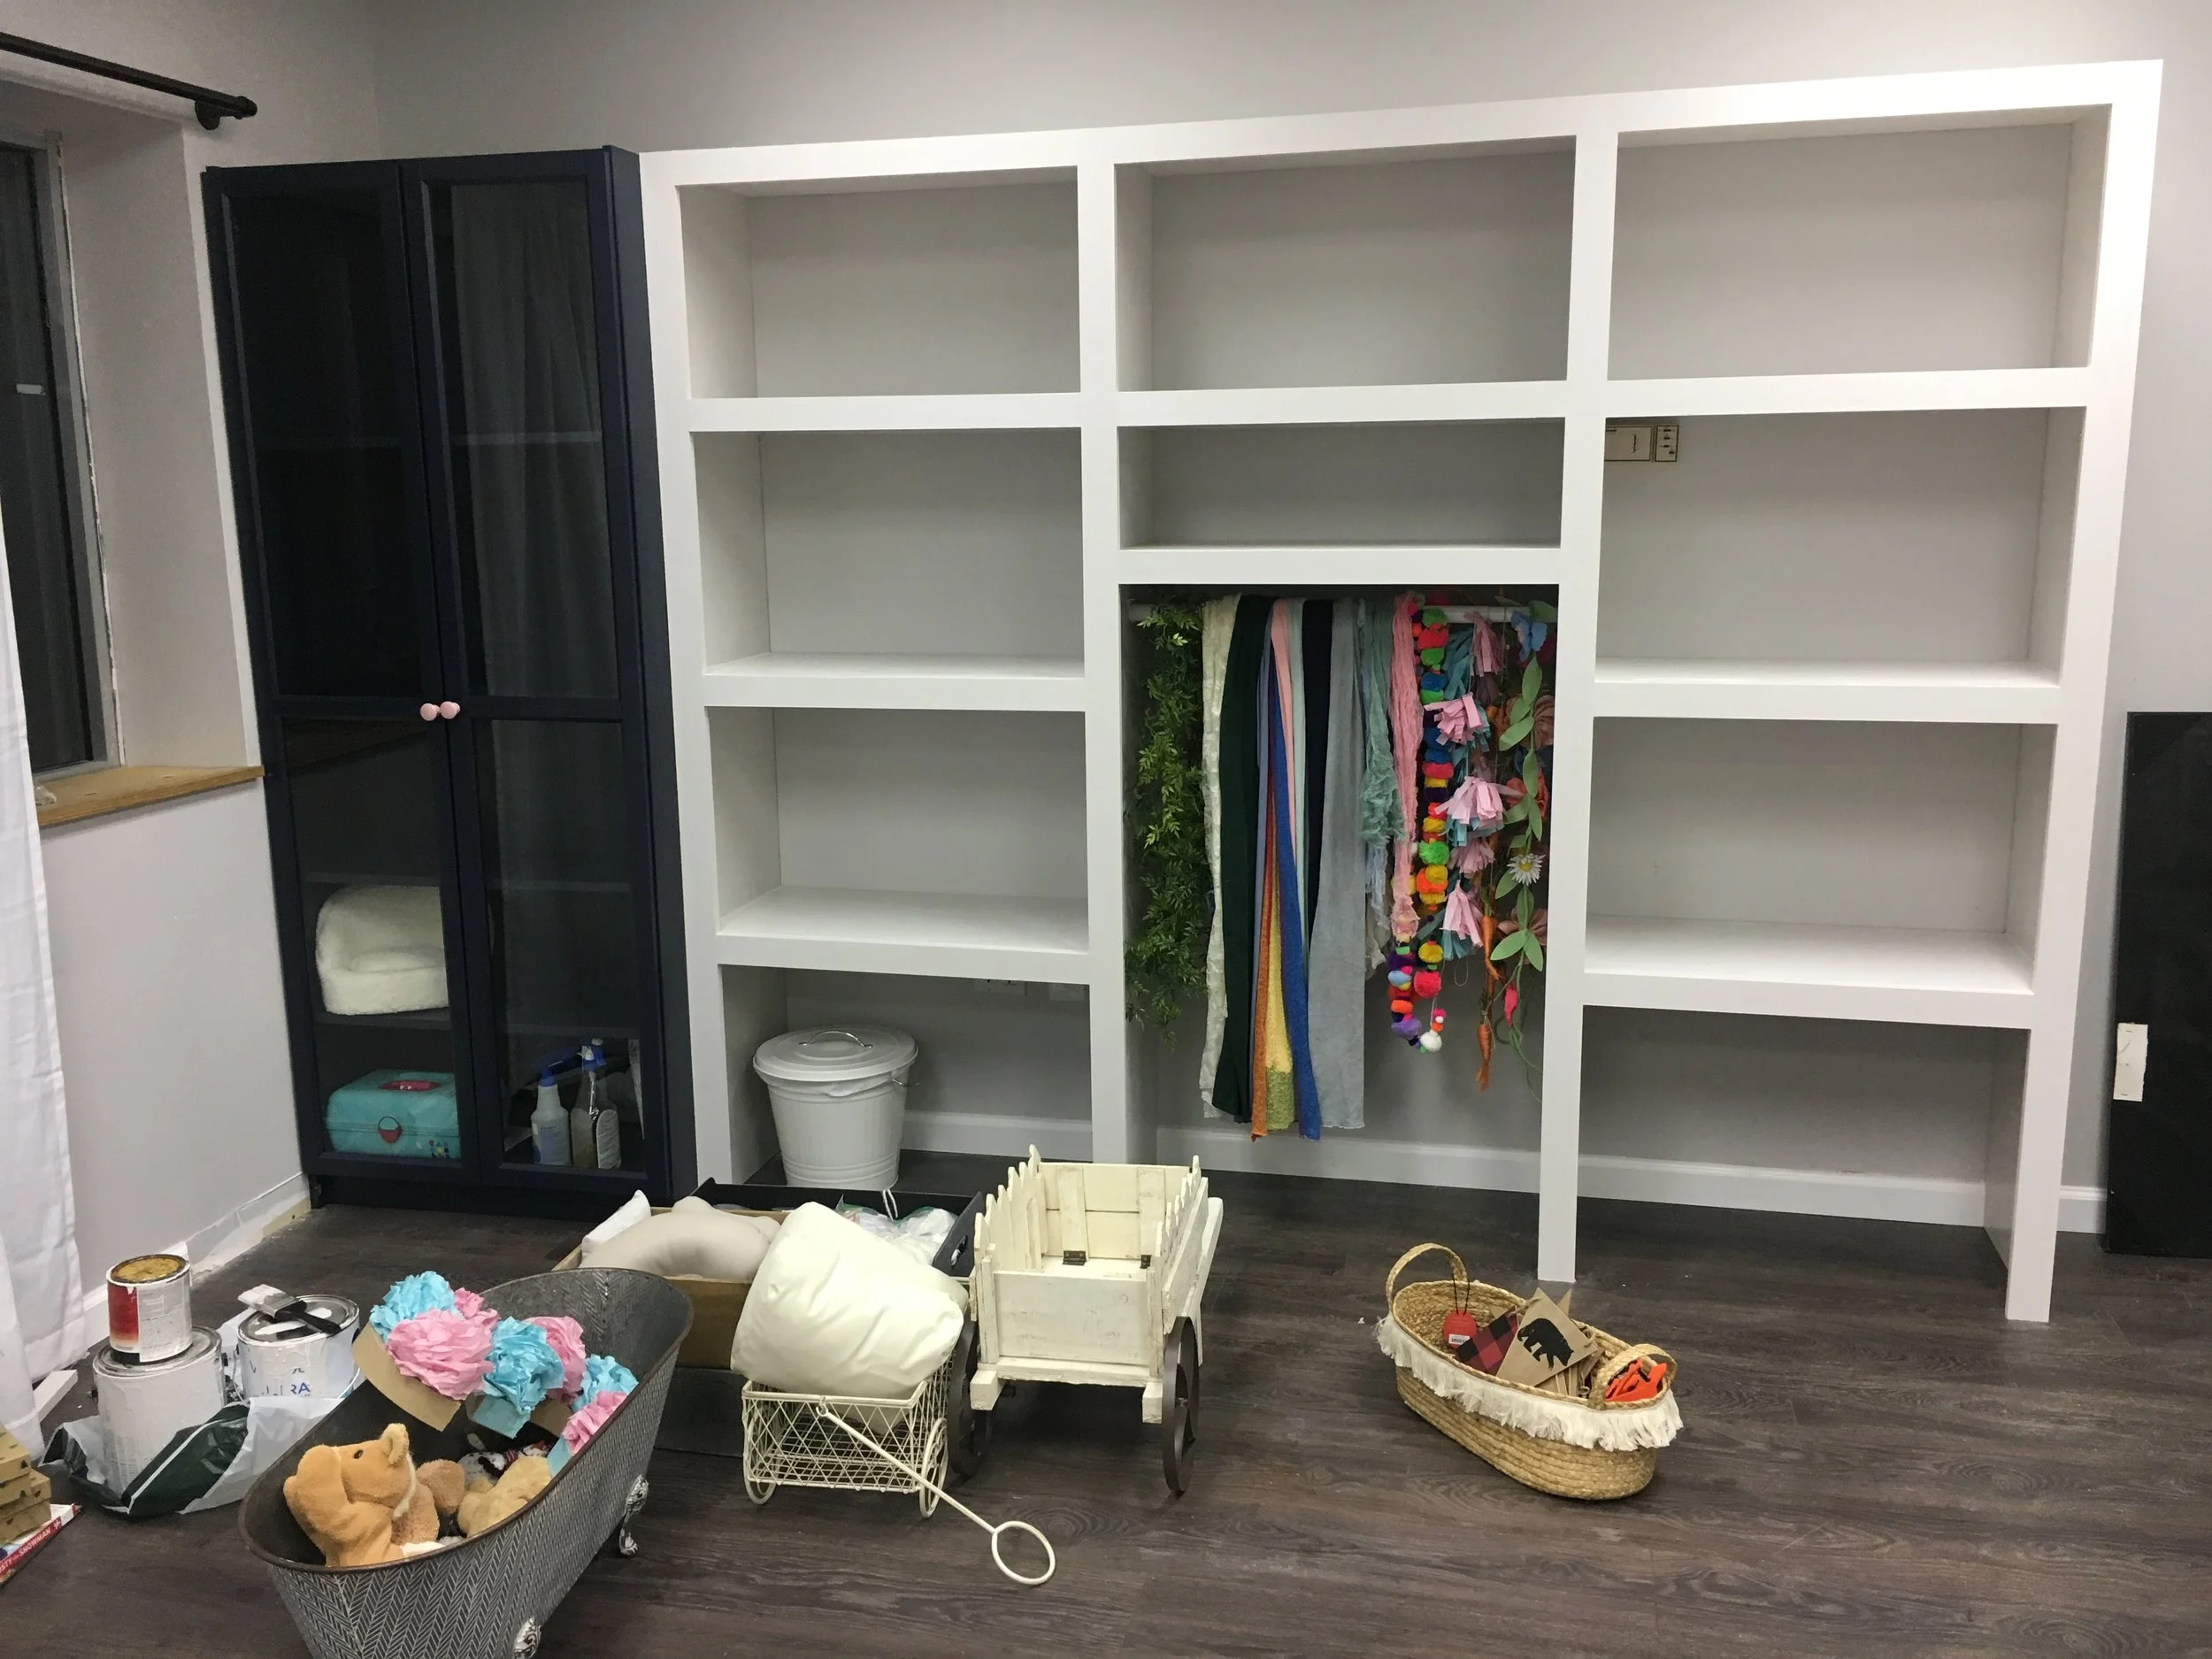
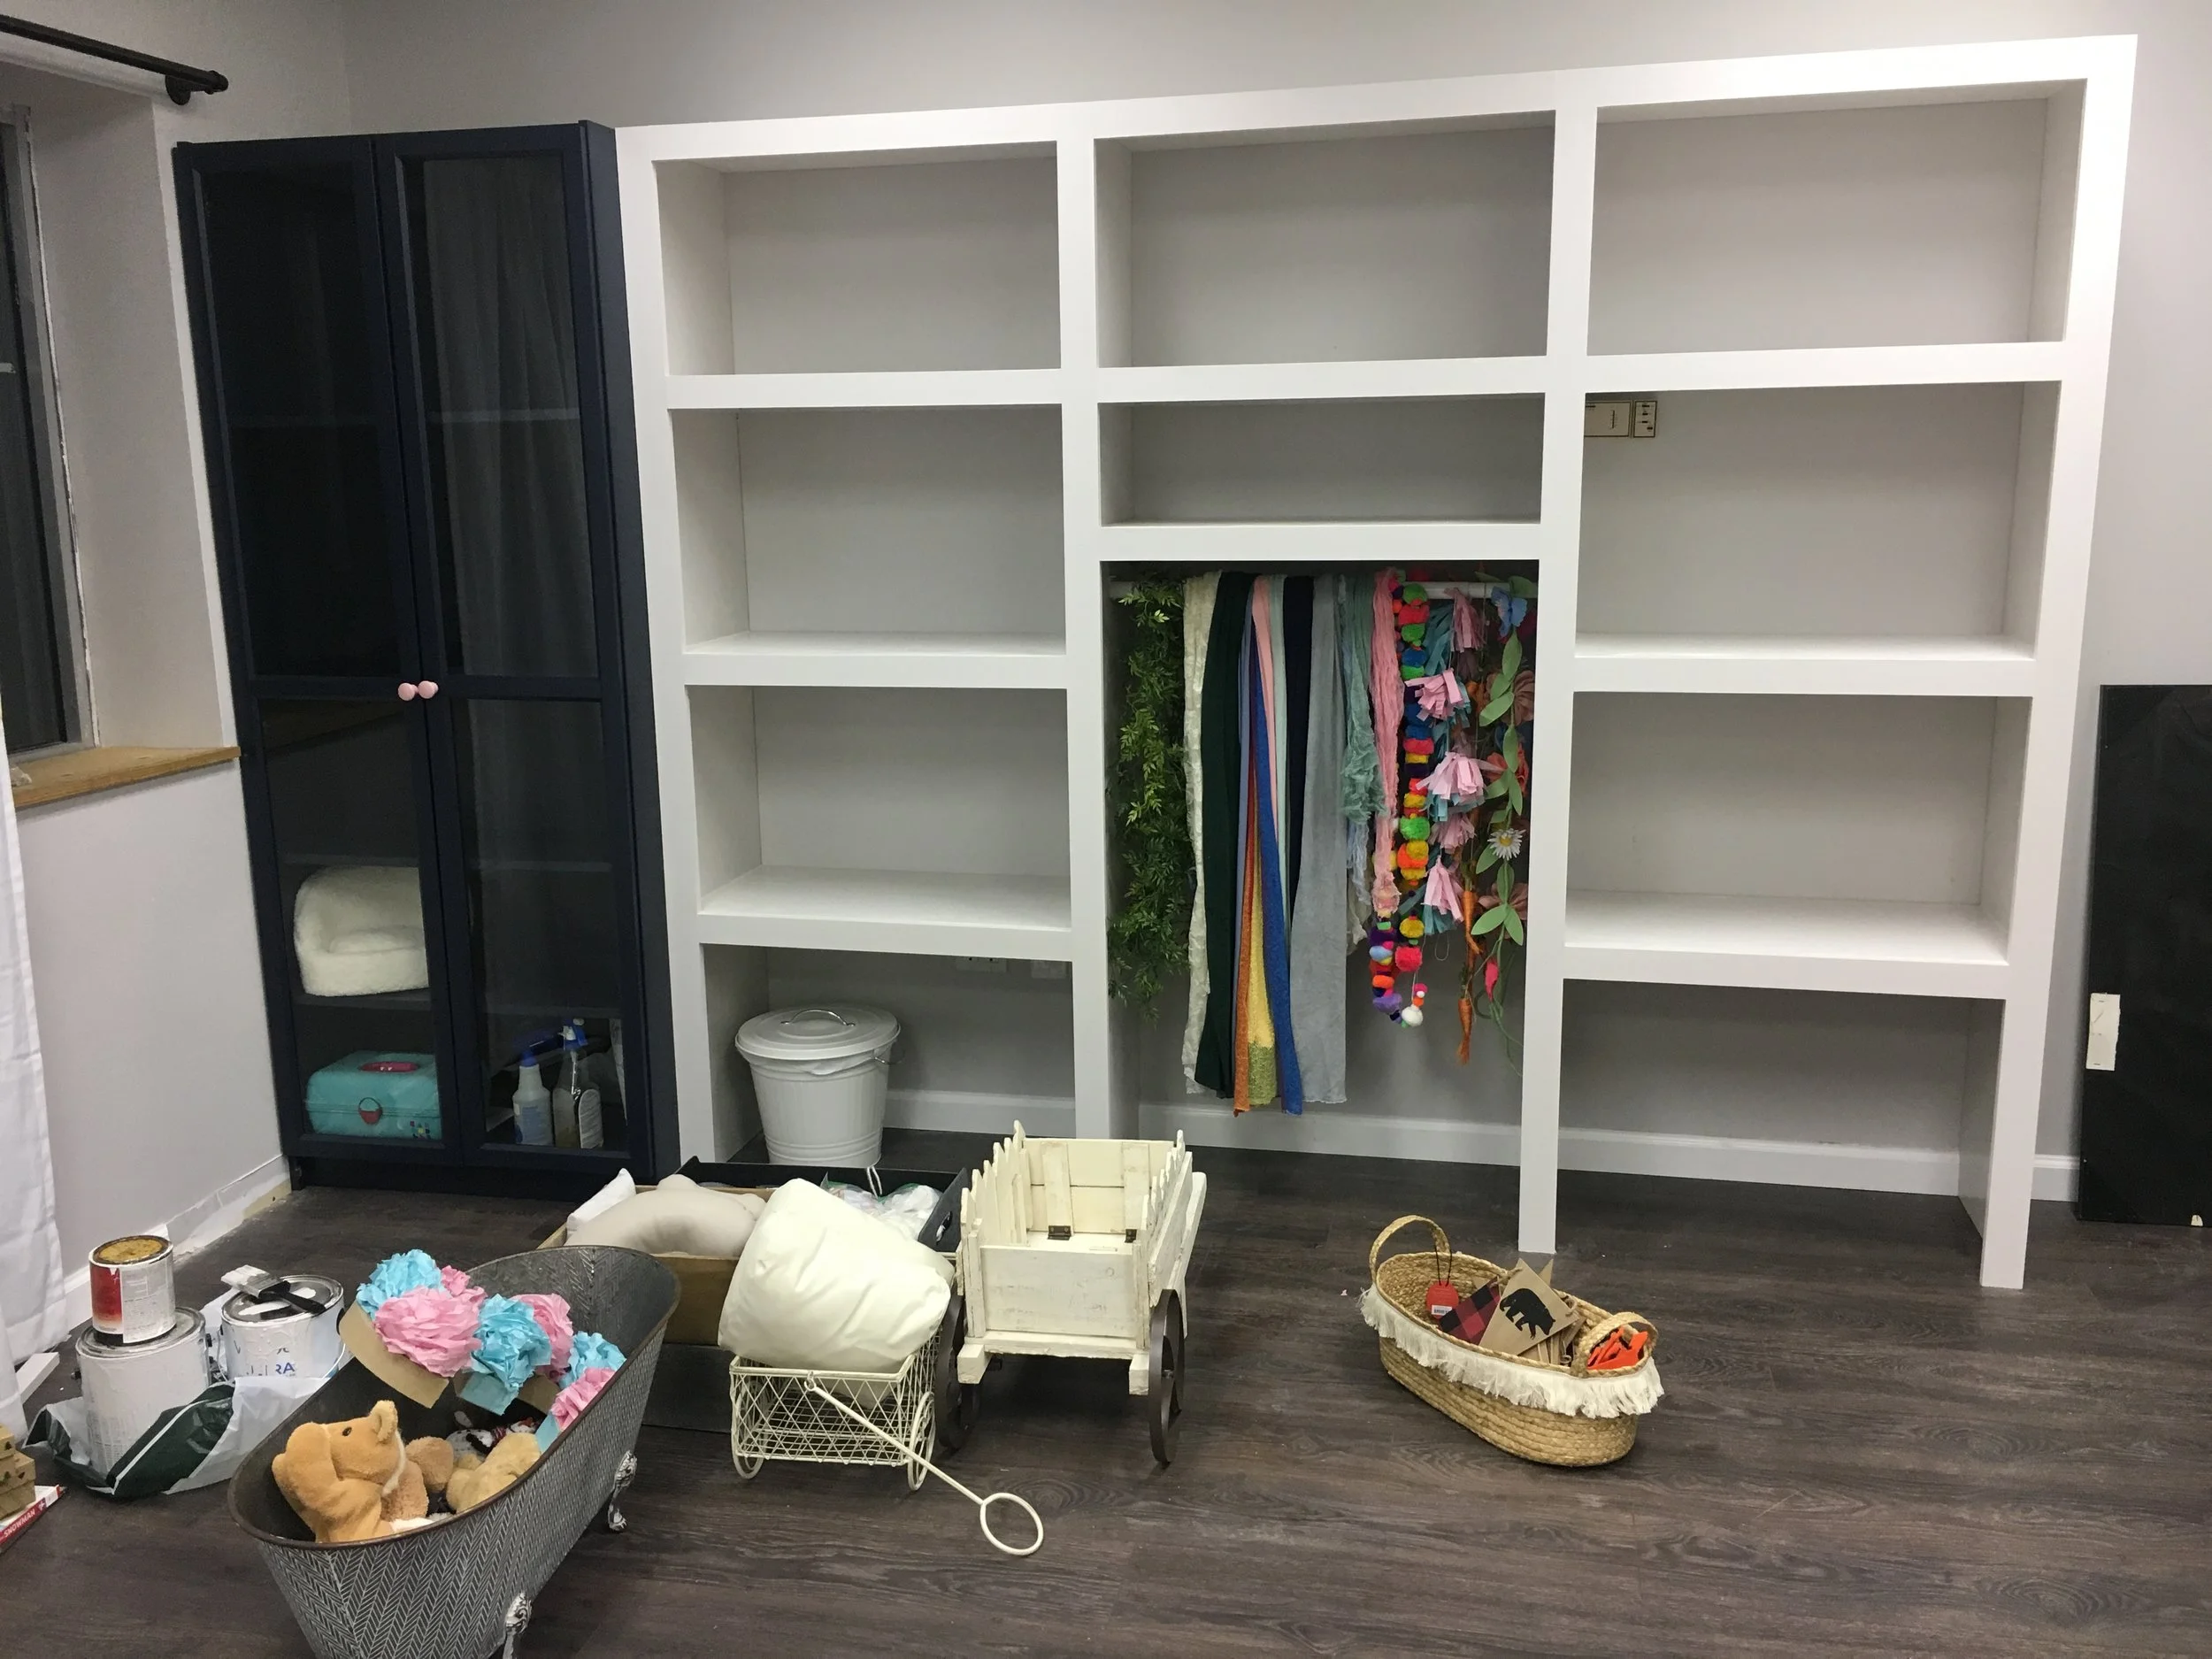
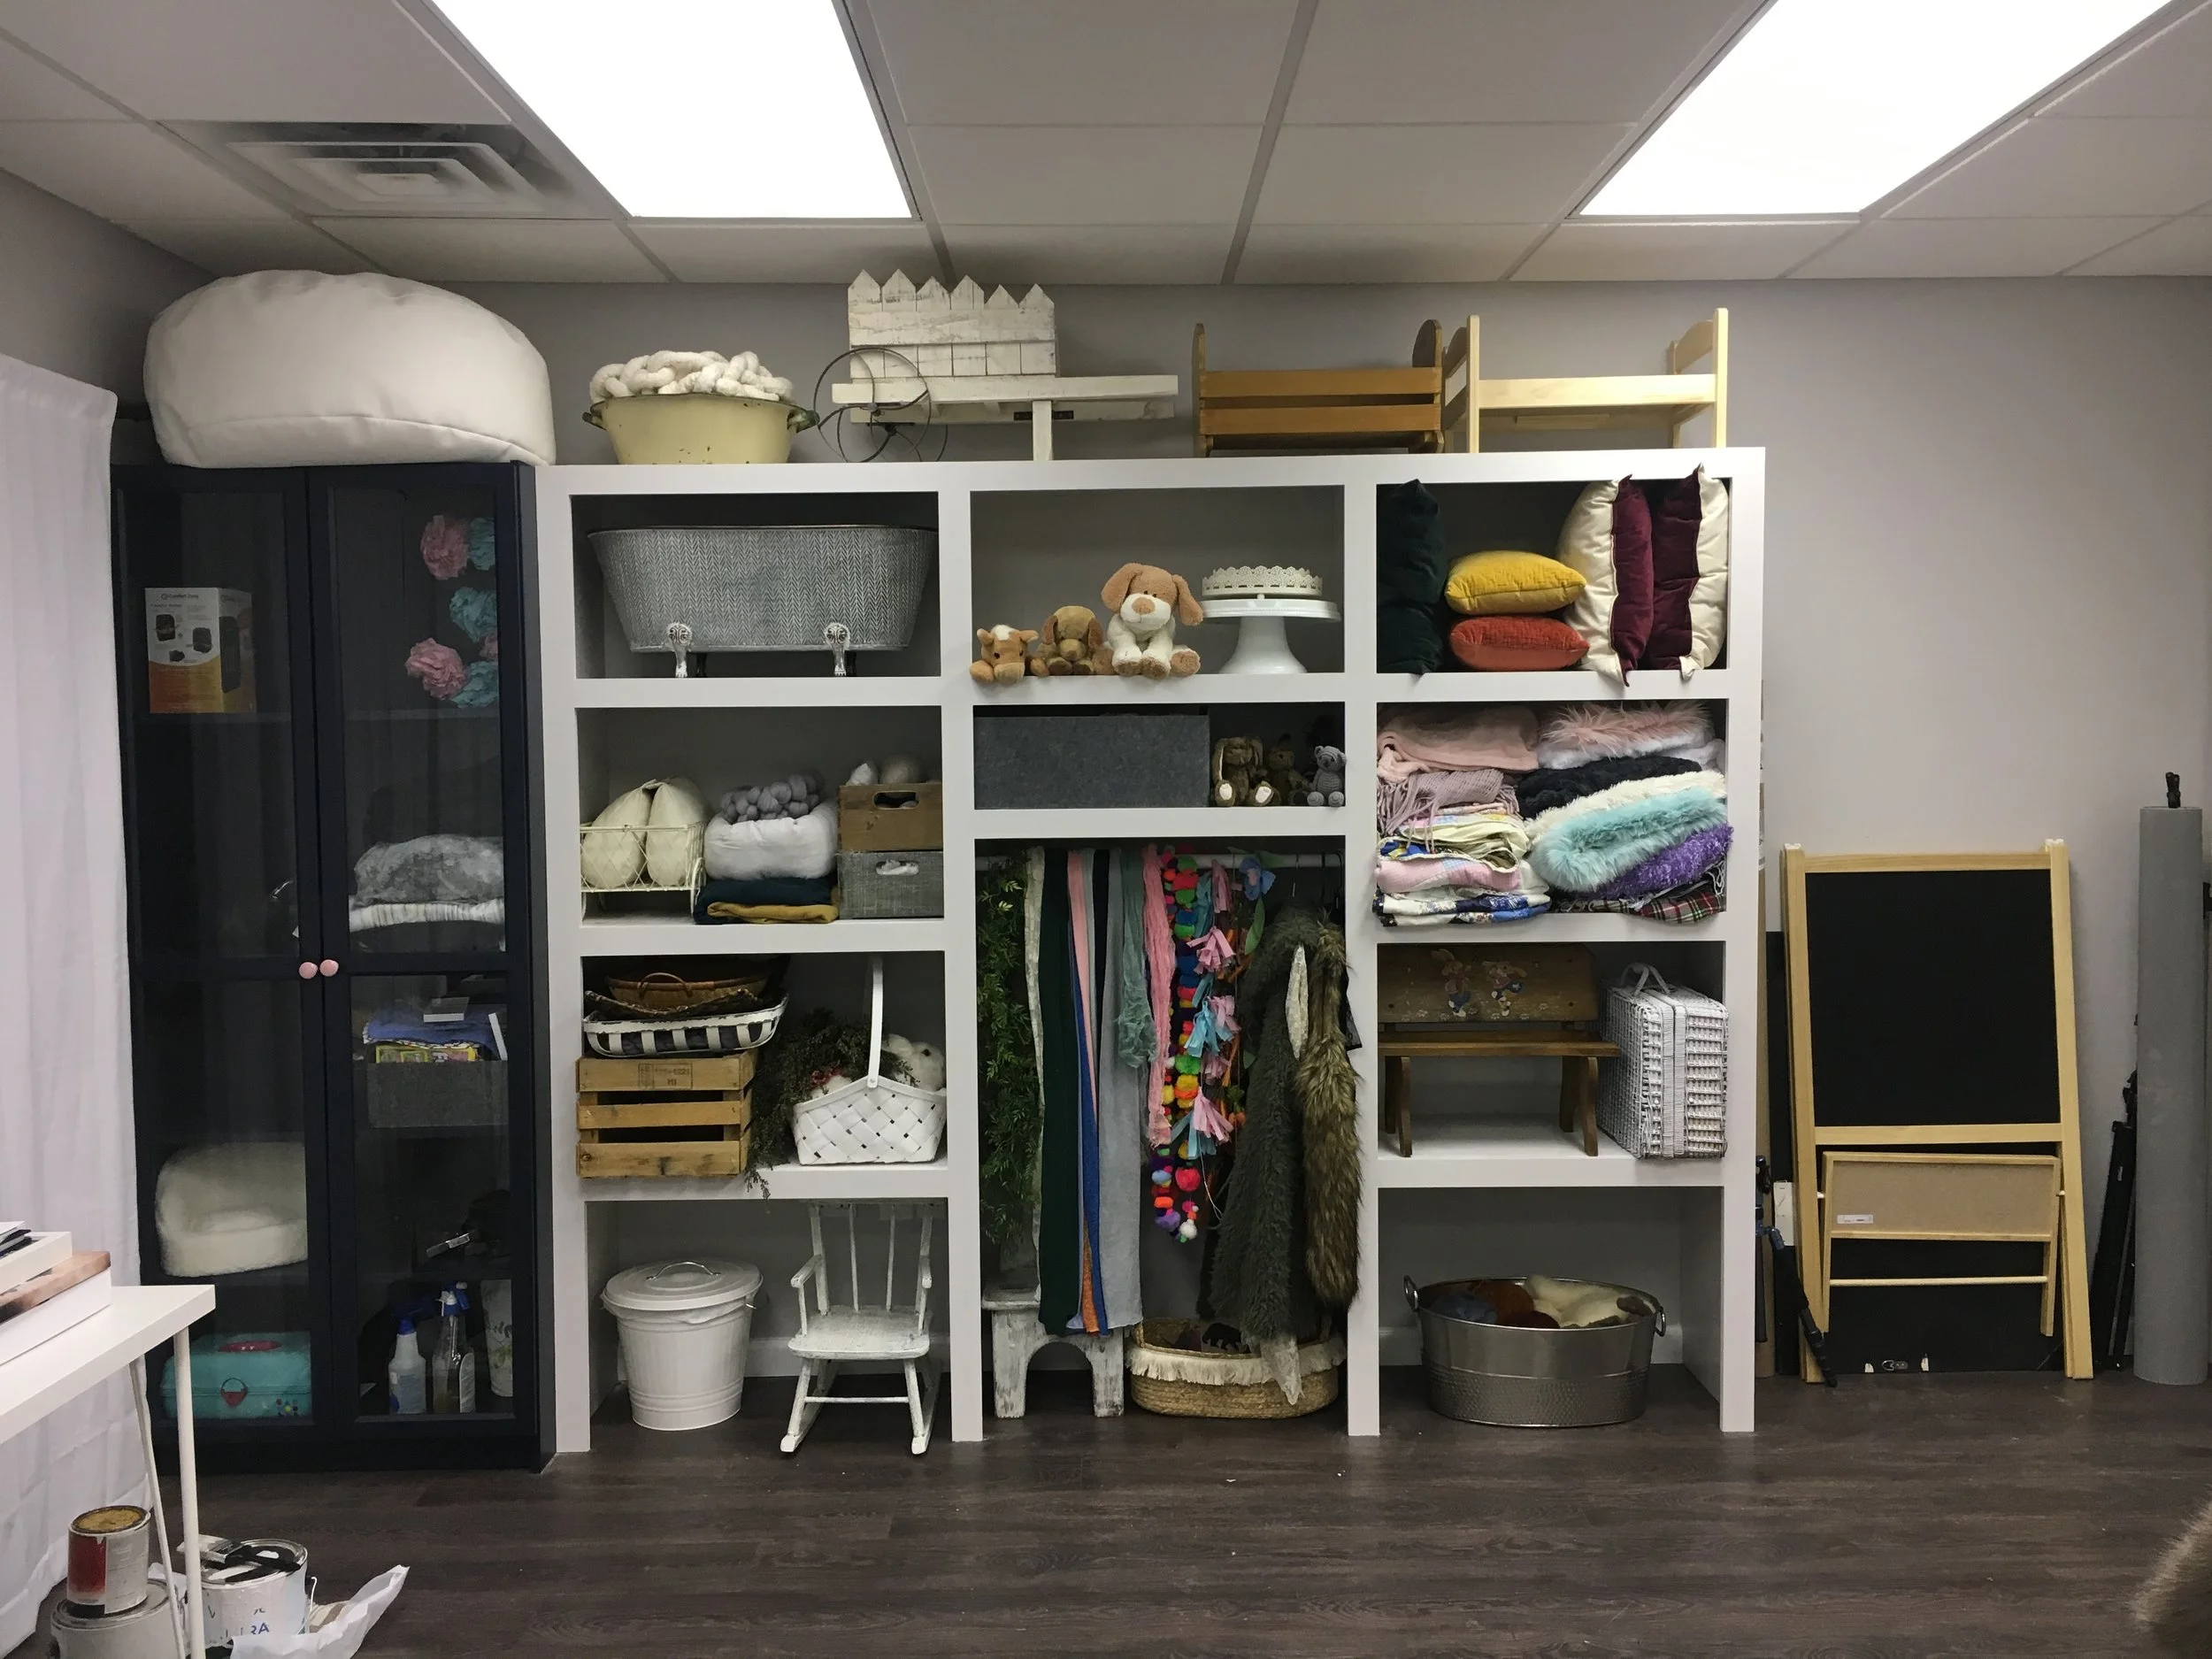
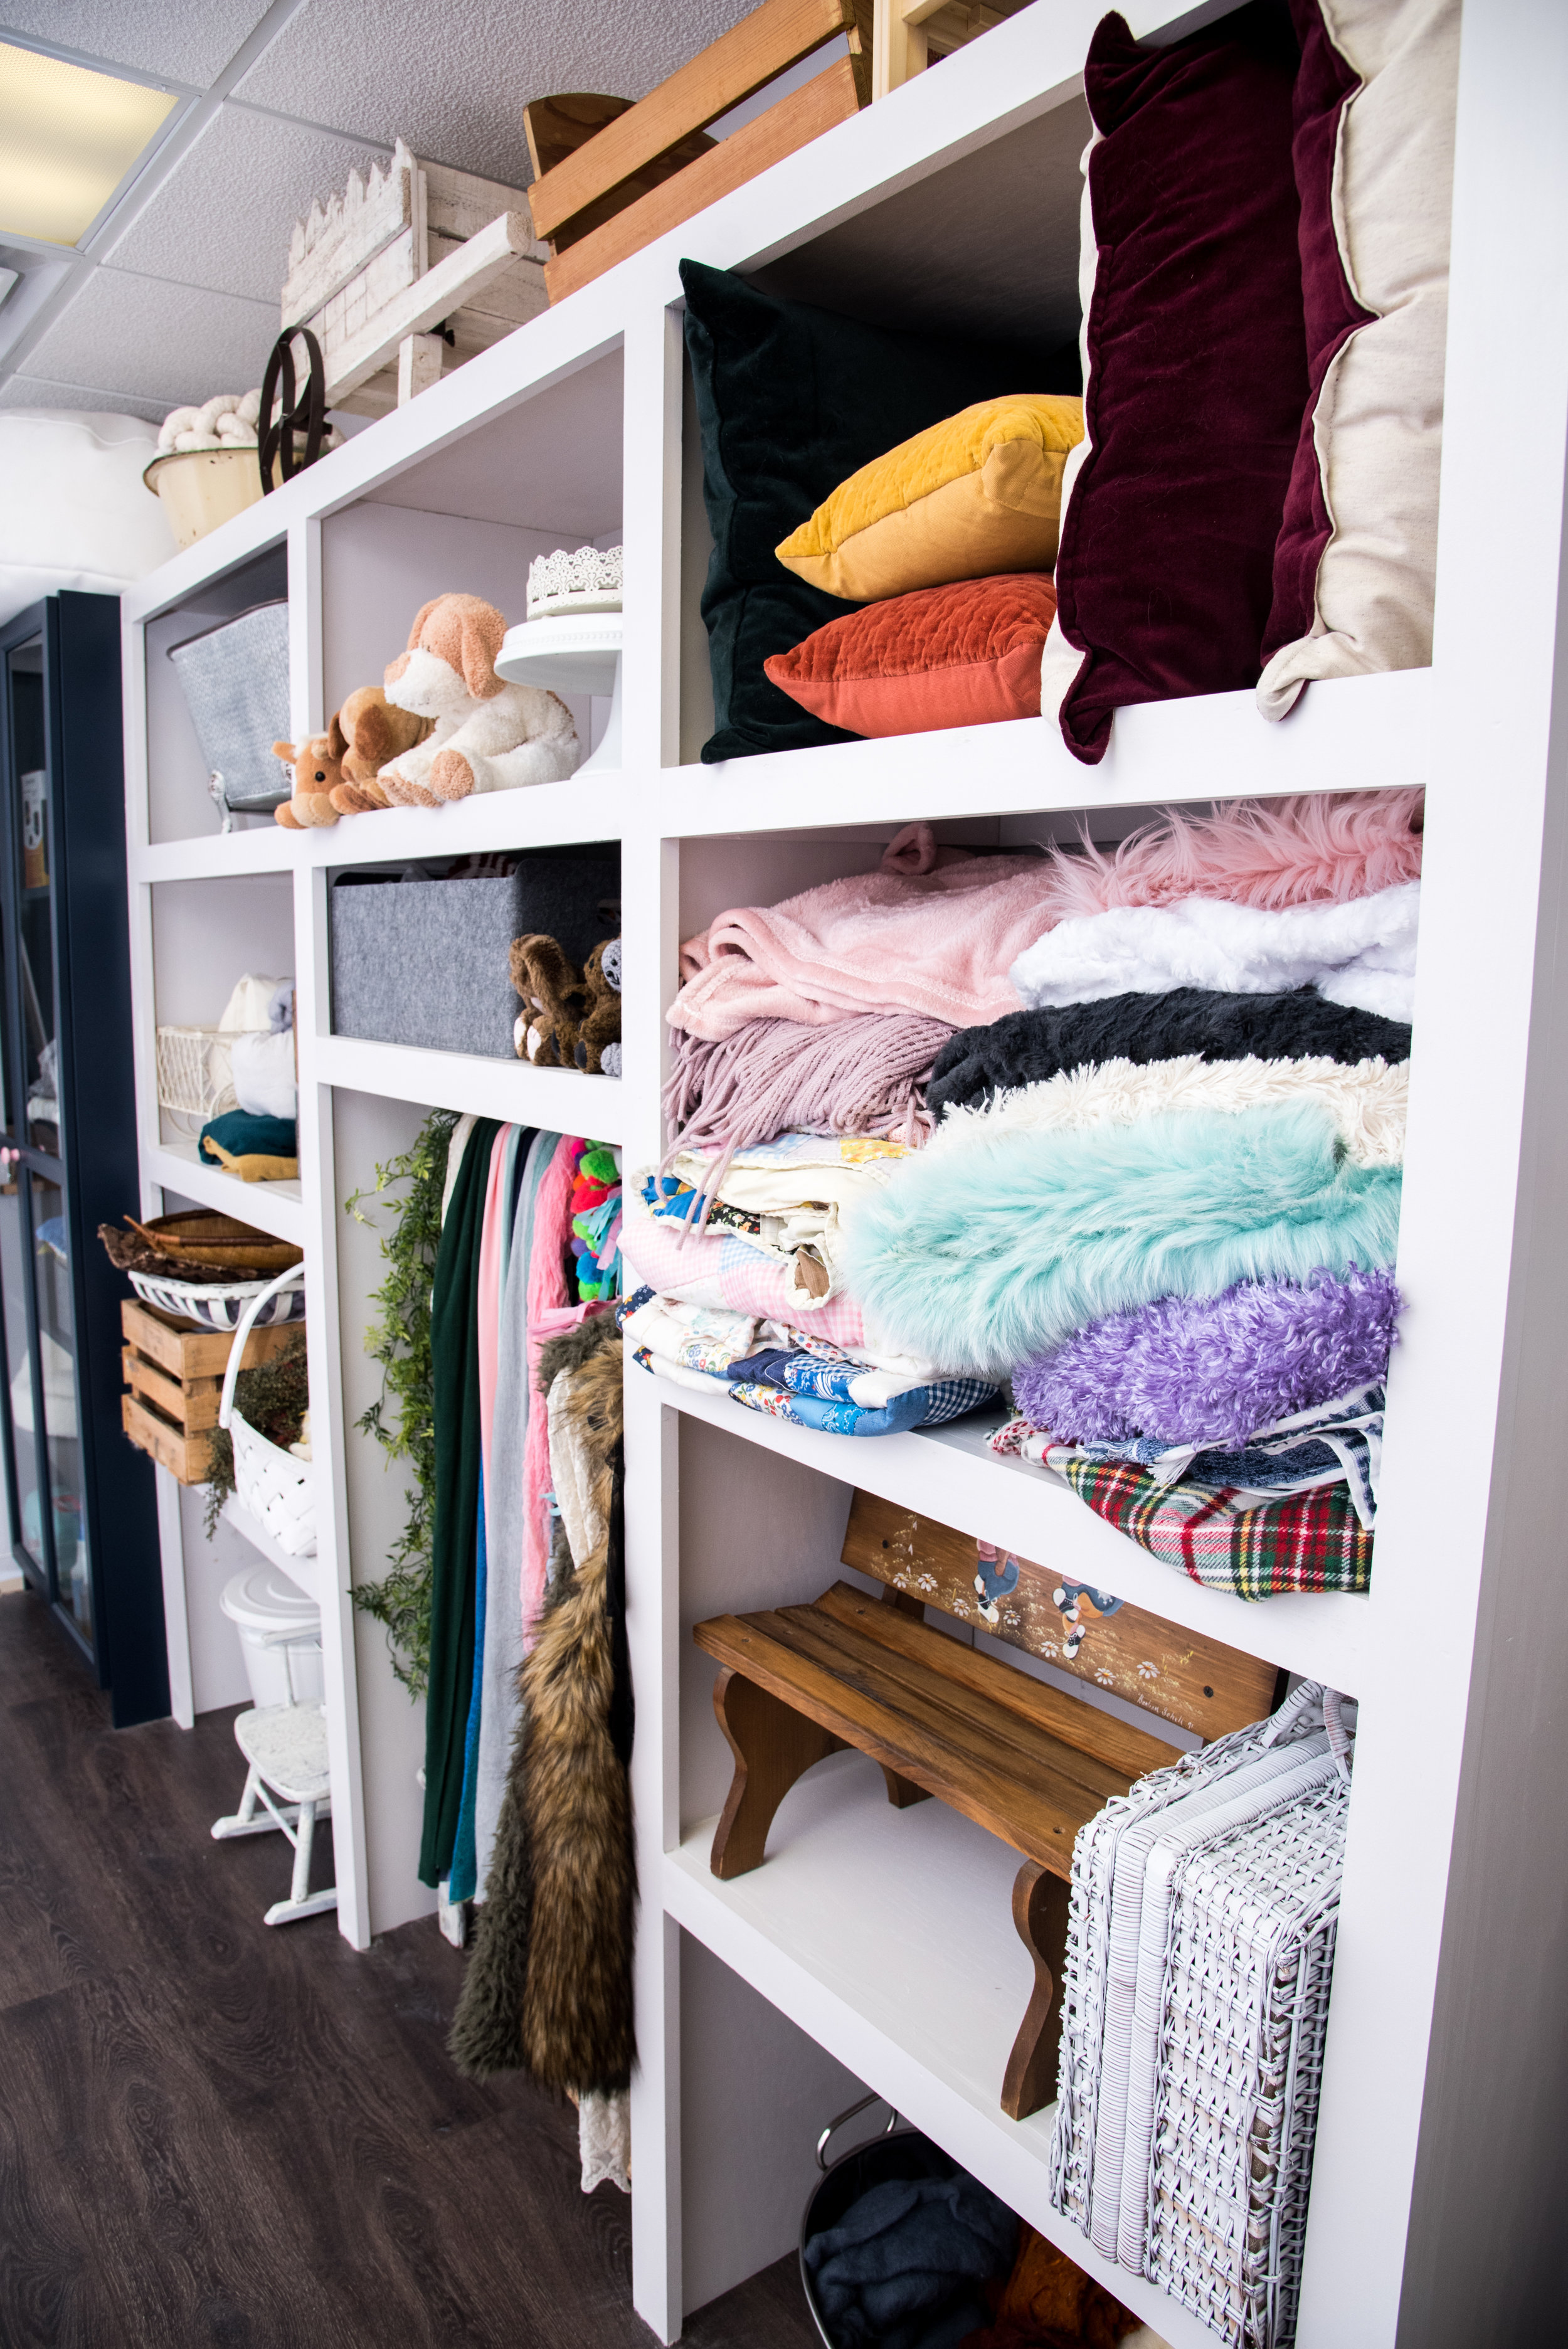
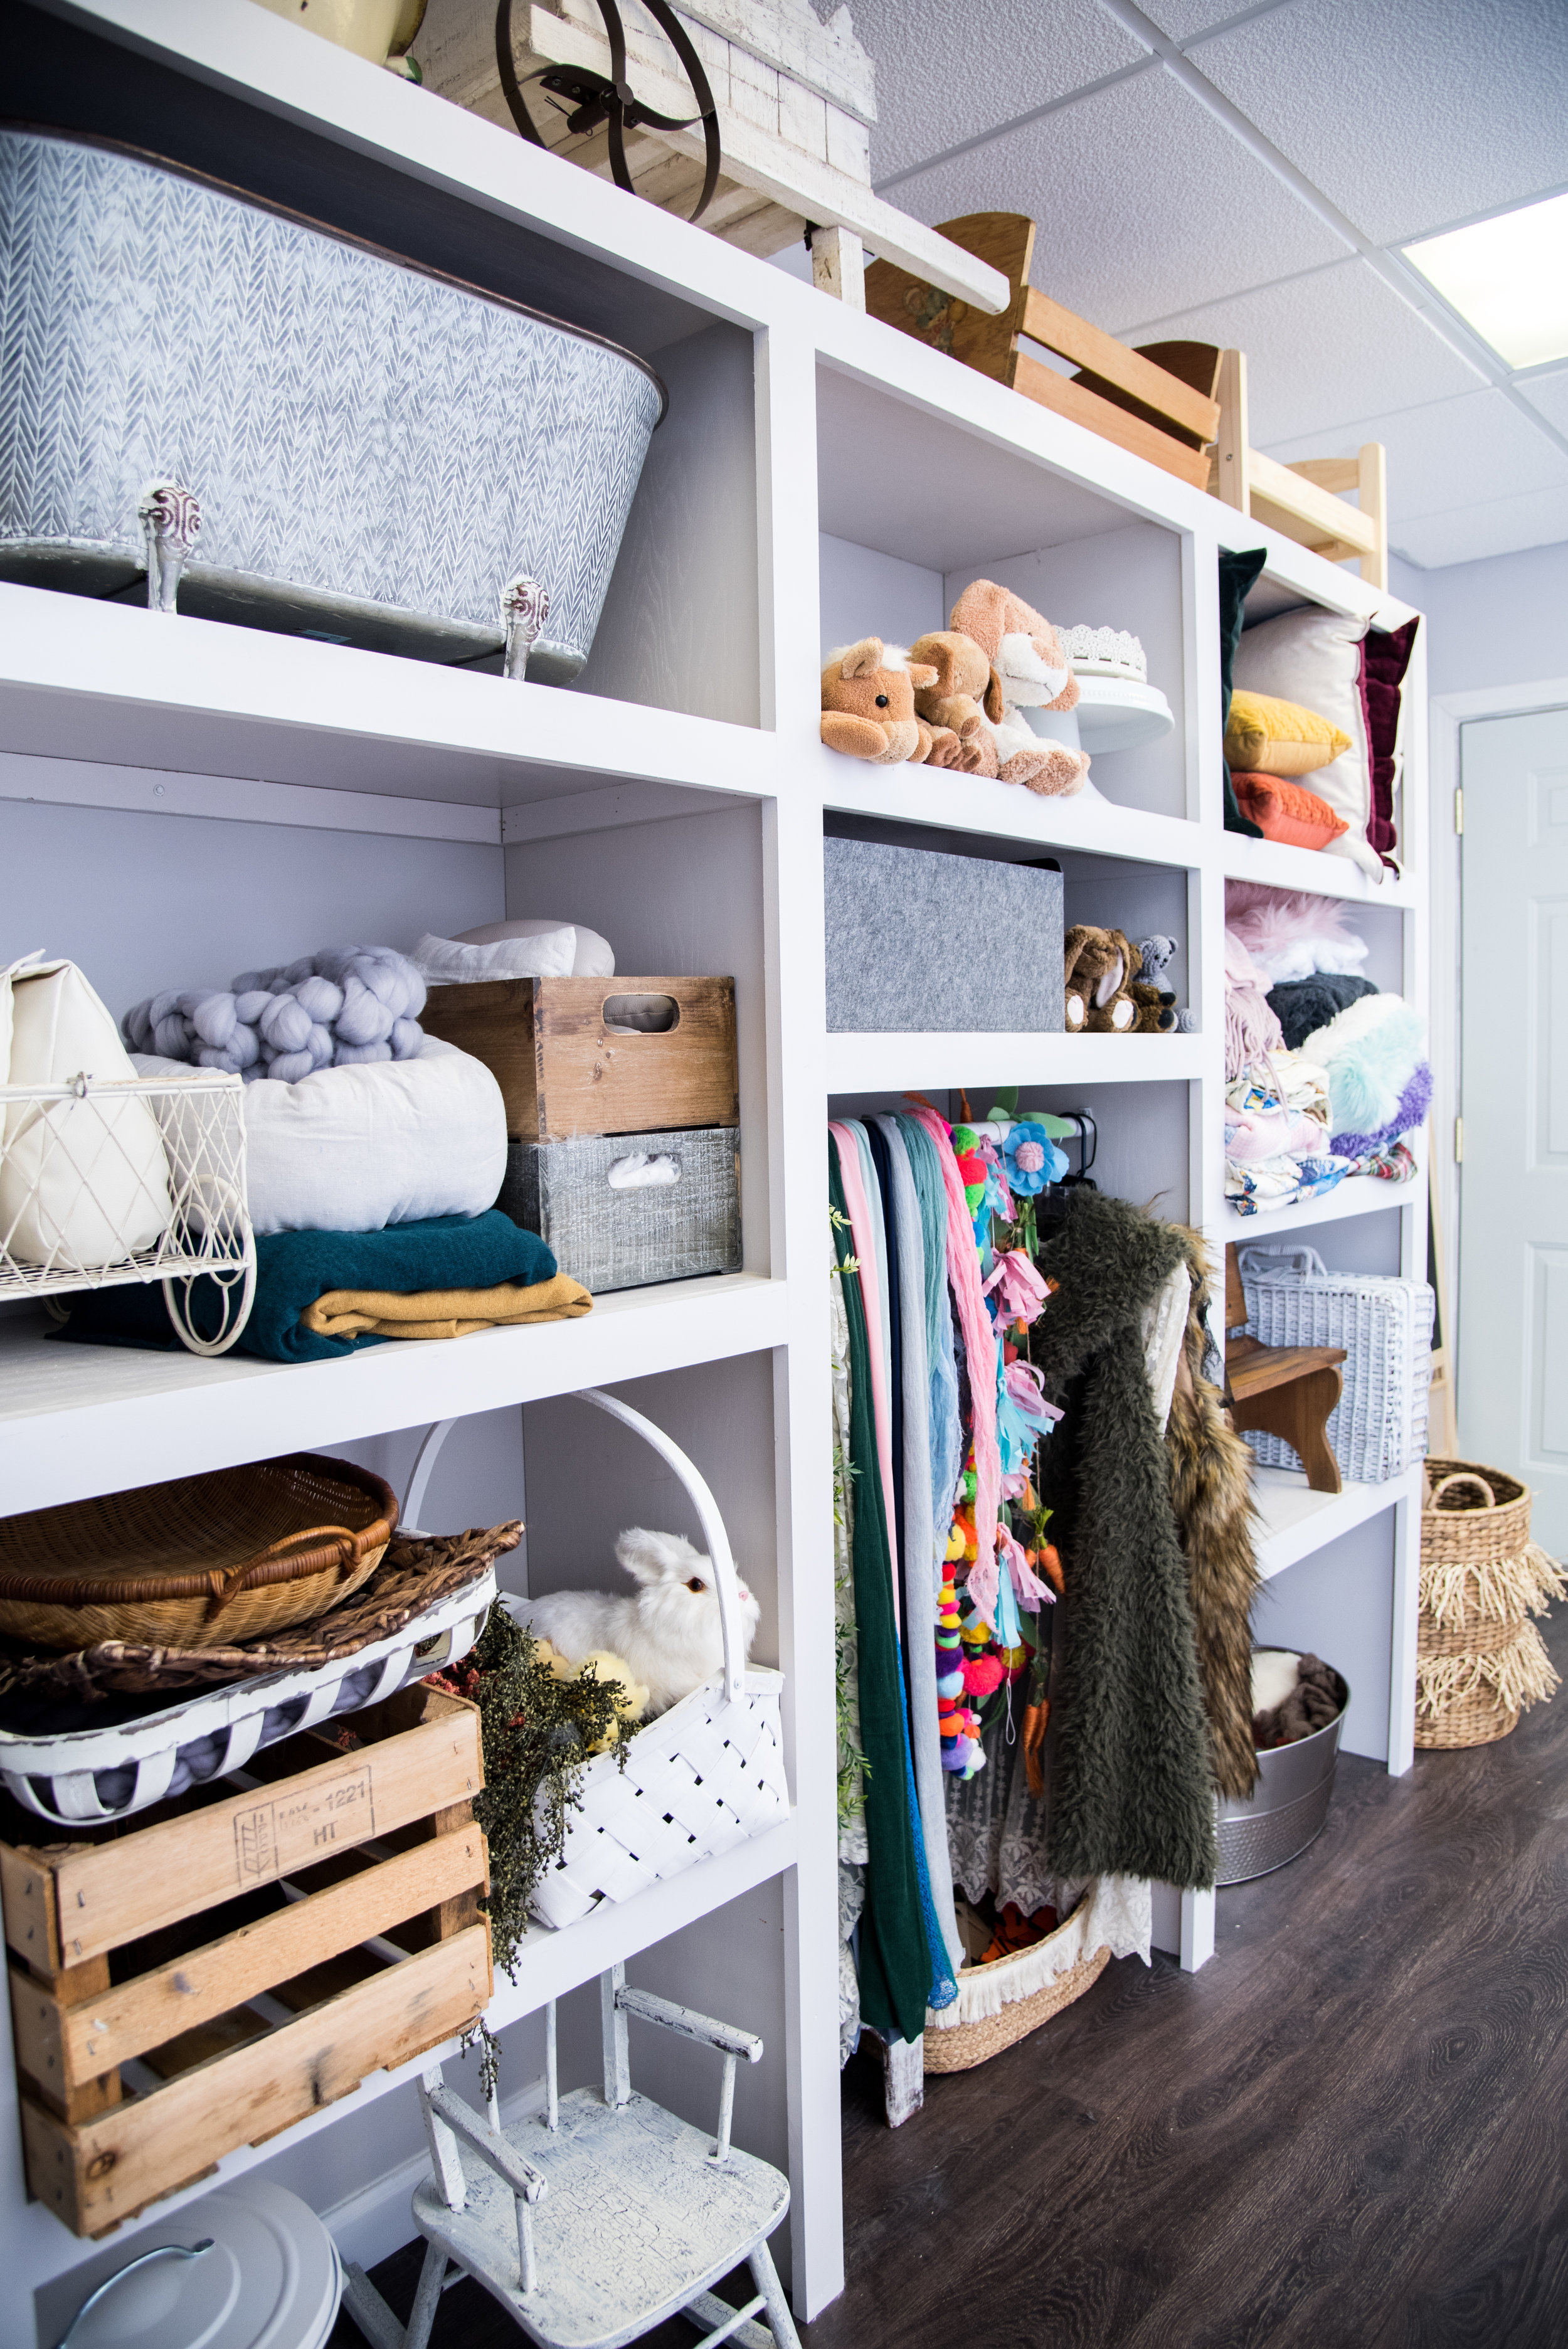
I say “weekend project” but I spent about a week painting all of the wood, it felt like it was never ending. We spent about 7 hours in the studio on Saturday and about 8 on Sunday finishing up the shelving and organizing all of my props. This turned out 10x better than I ever expected, I could not stop smiling!
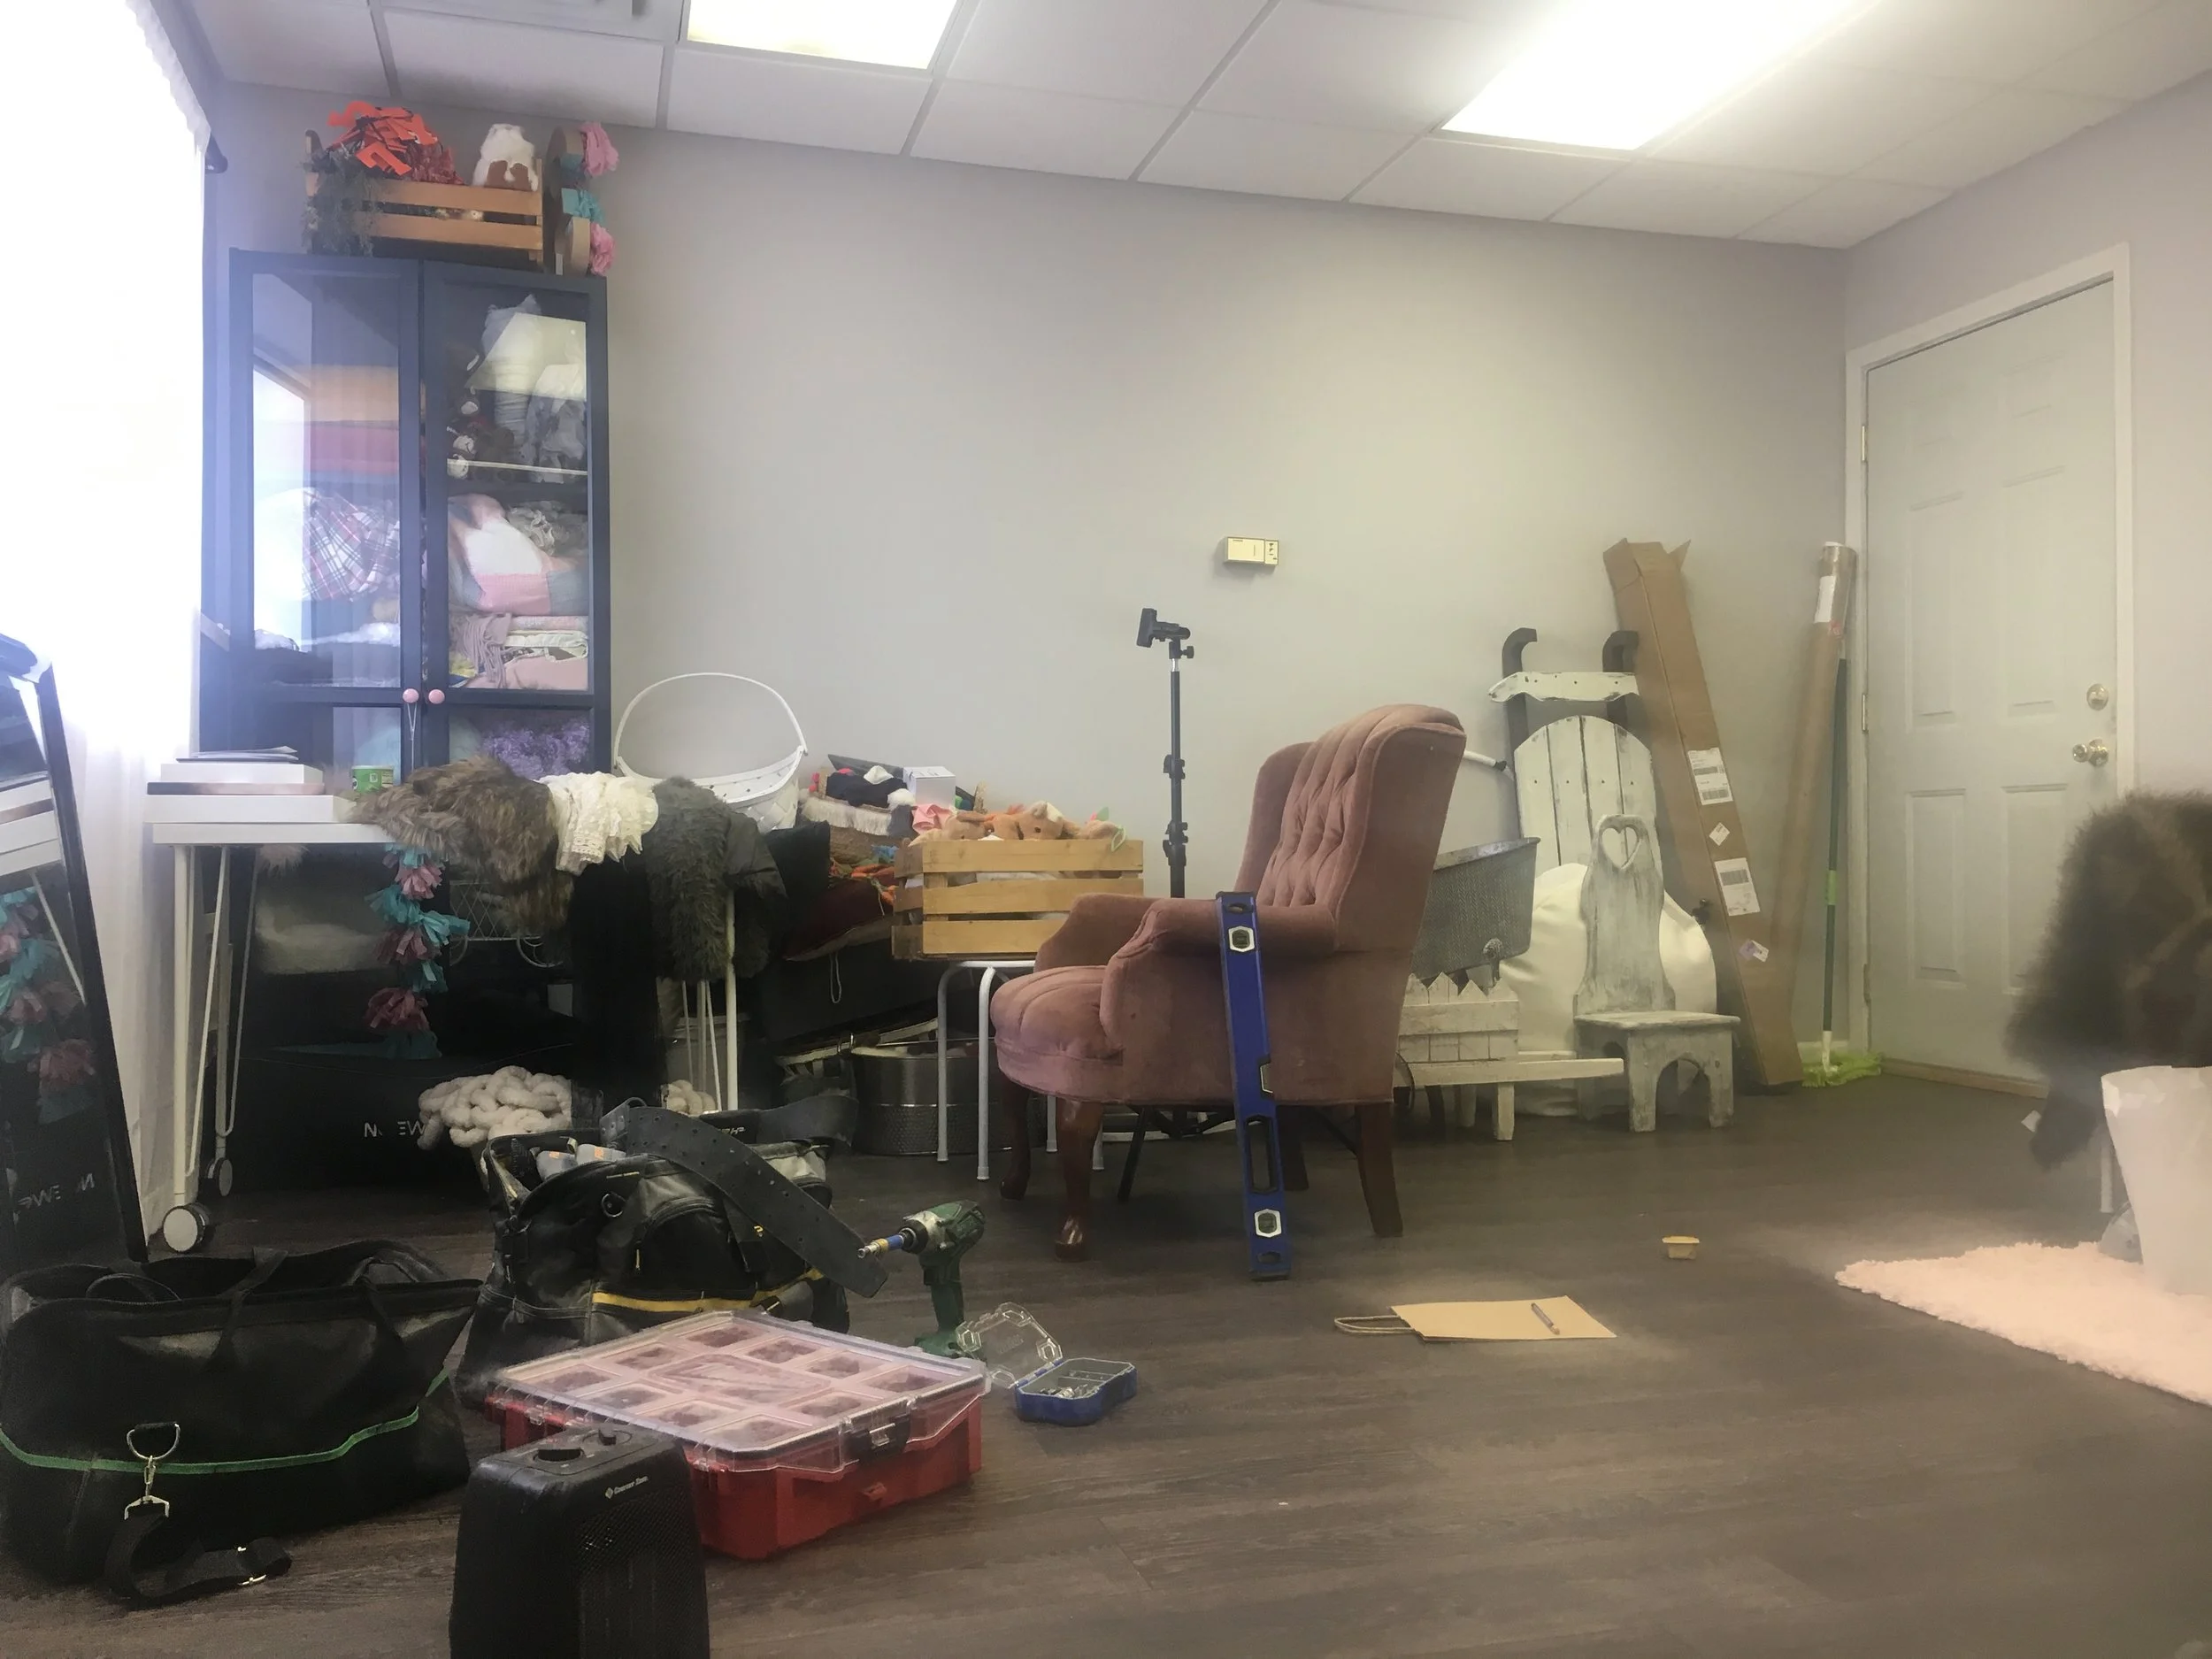
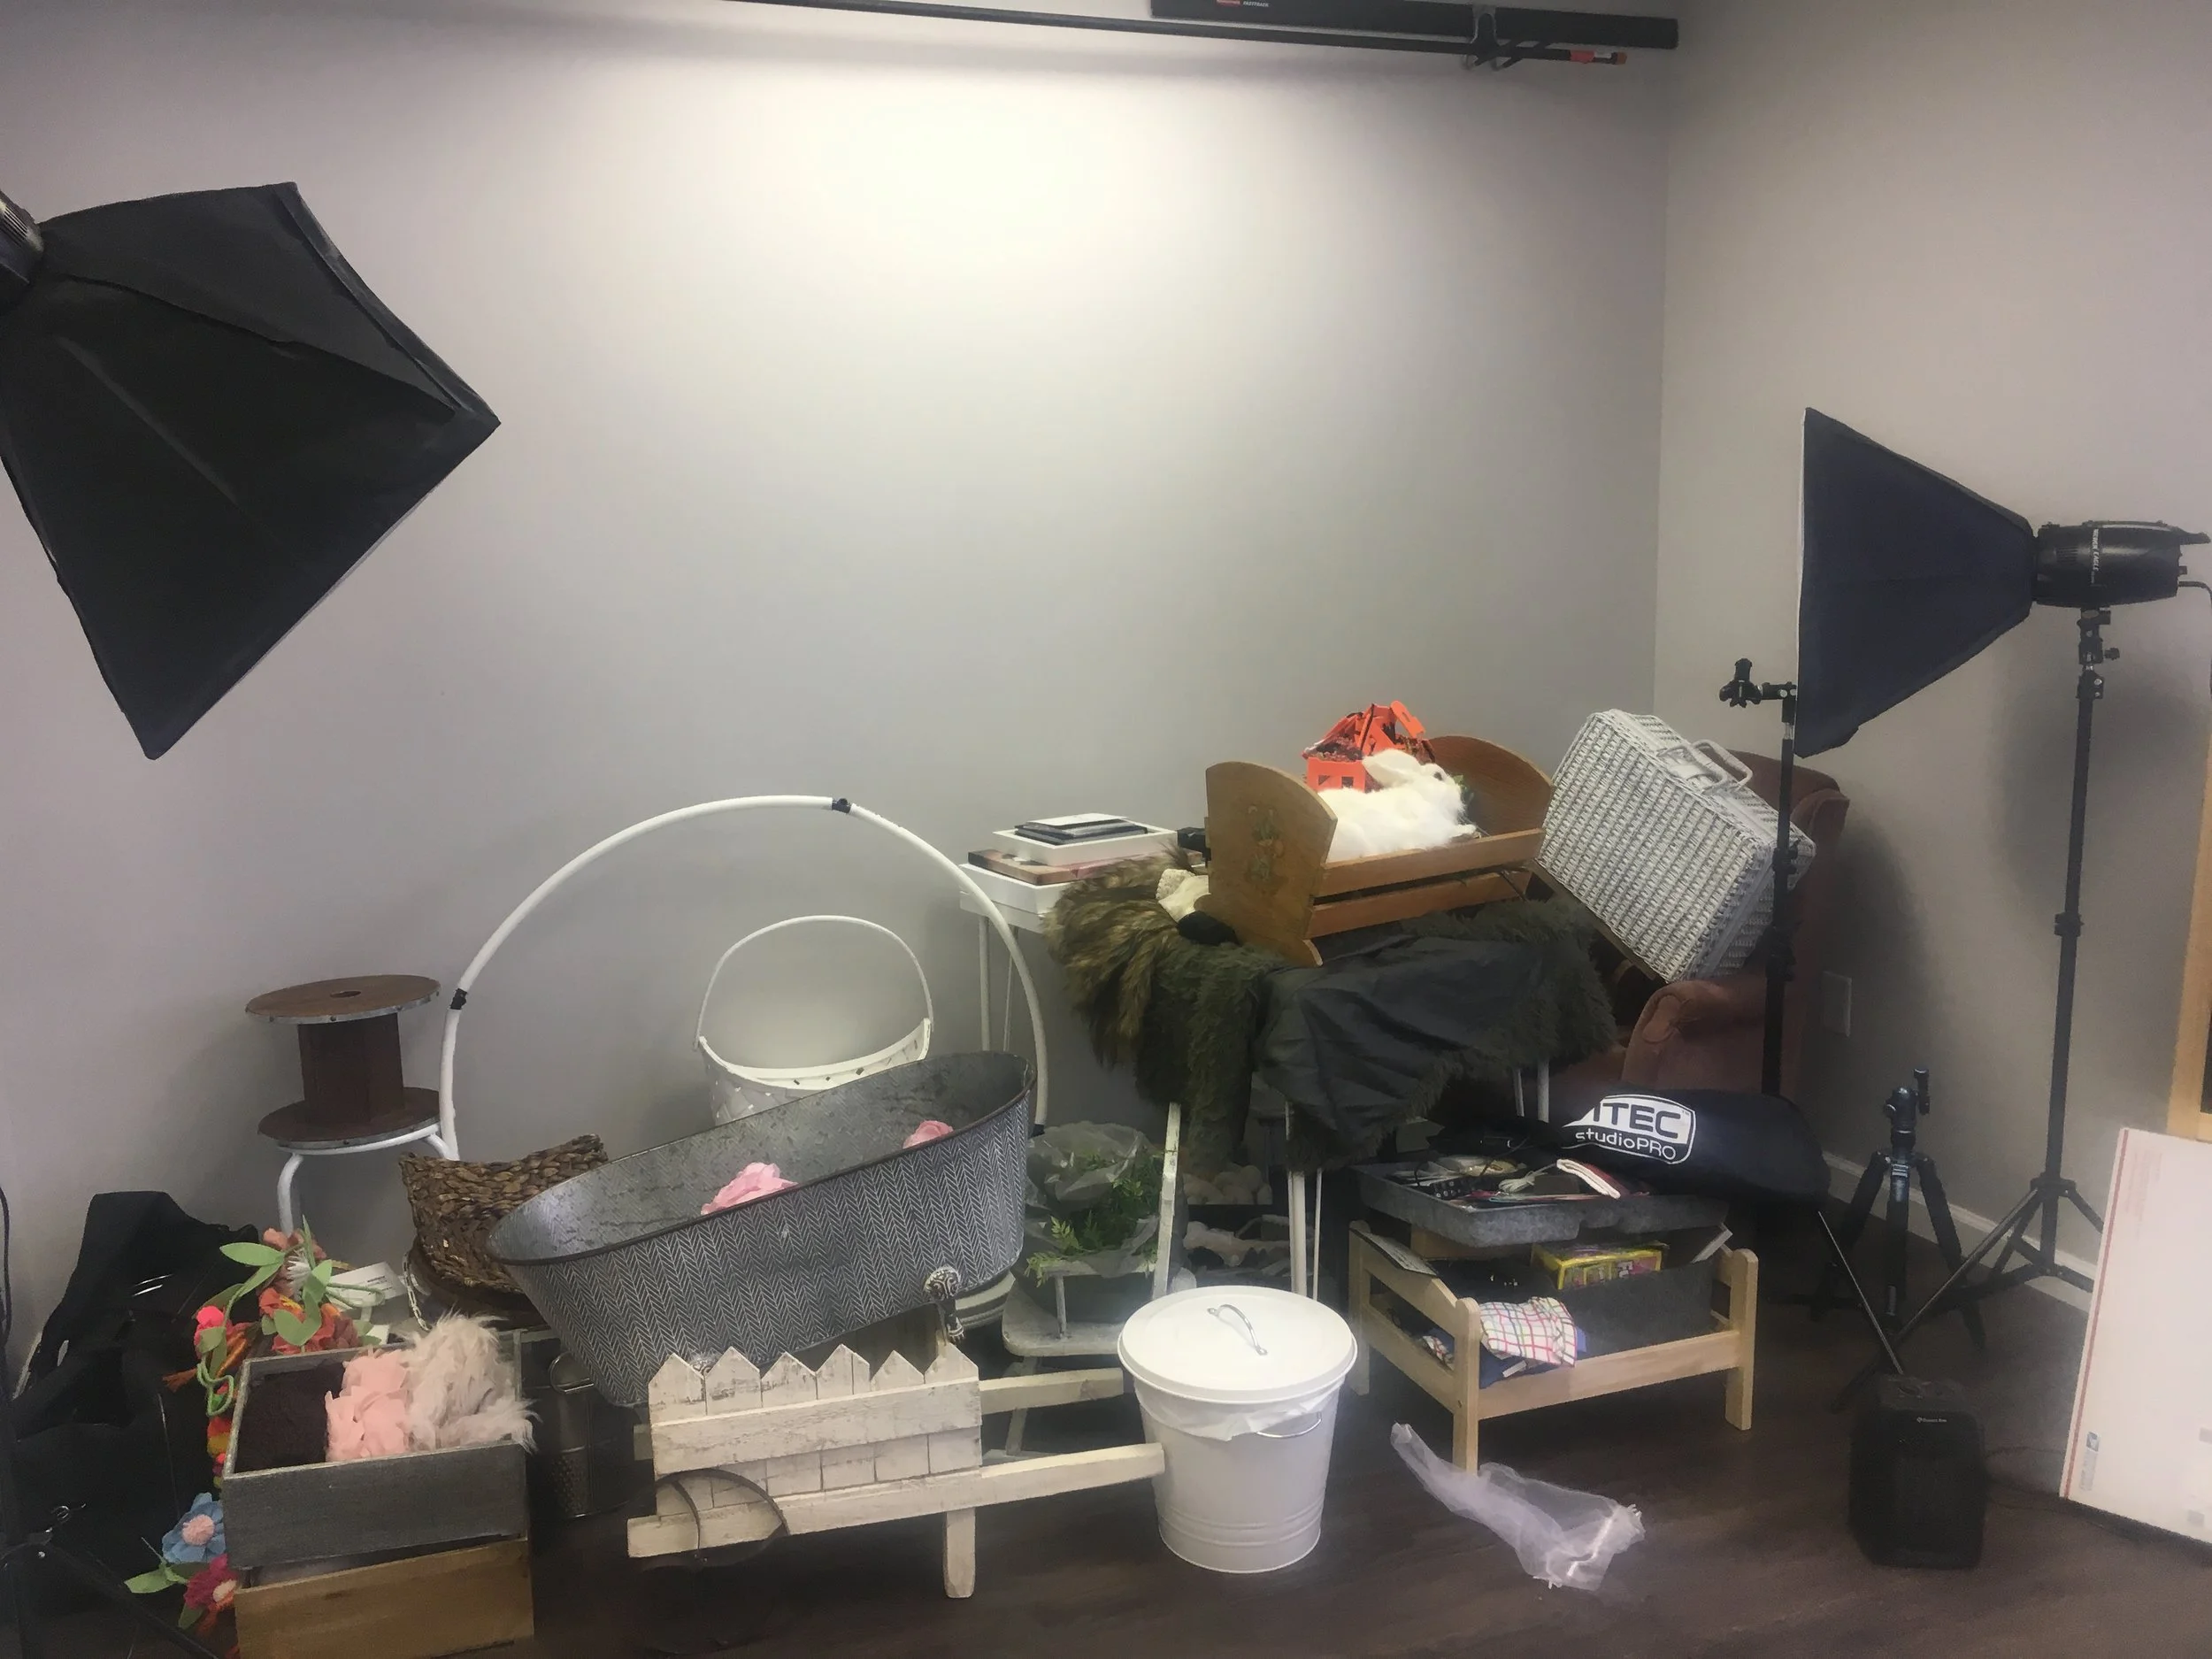
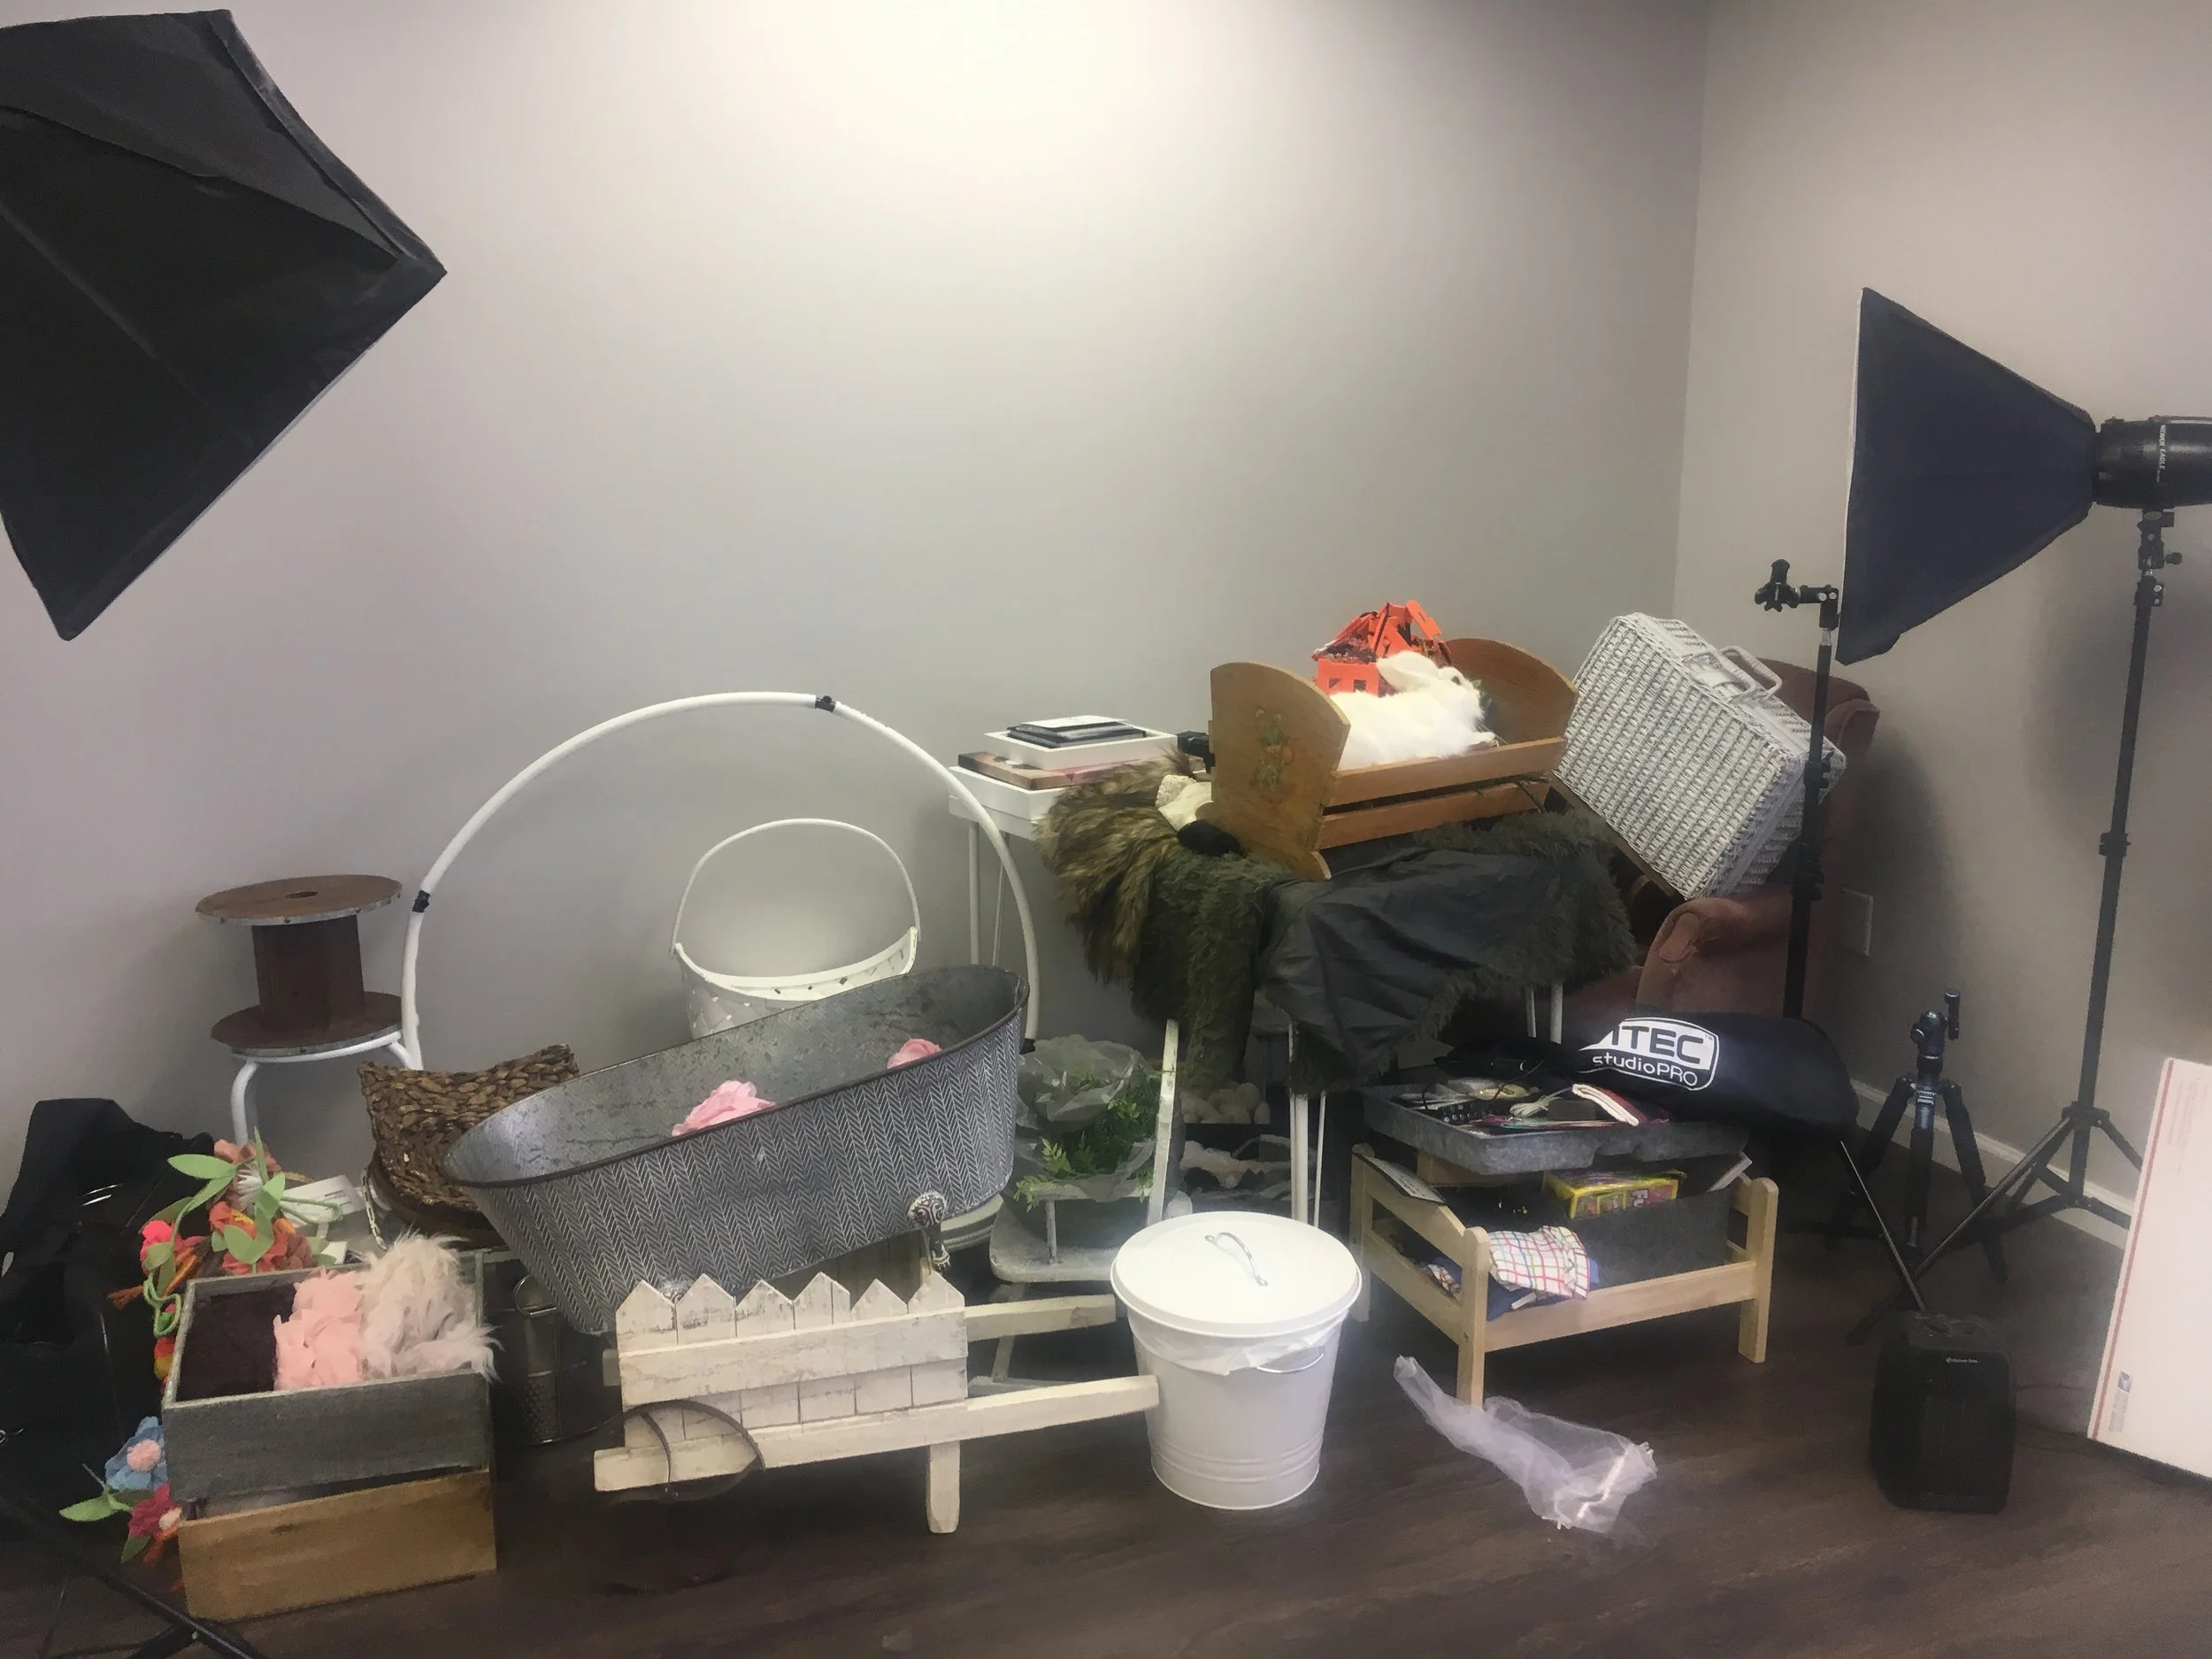
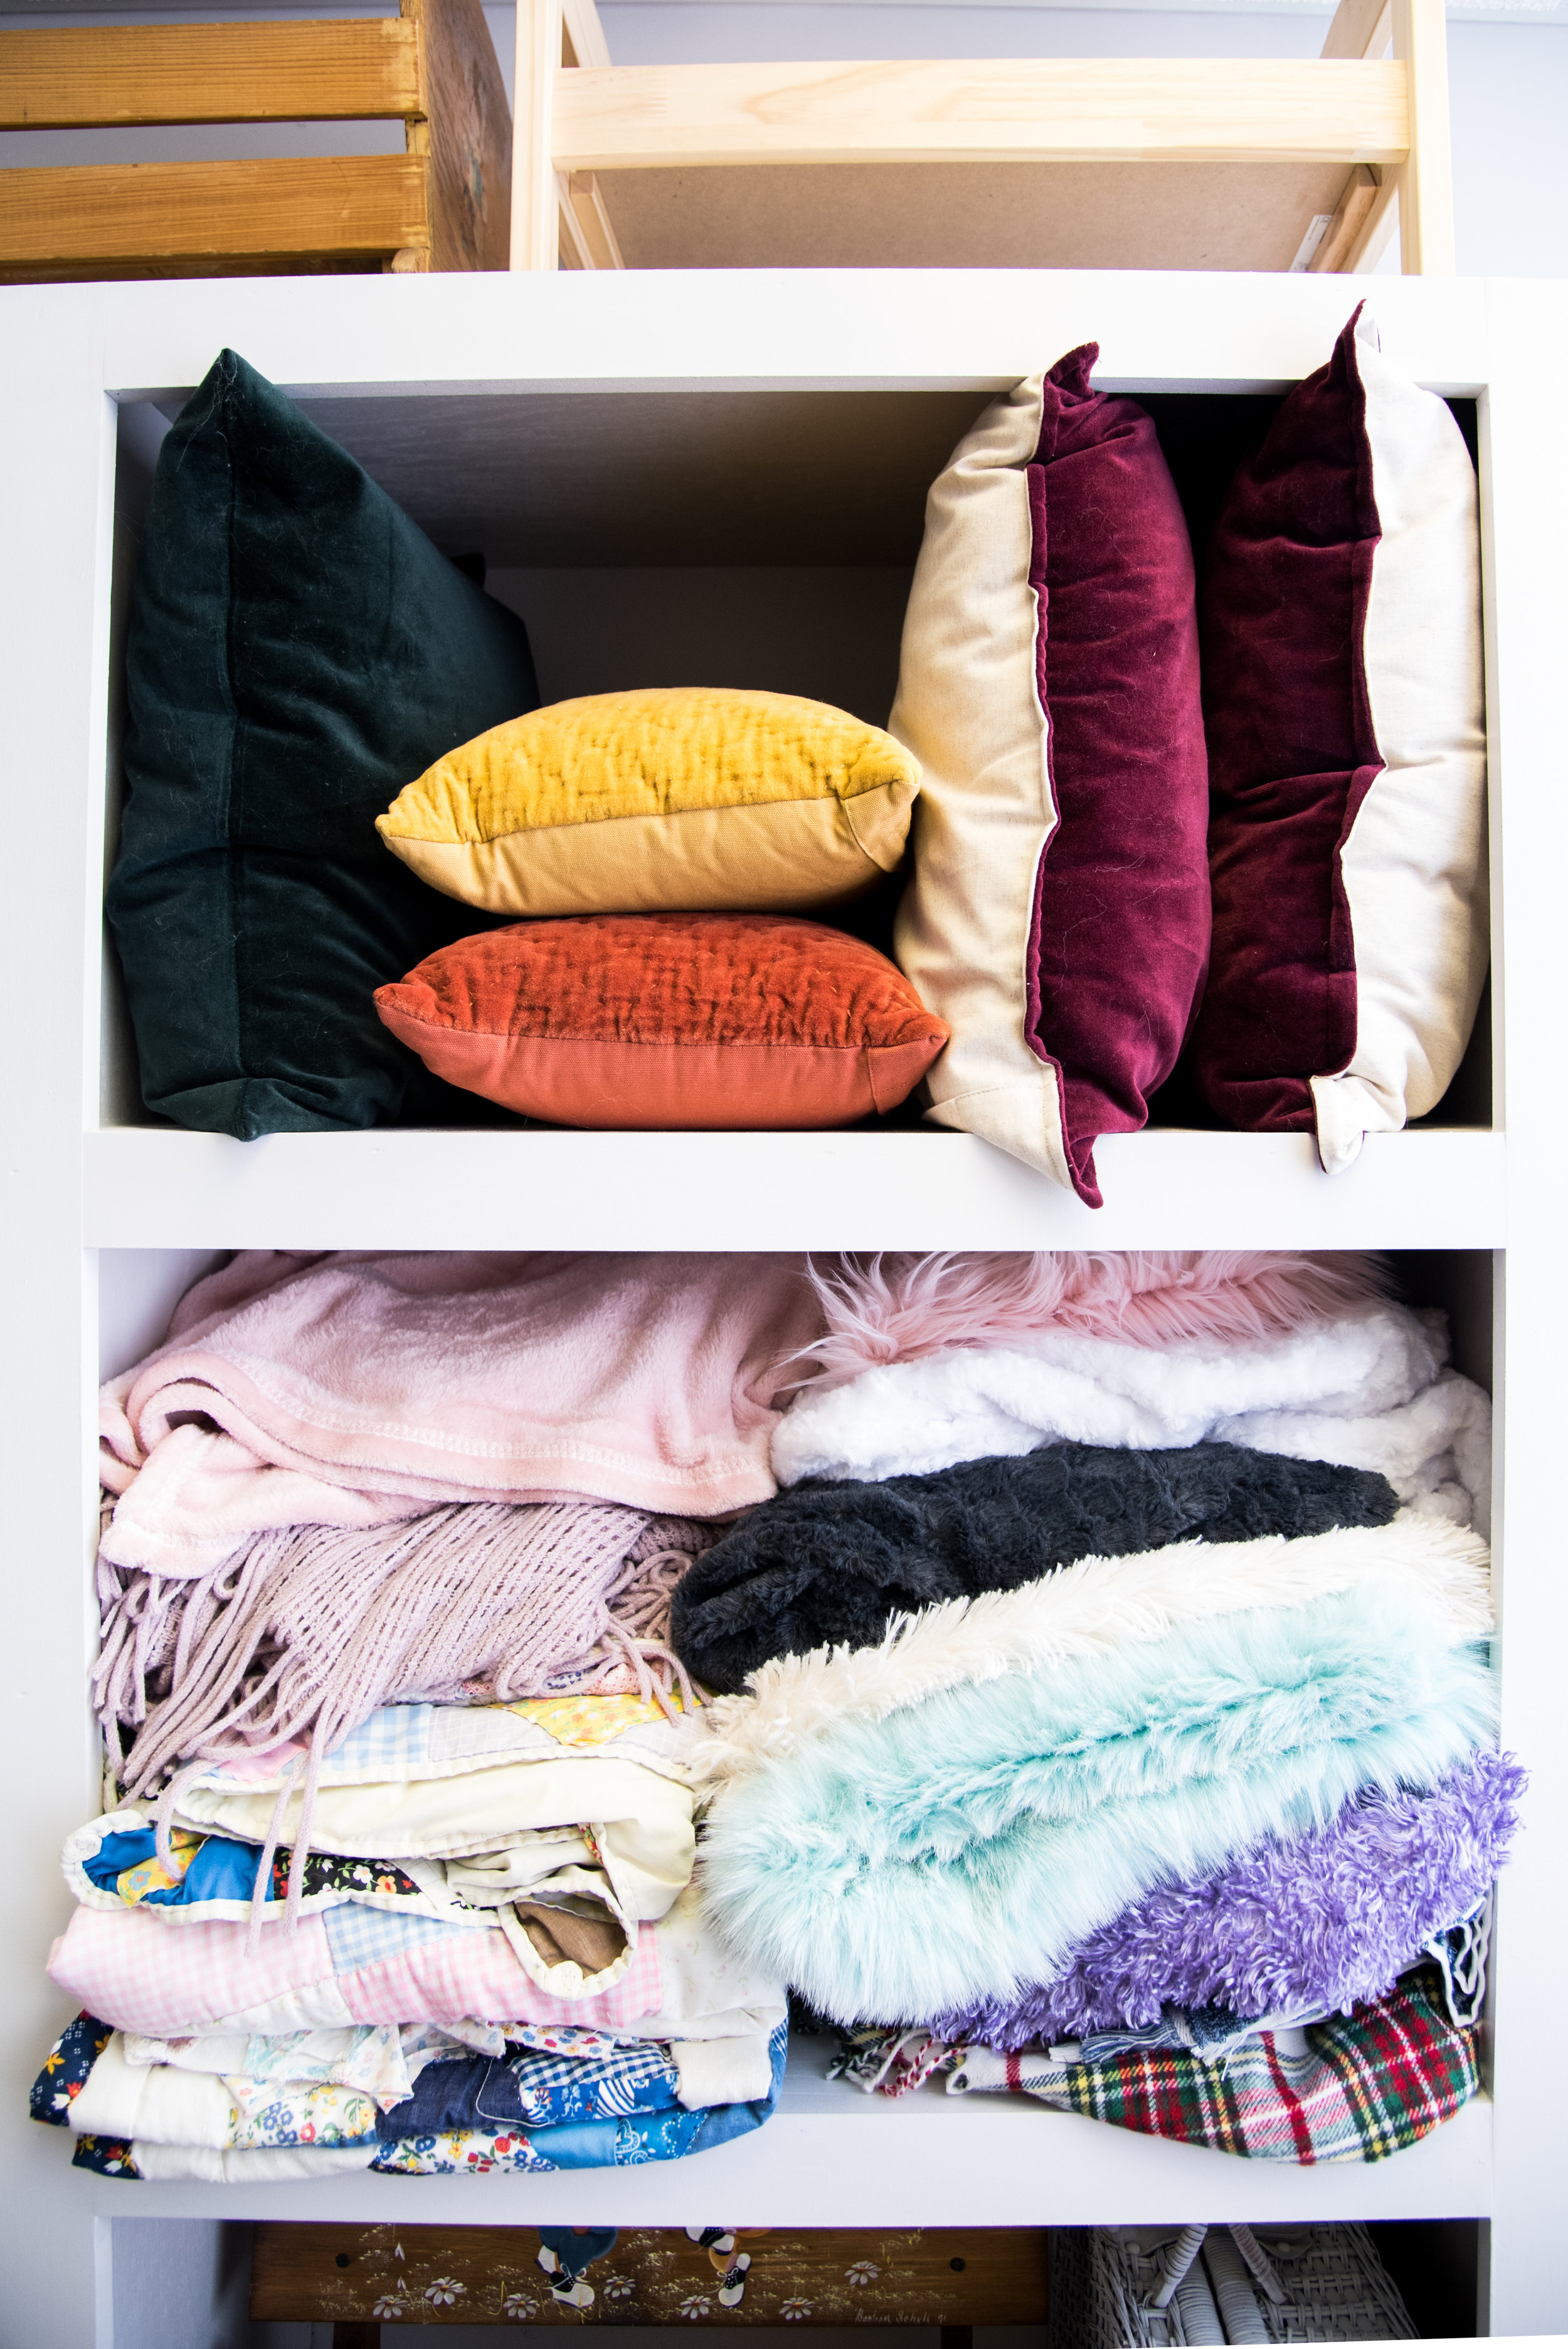
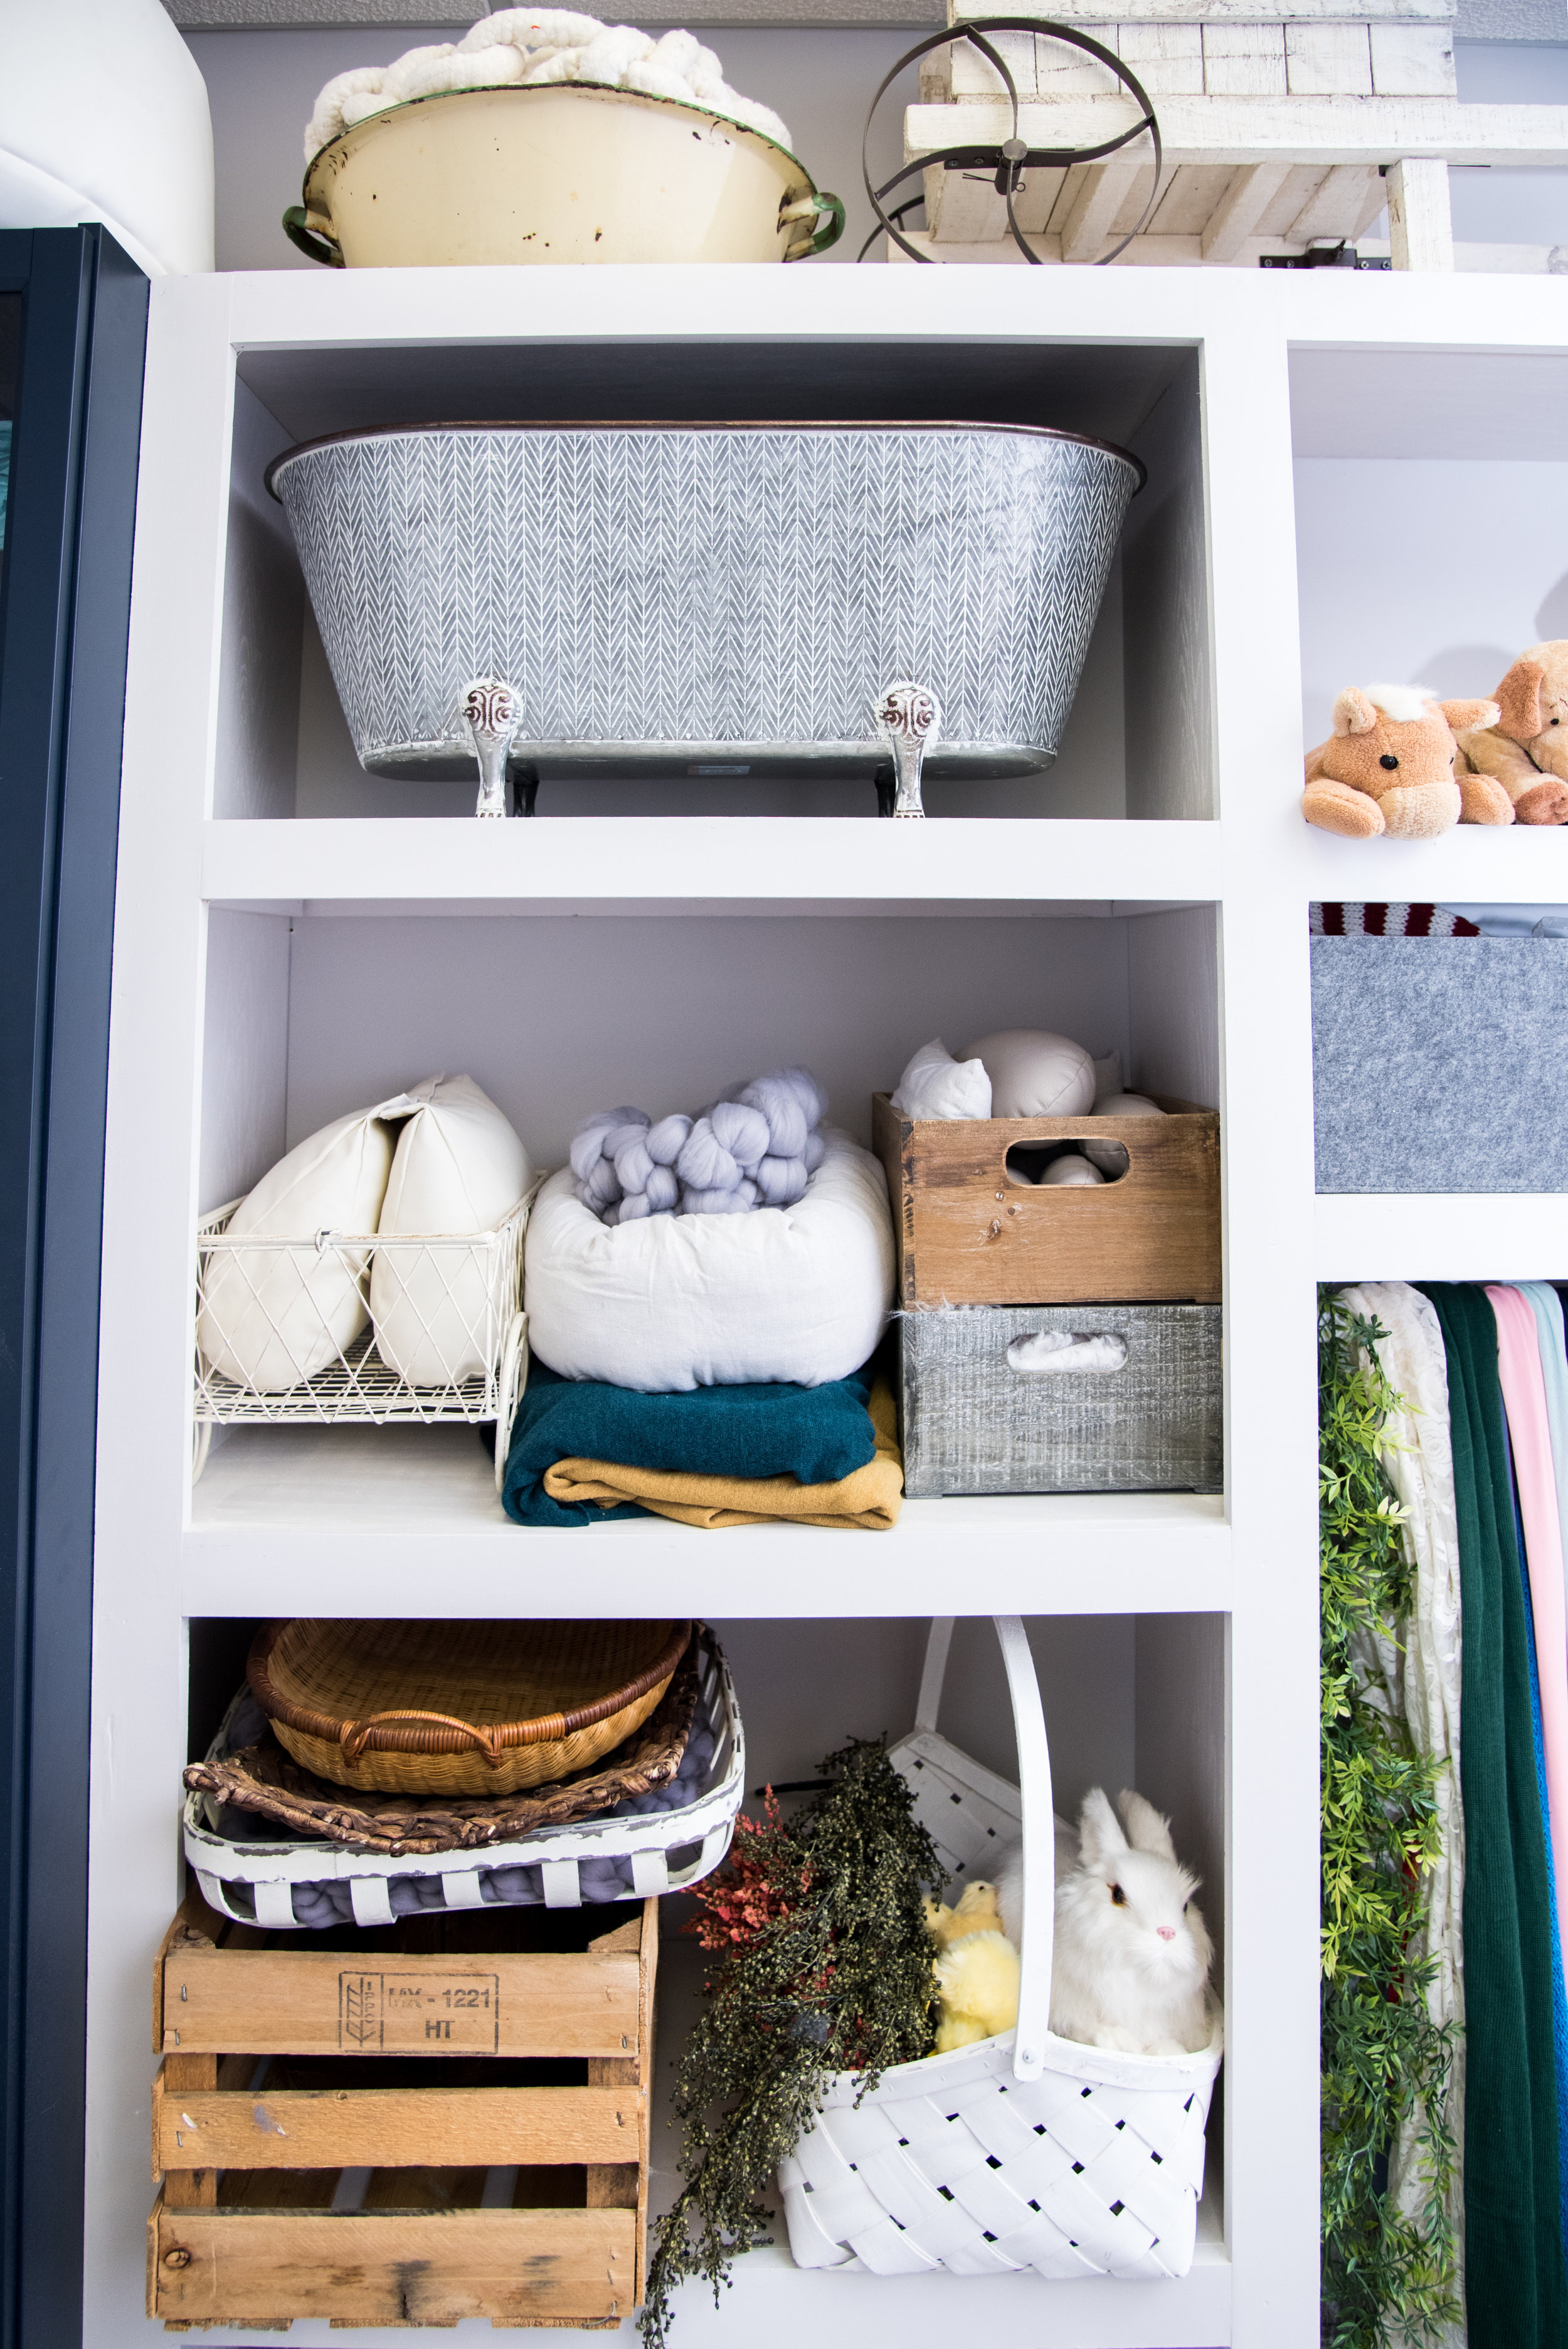
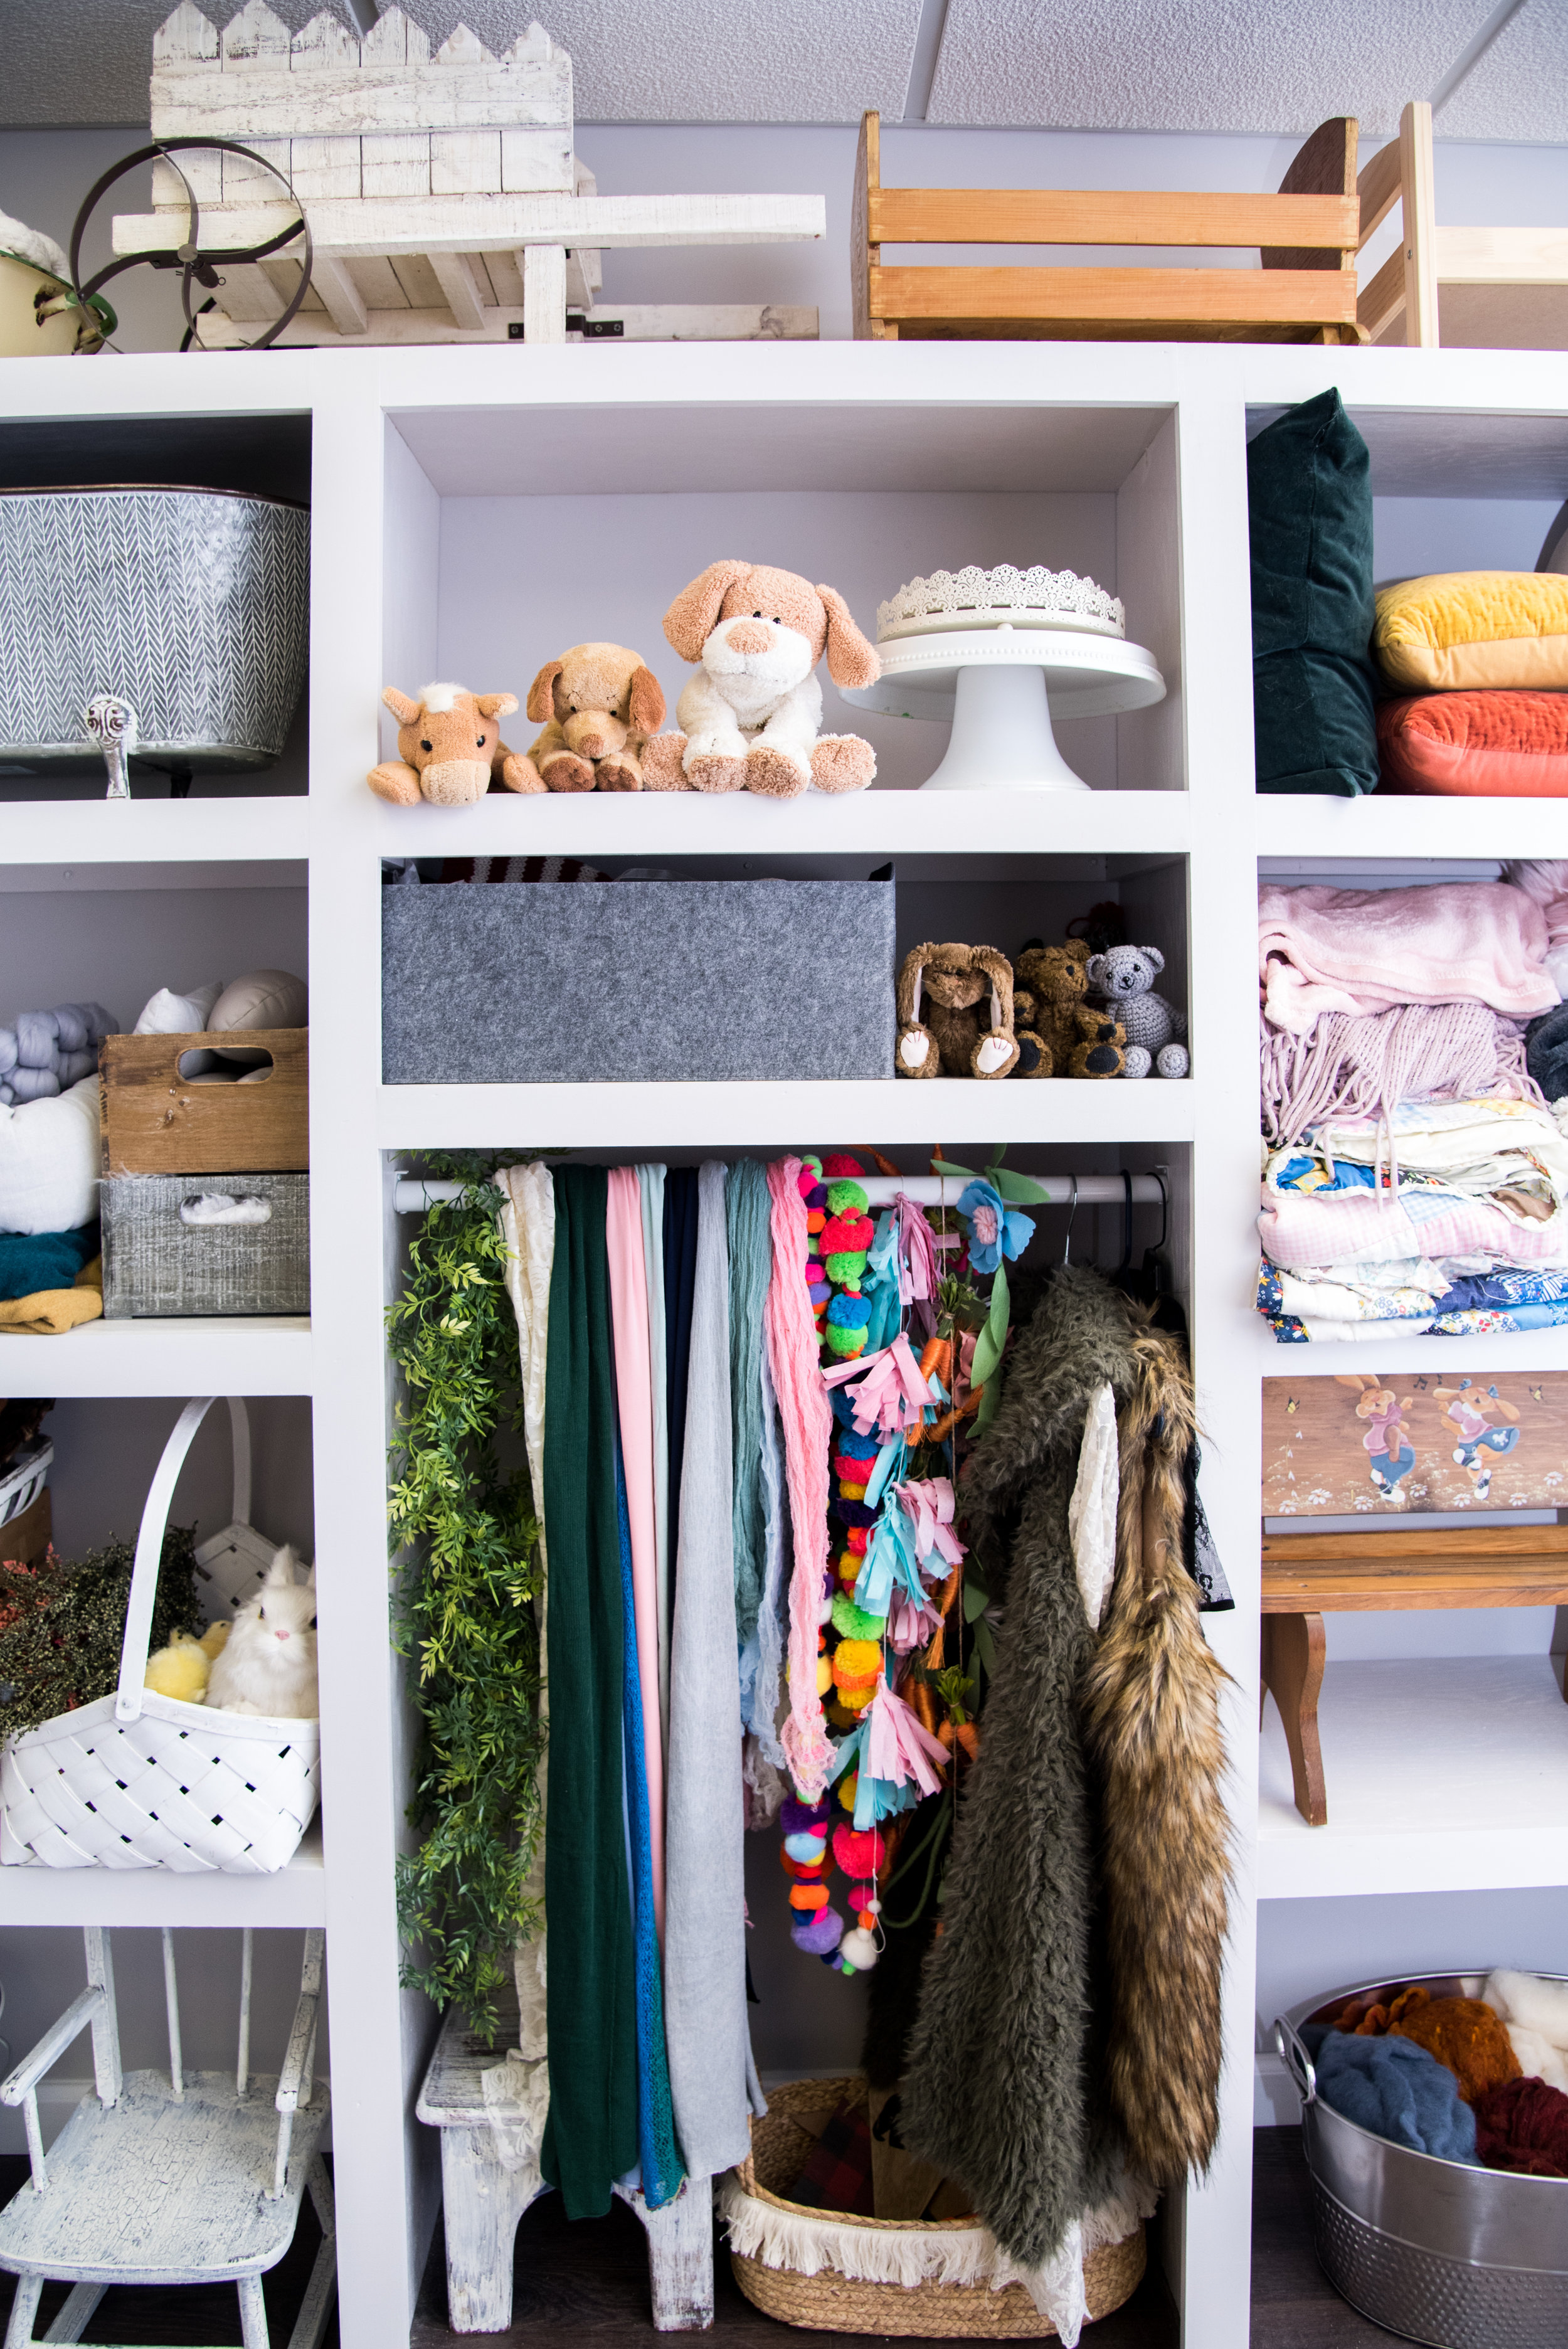
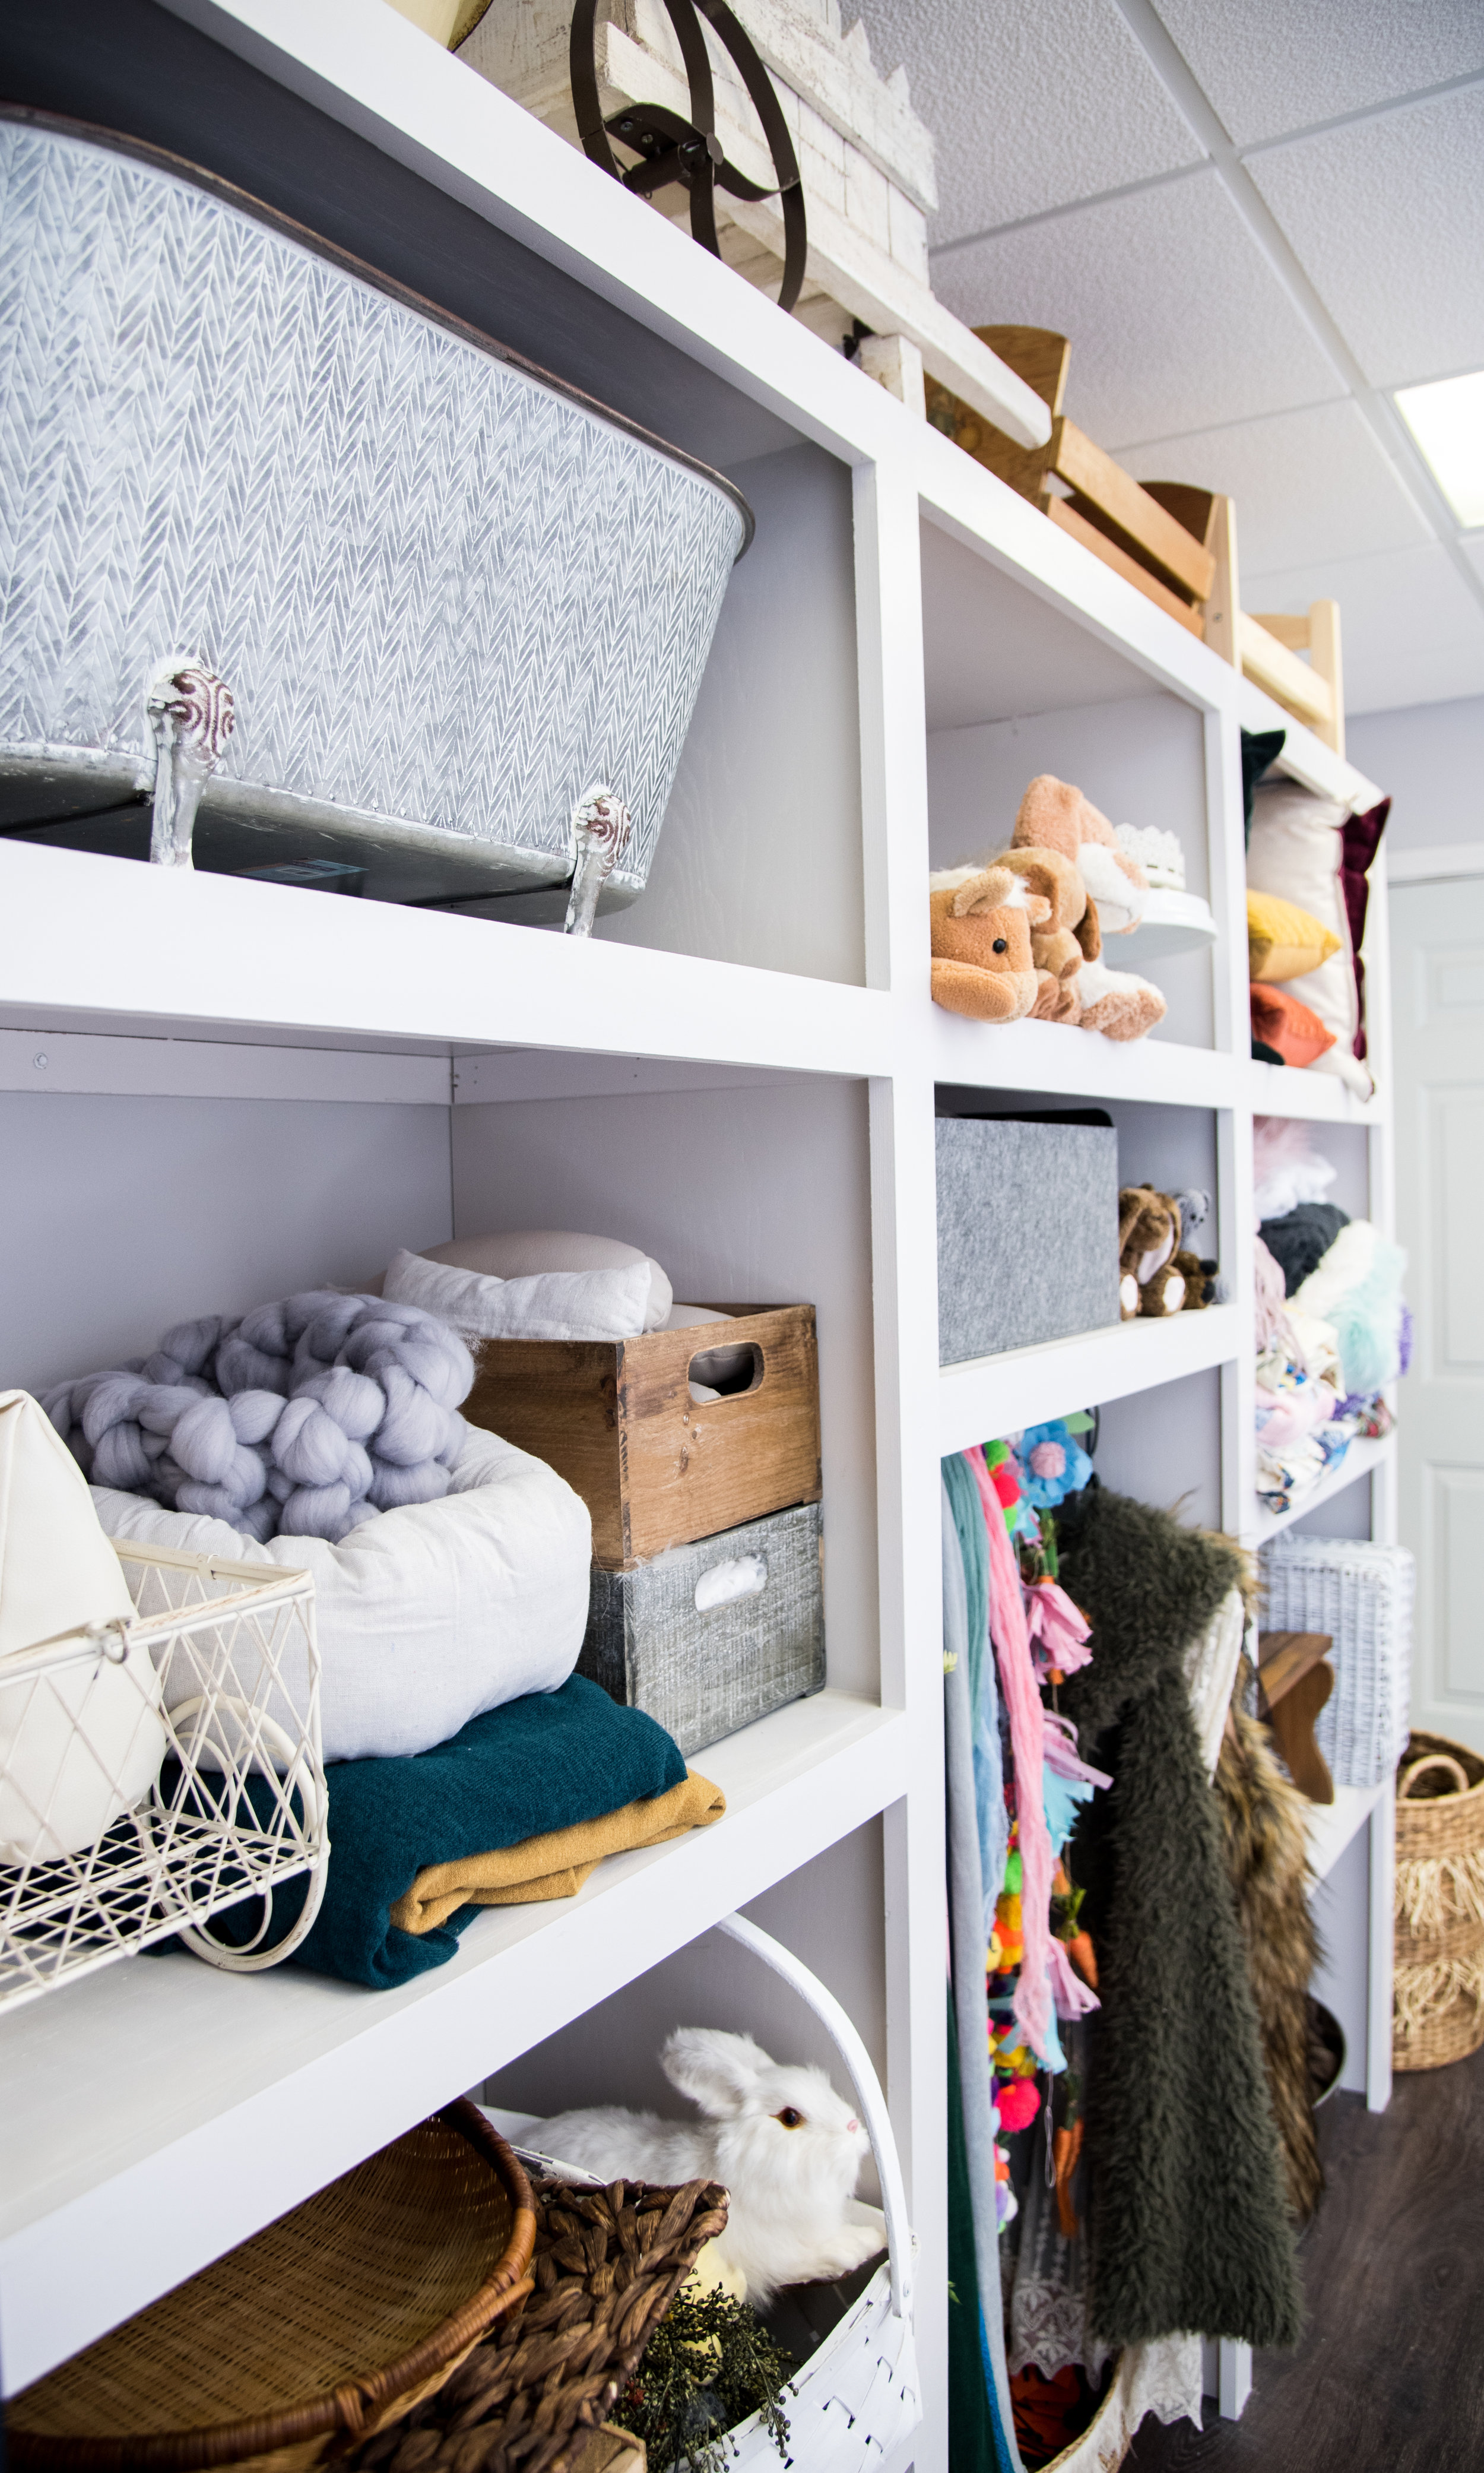
If you have been in my studio previously, you are not gonna believe the difference it made, it is so much more spacious and open, and now all of my clients can see the props available during sessions.
If you are interested in what all we bought to make it and about how much it cost for you DIYers, scroll down to see more info!
If you are building a studio and want to see what to expect and what all we used to build this, here is all the info. All supplies were bought at Lowe’s.
Materials:
3 - sheets of 3/4 inch oak plywood Cabinet grade
200+ - Nails
20+ - Screws
Lowes Paint (Look in the mis-tint section to save $)
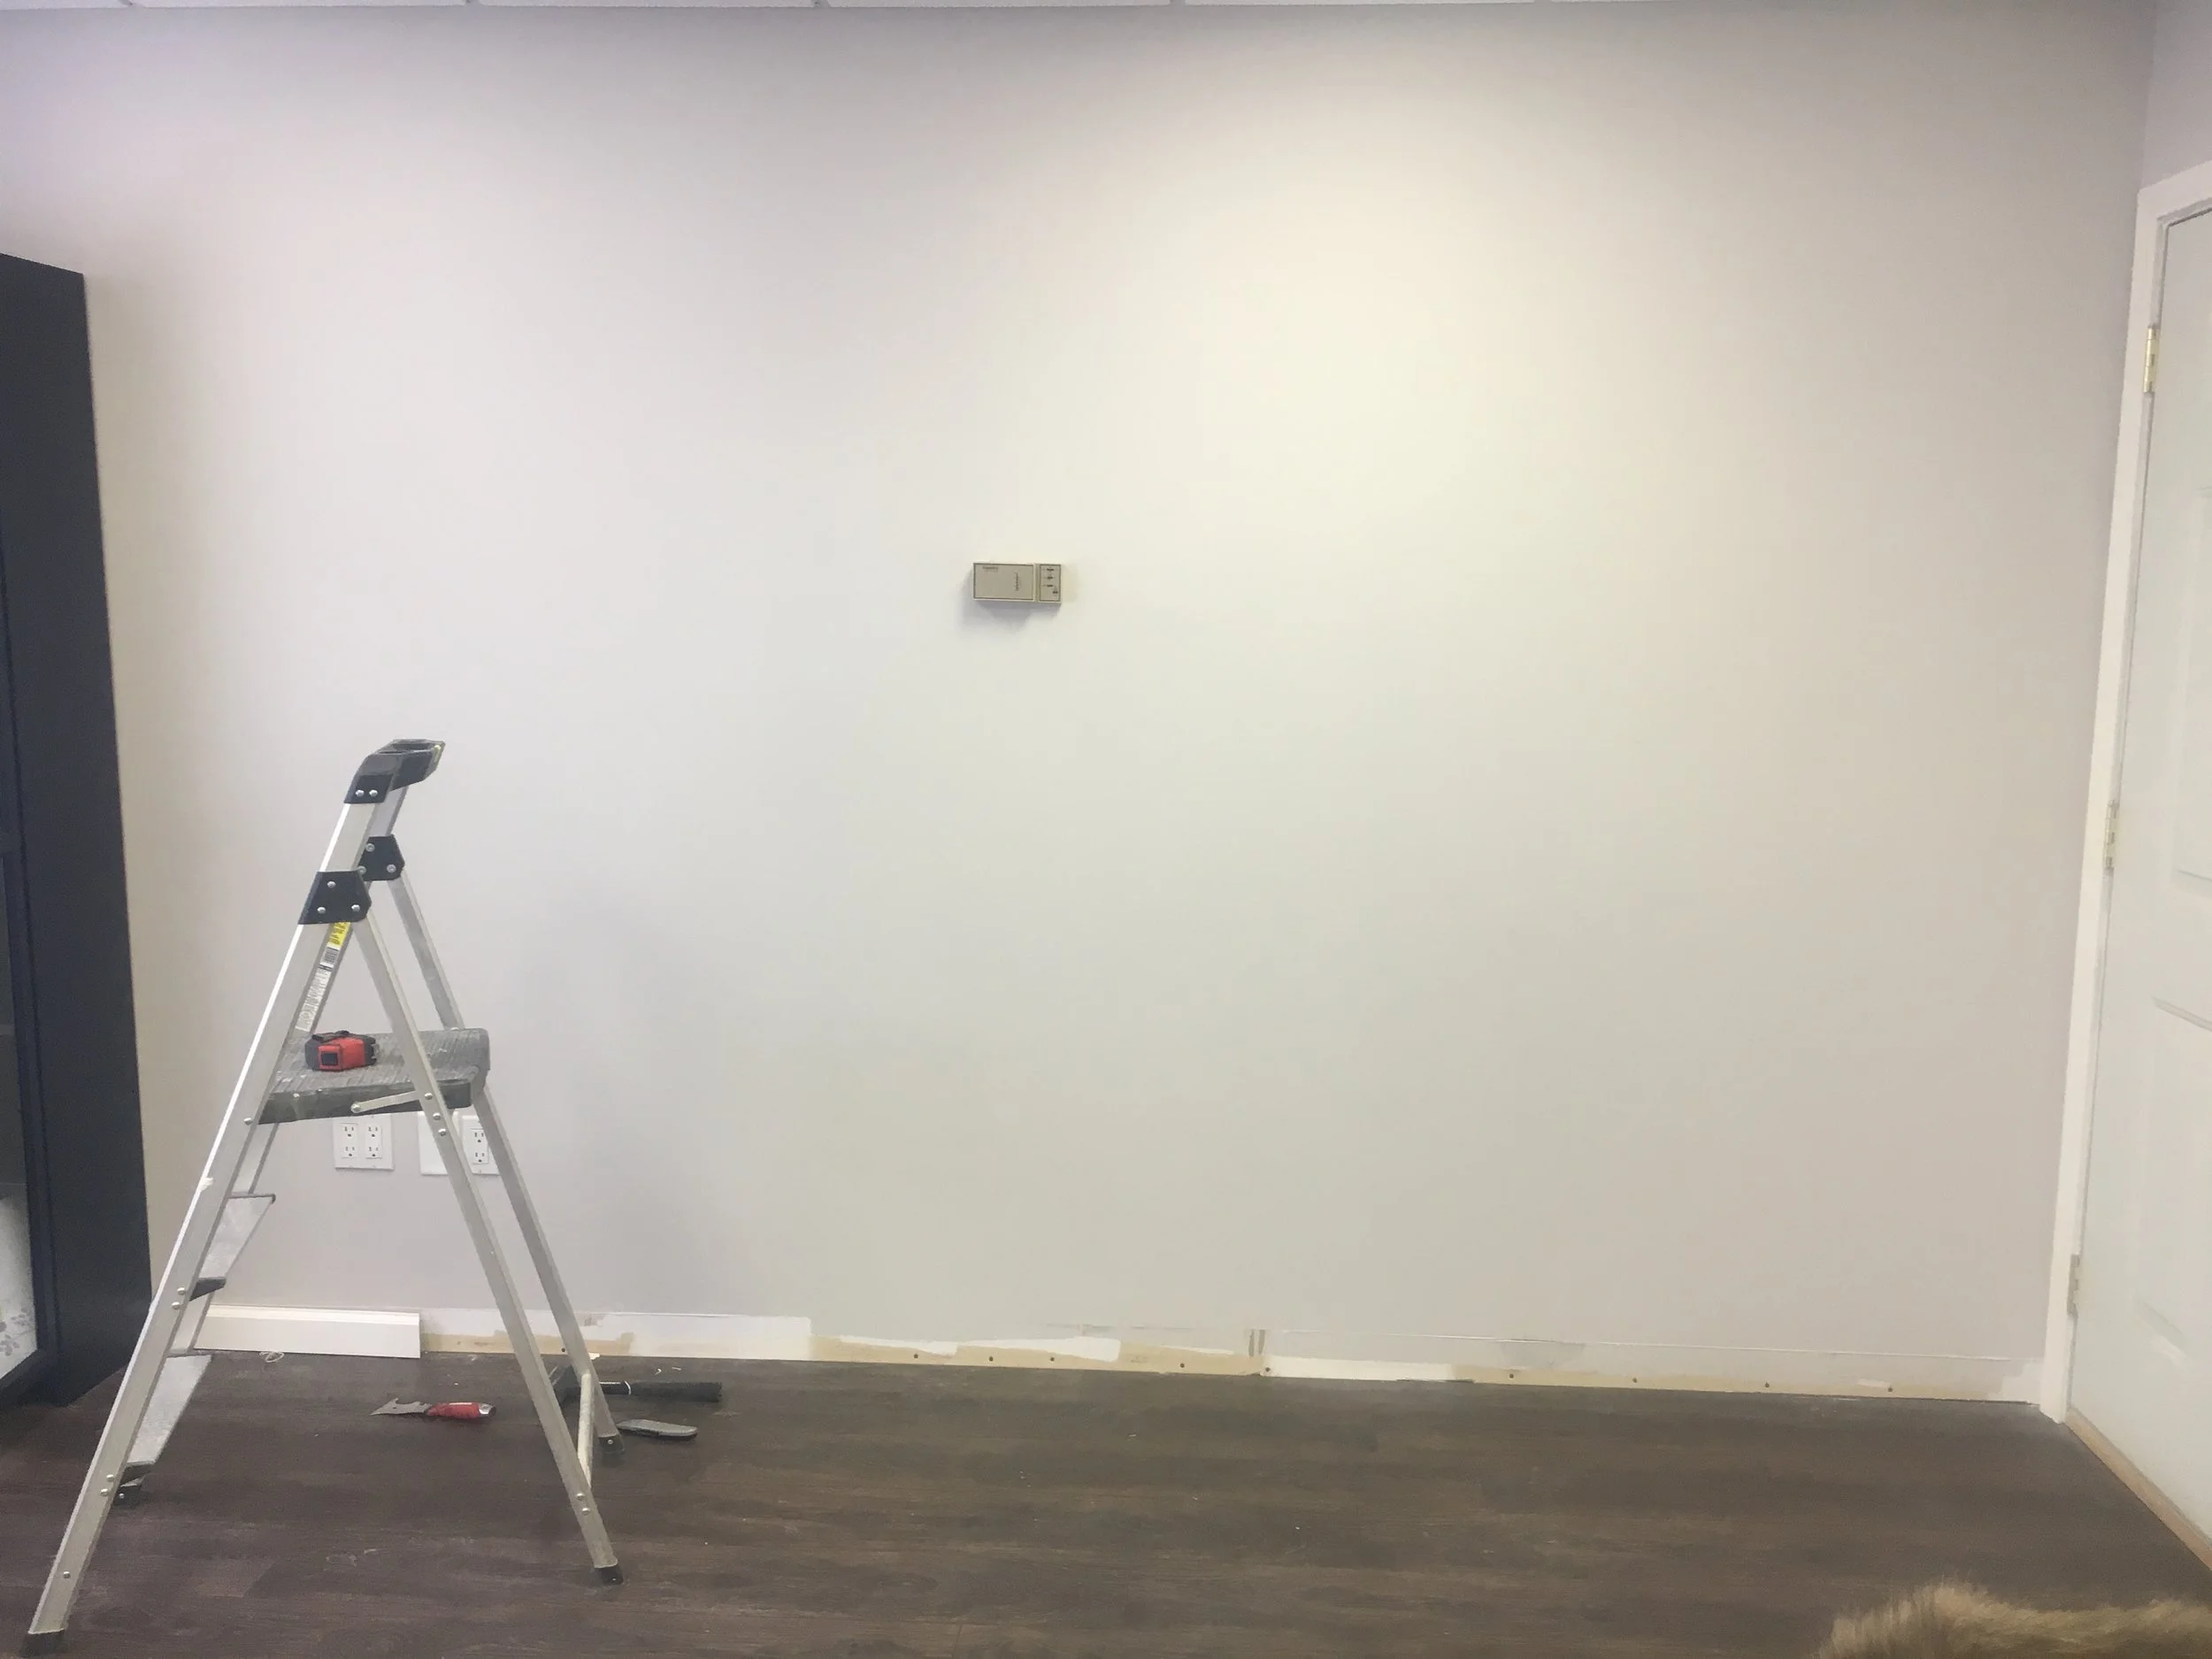
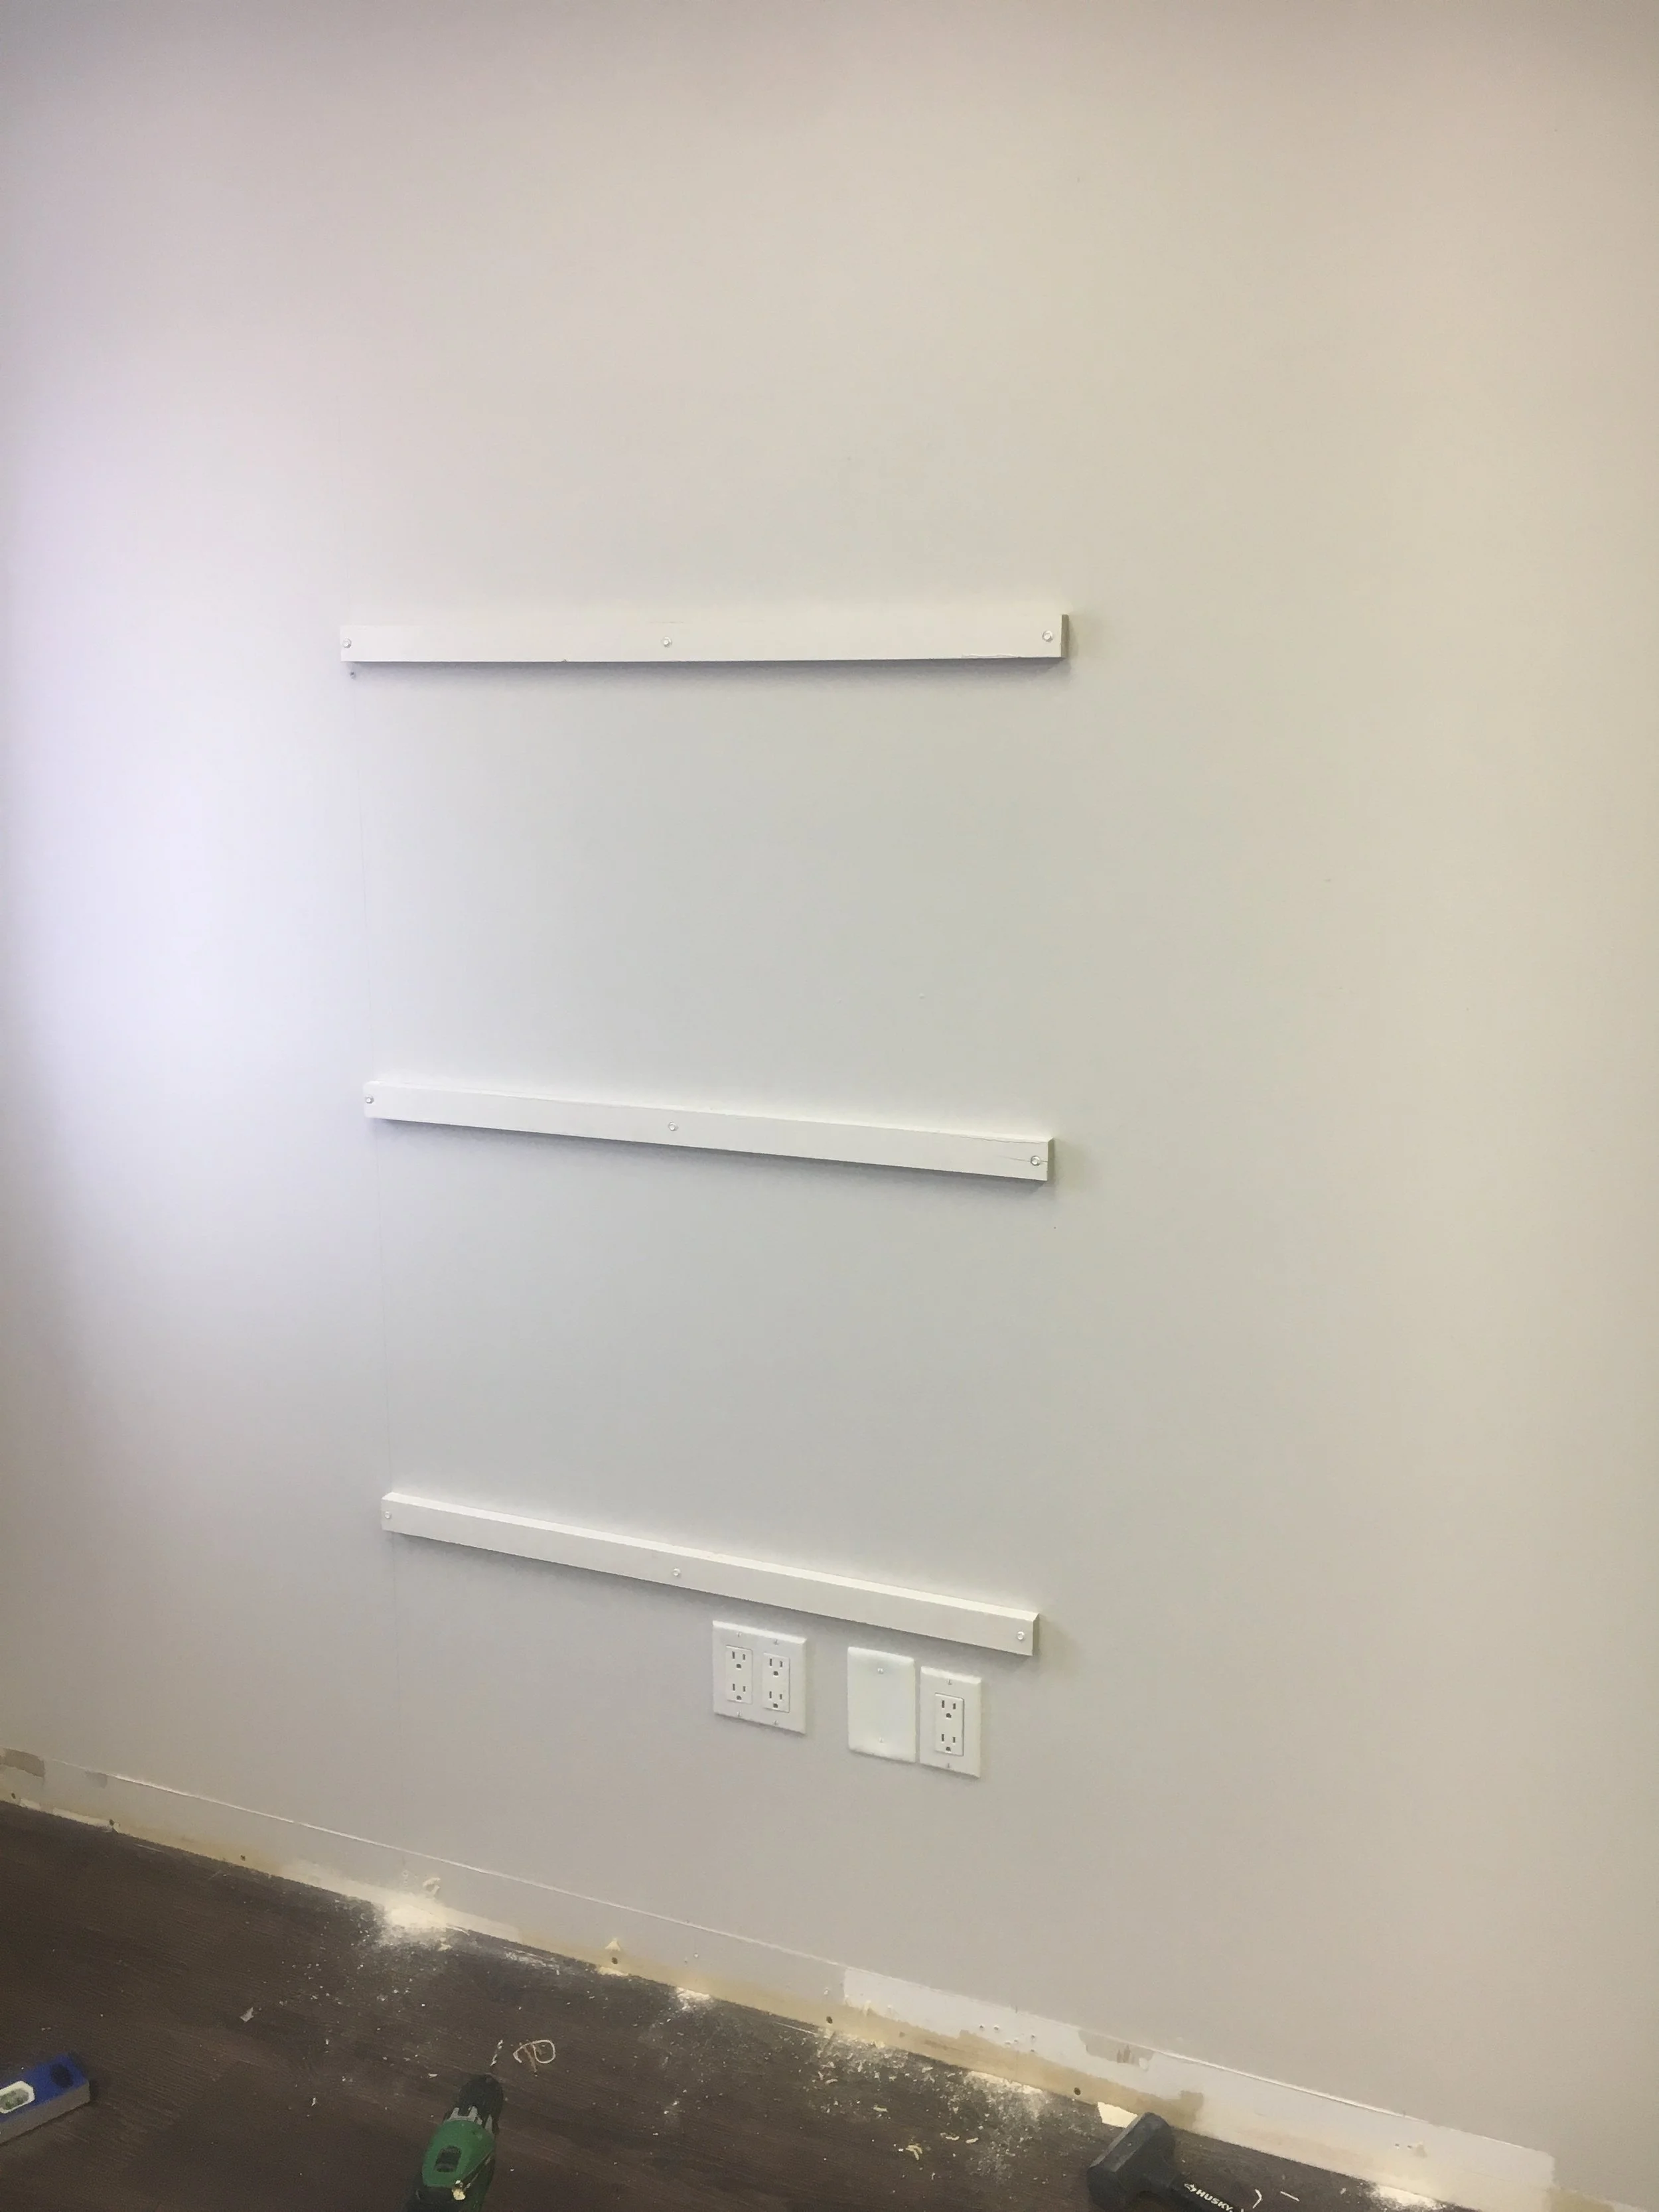
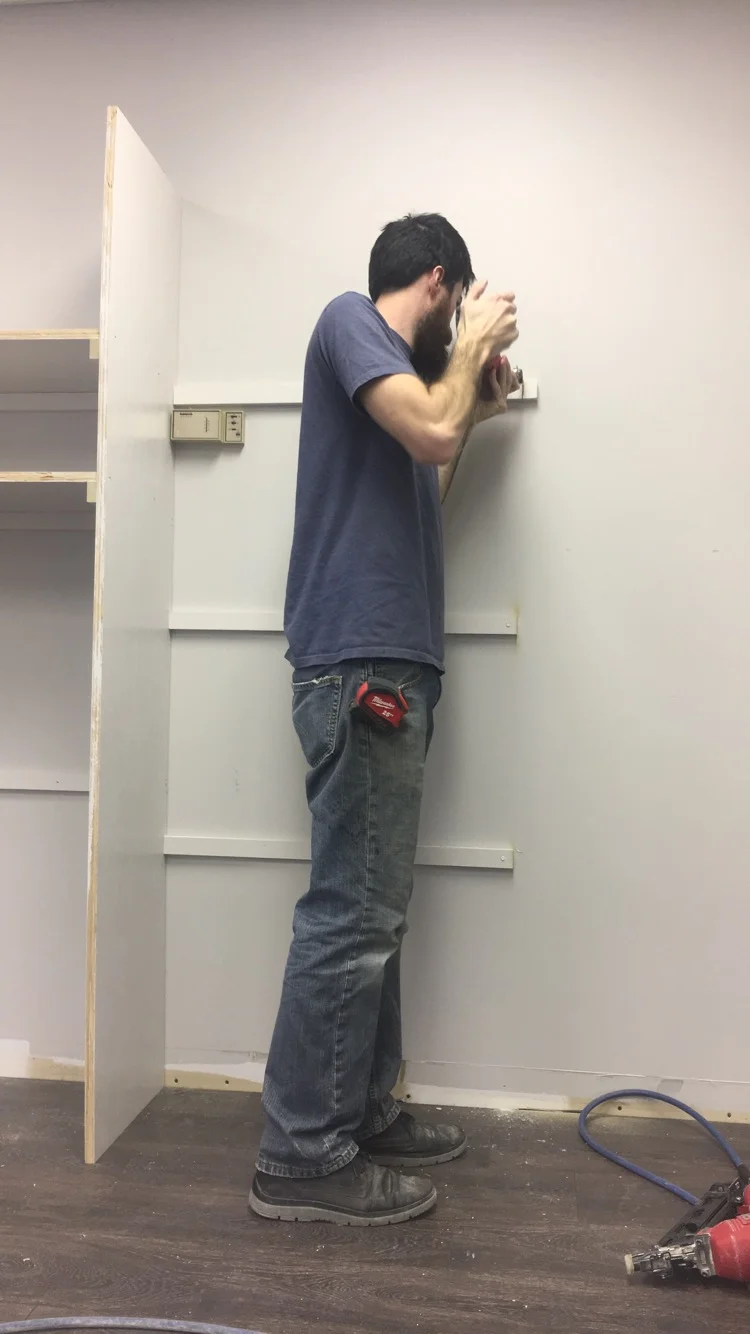
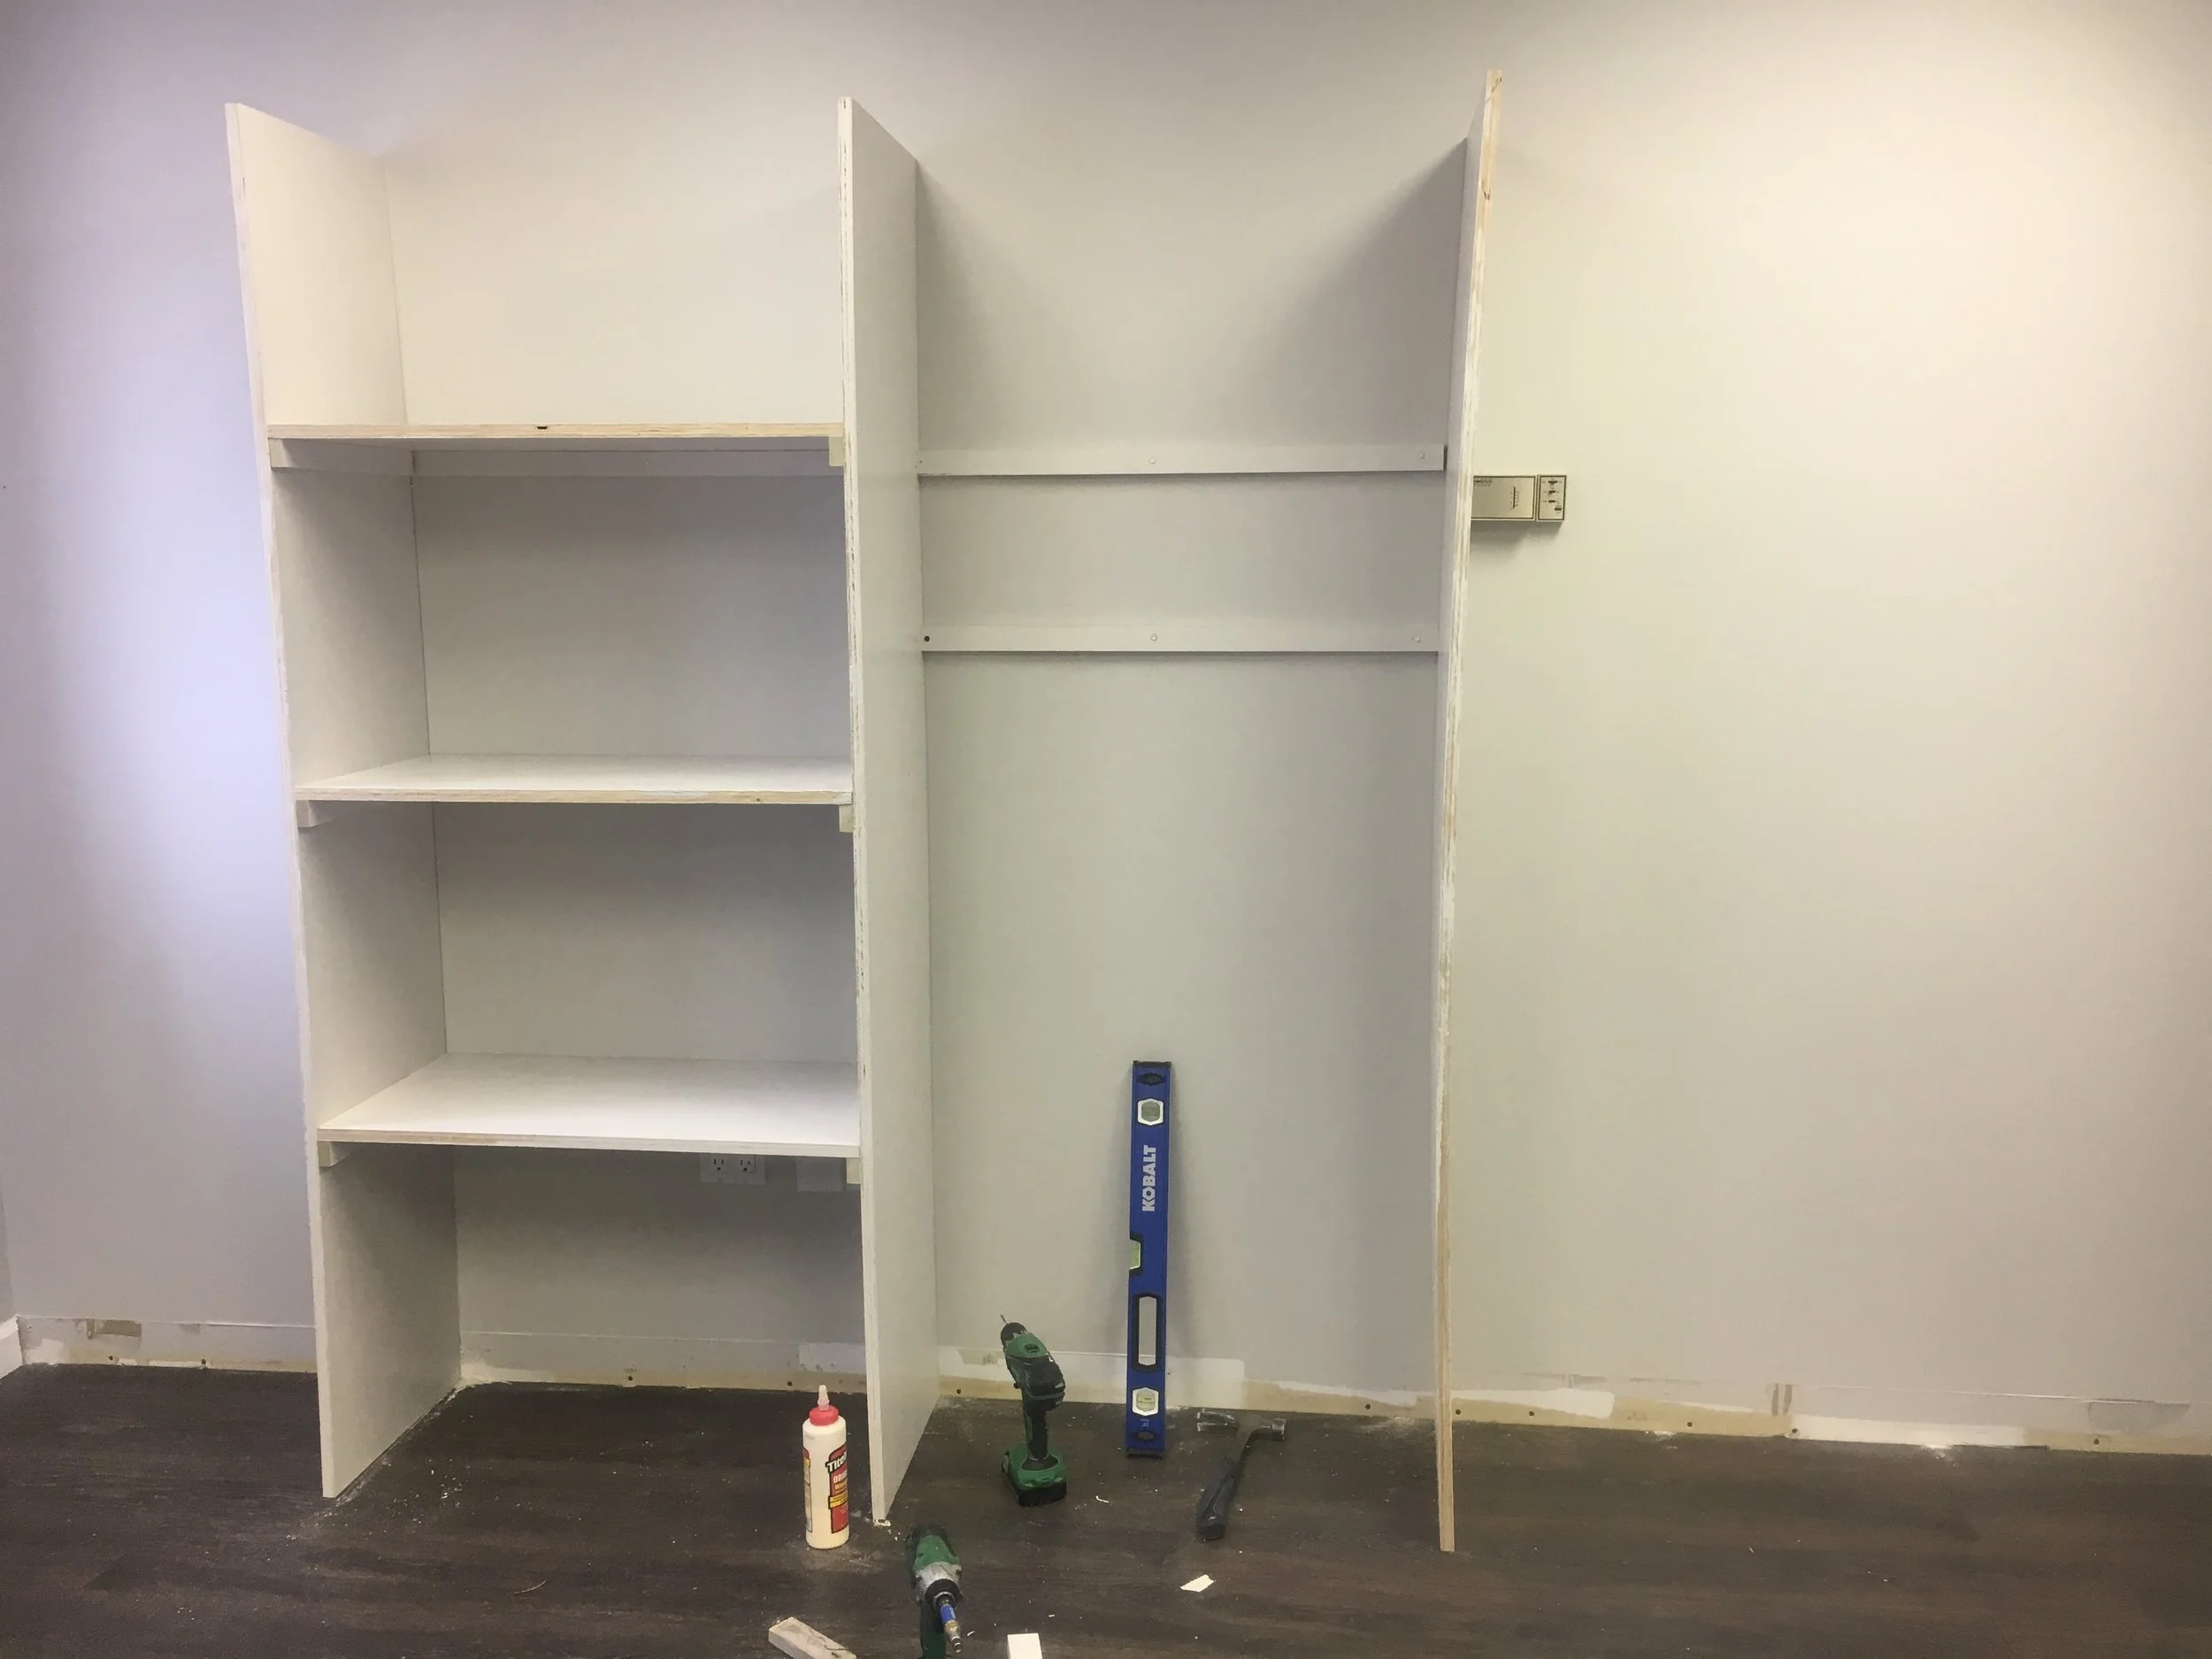
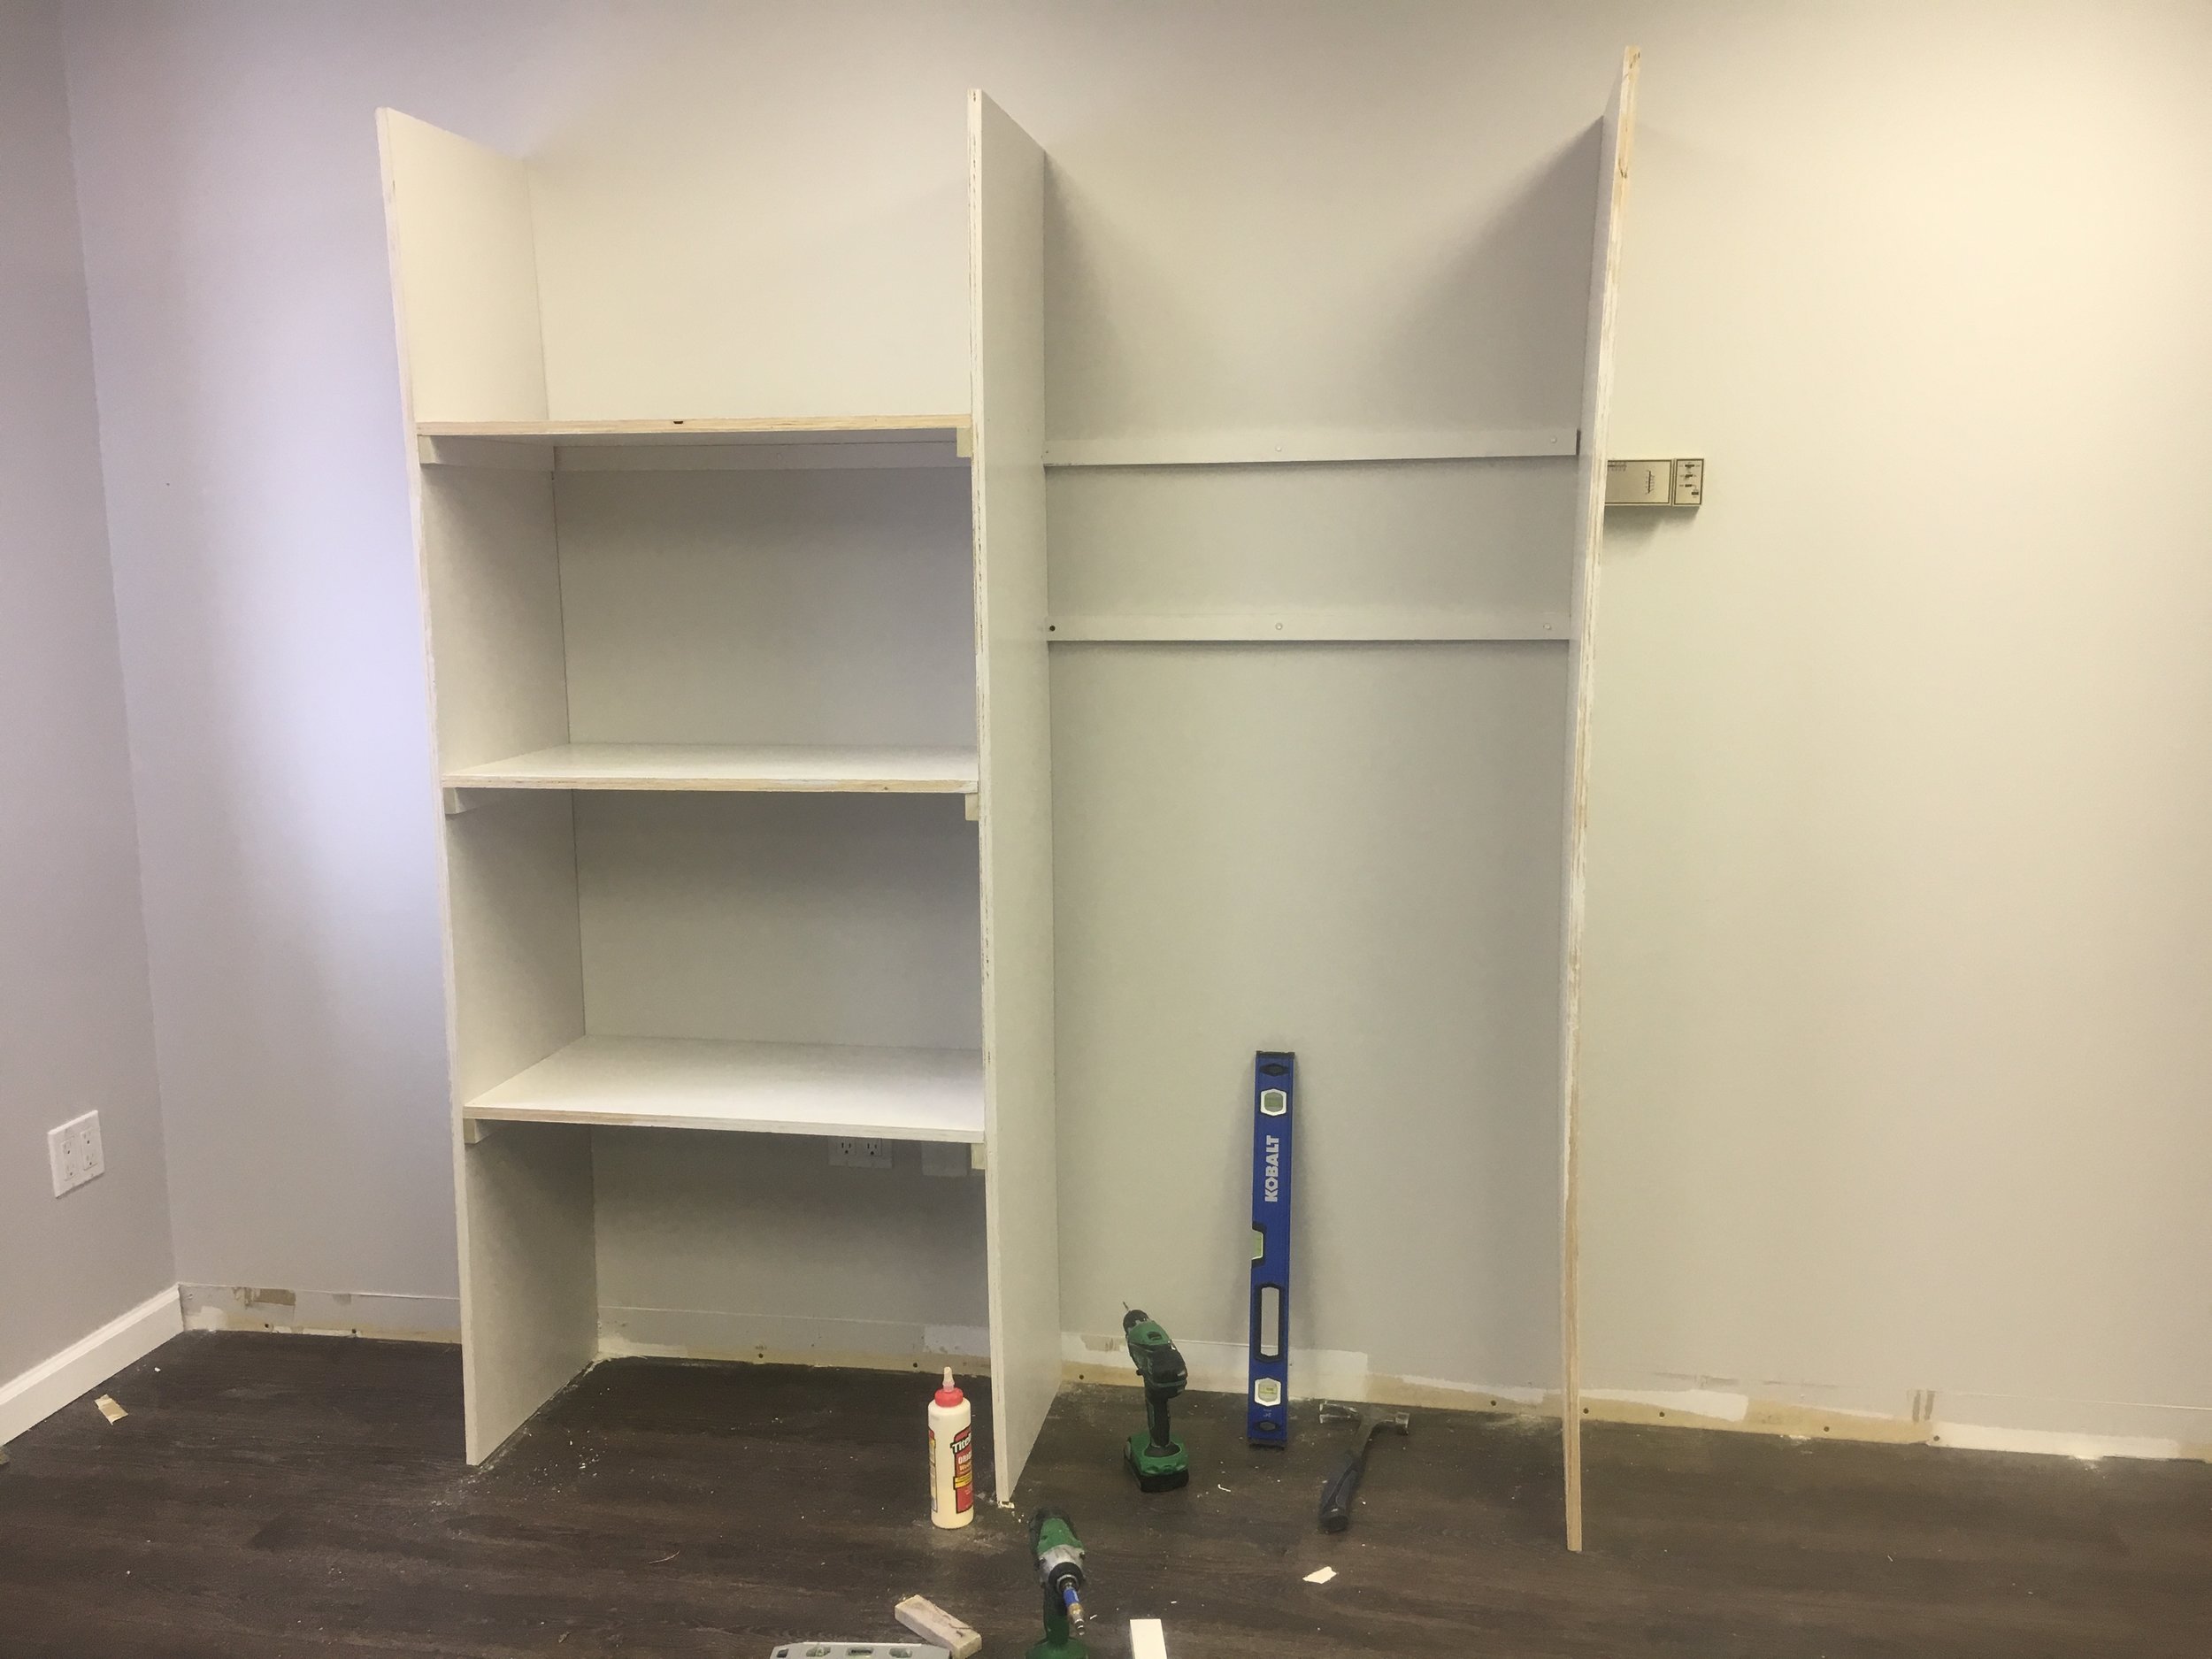
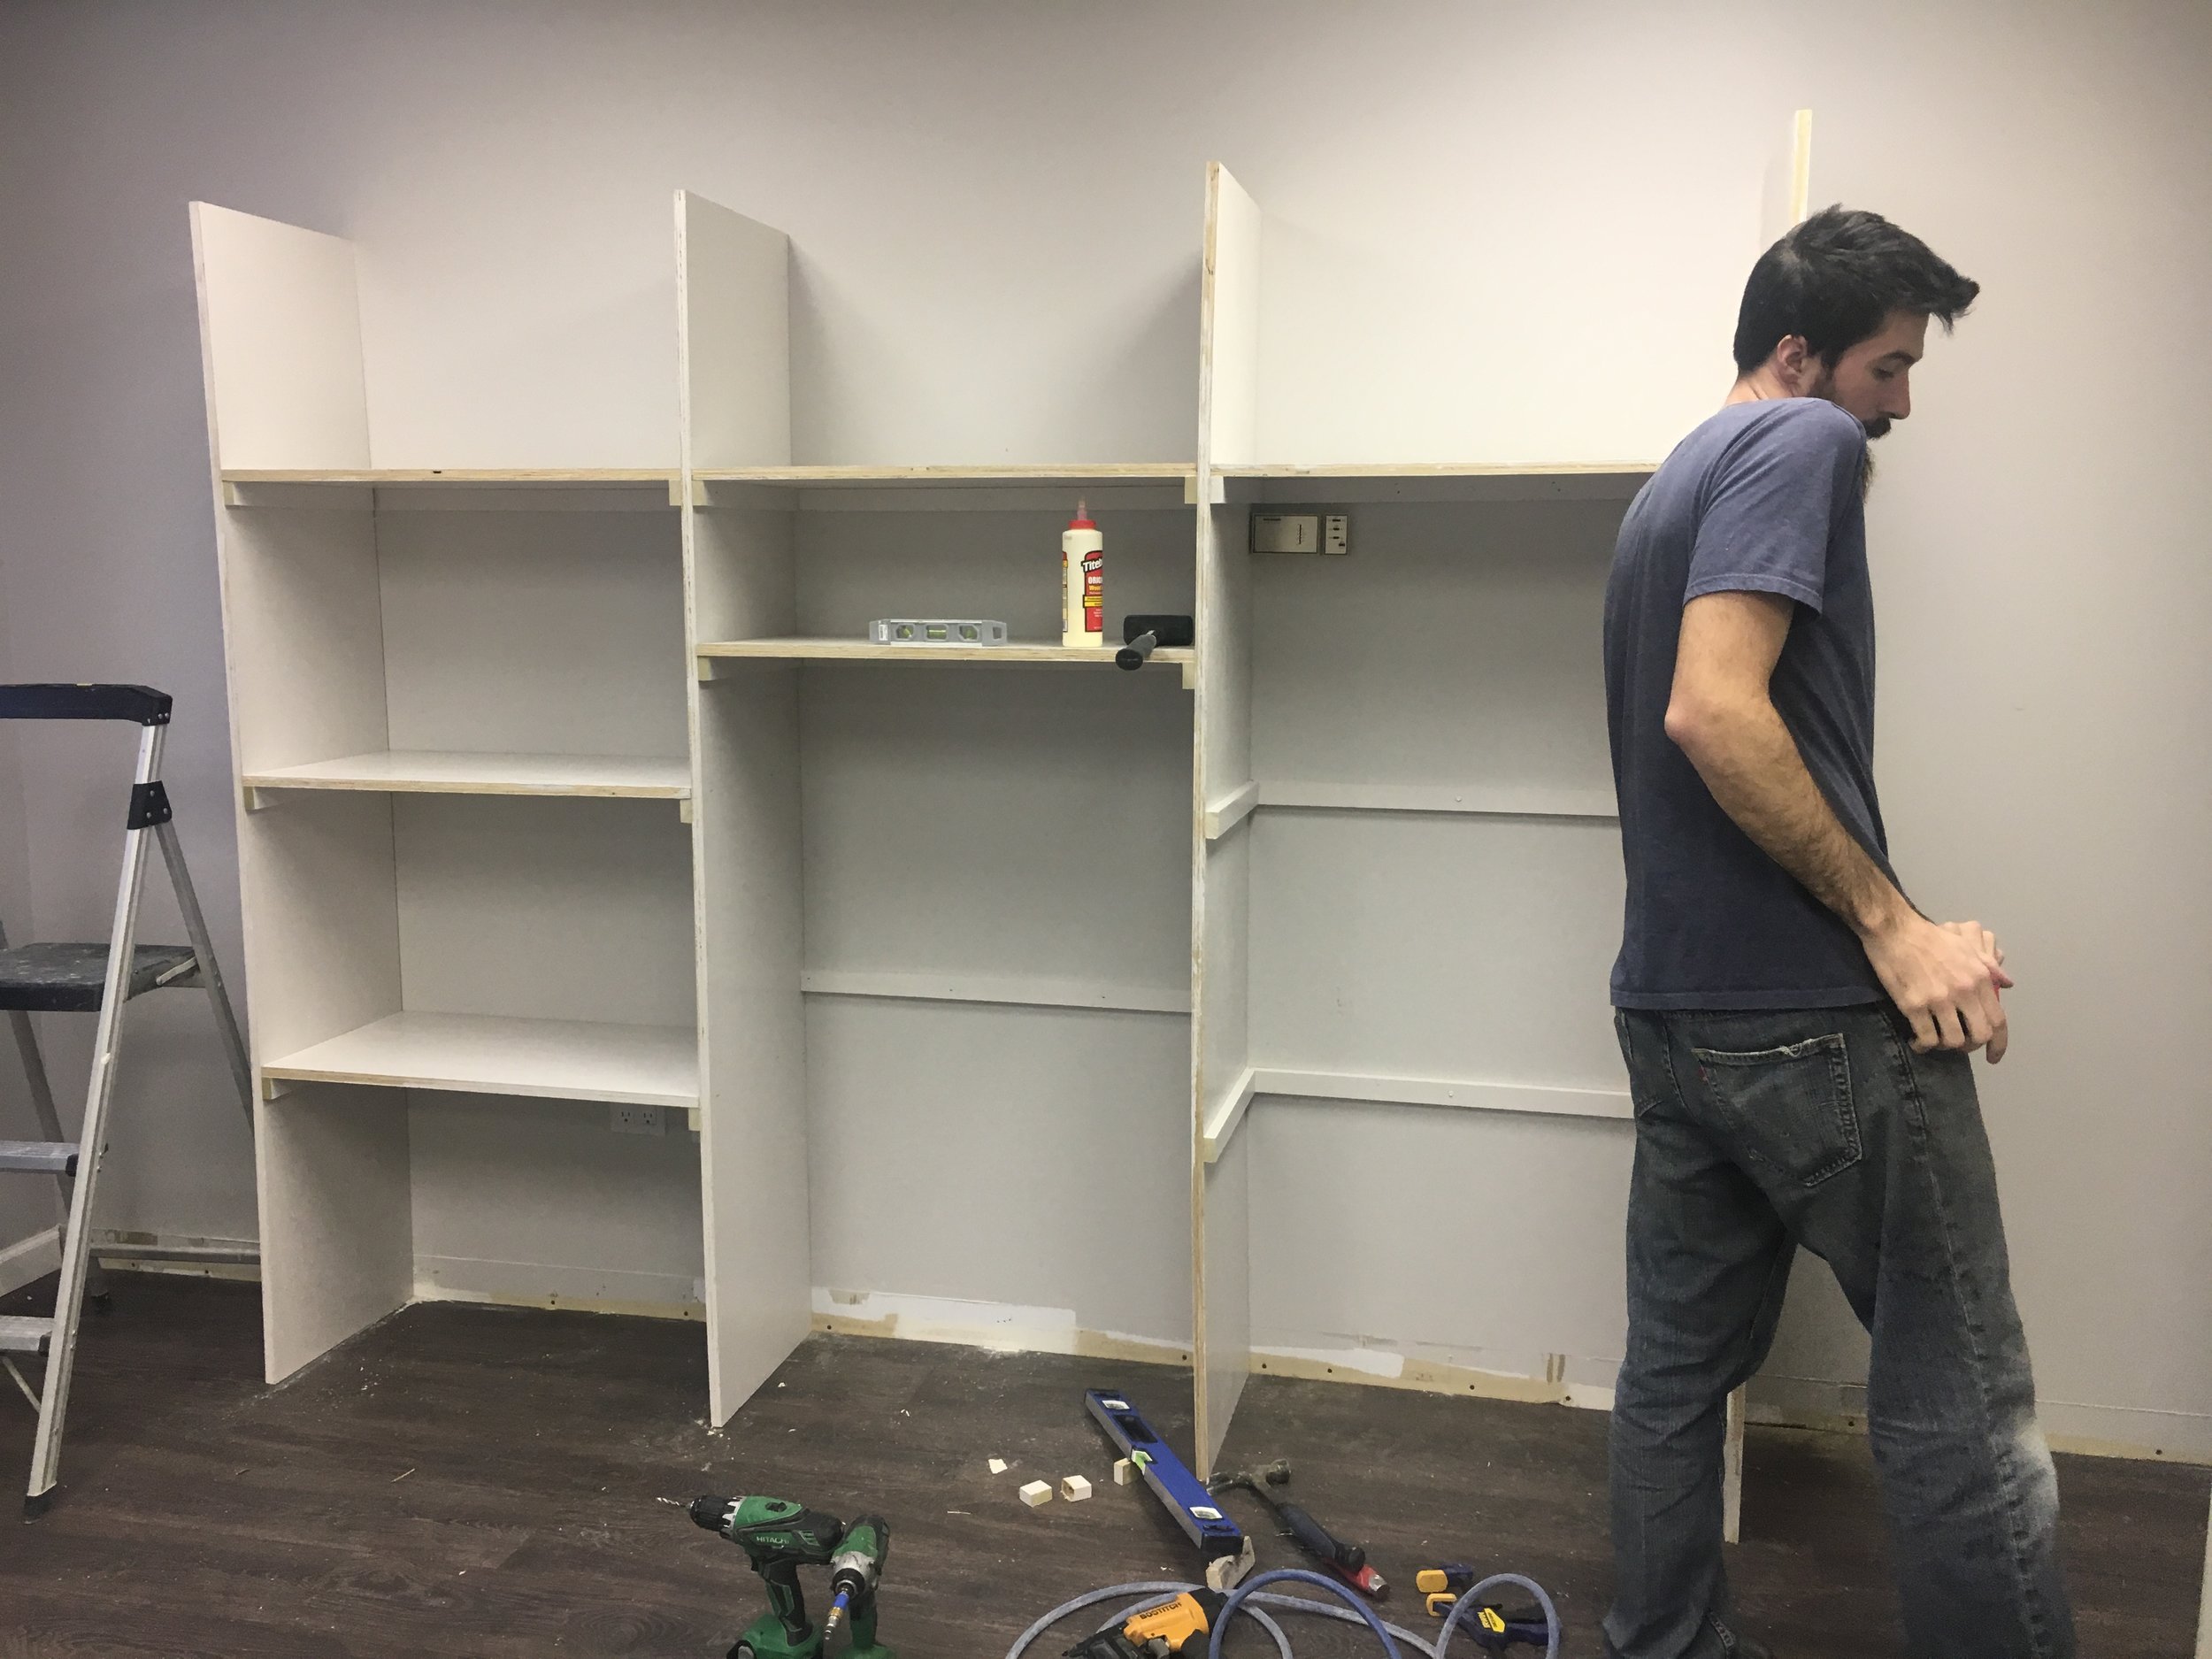
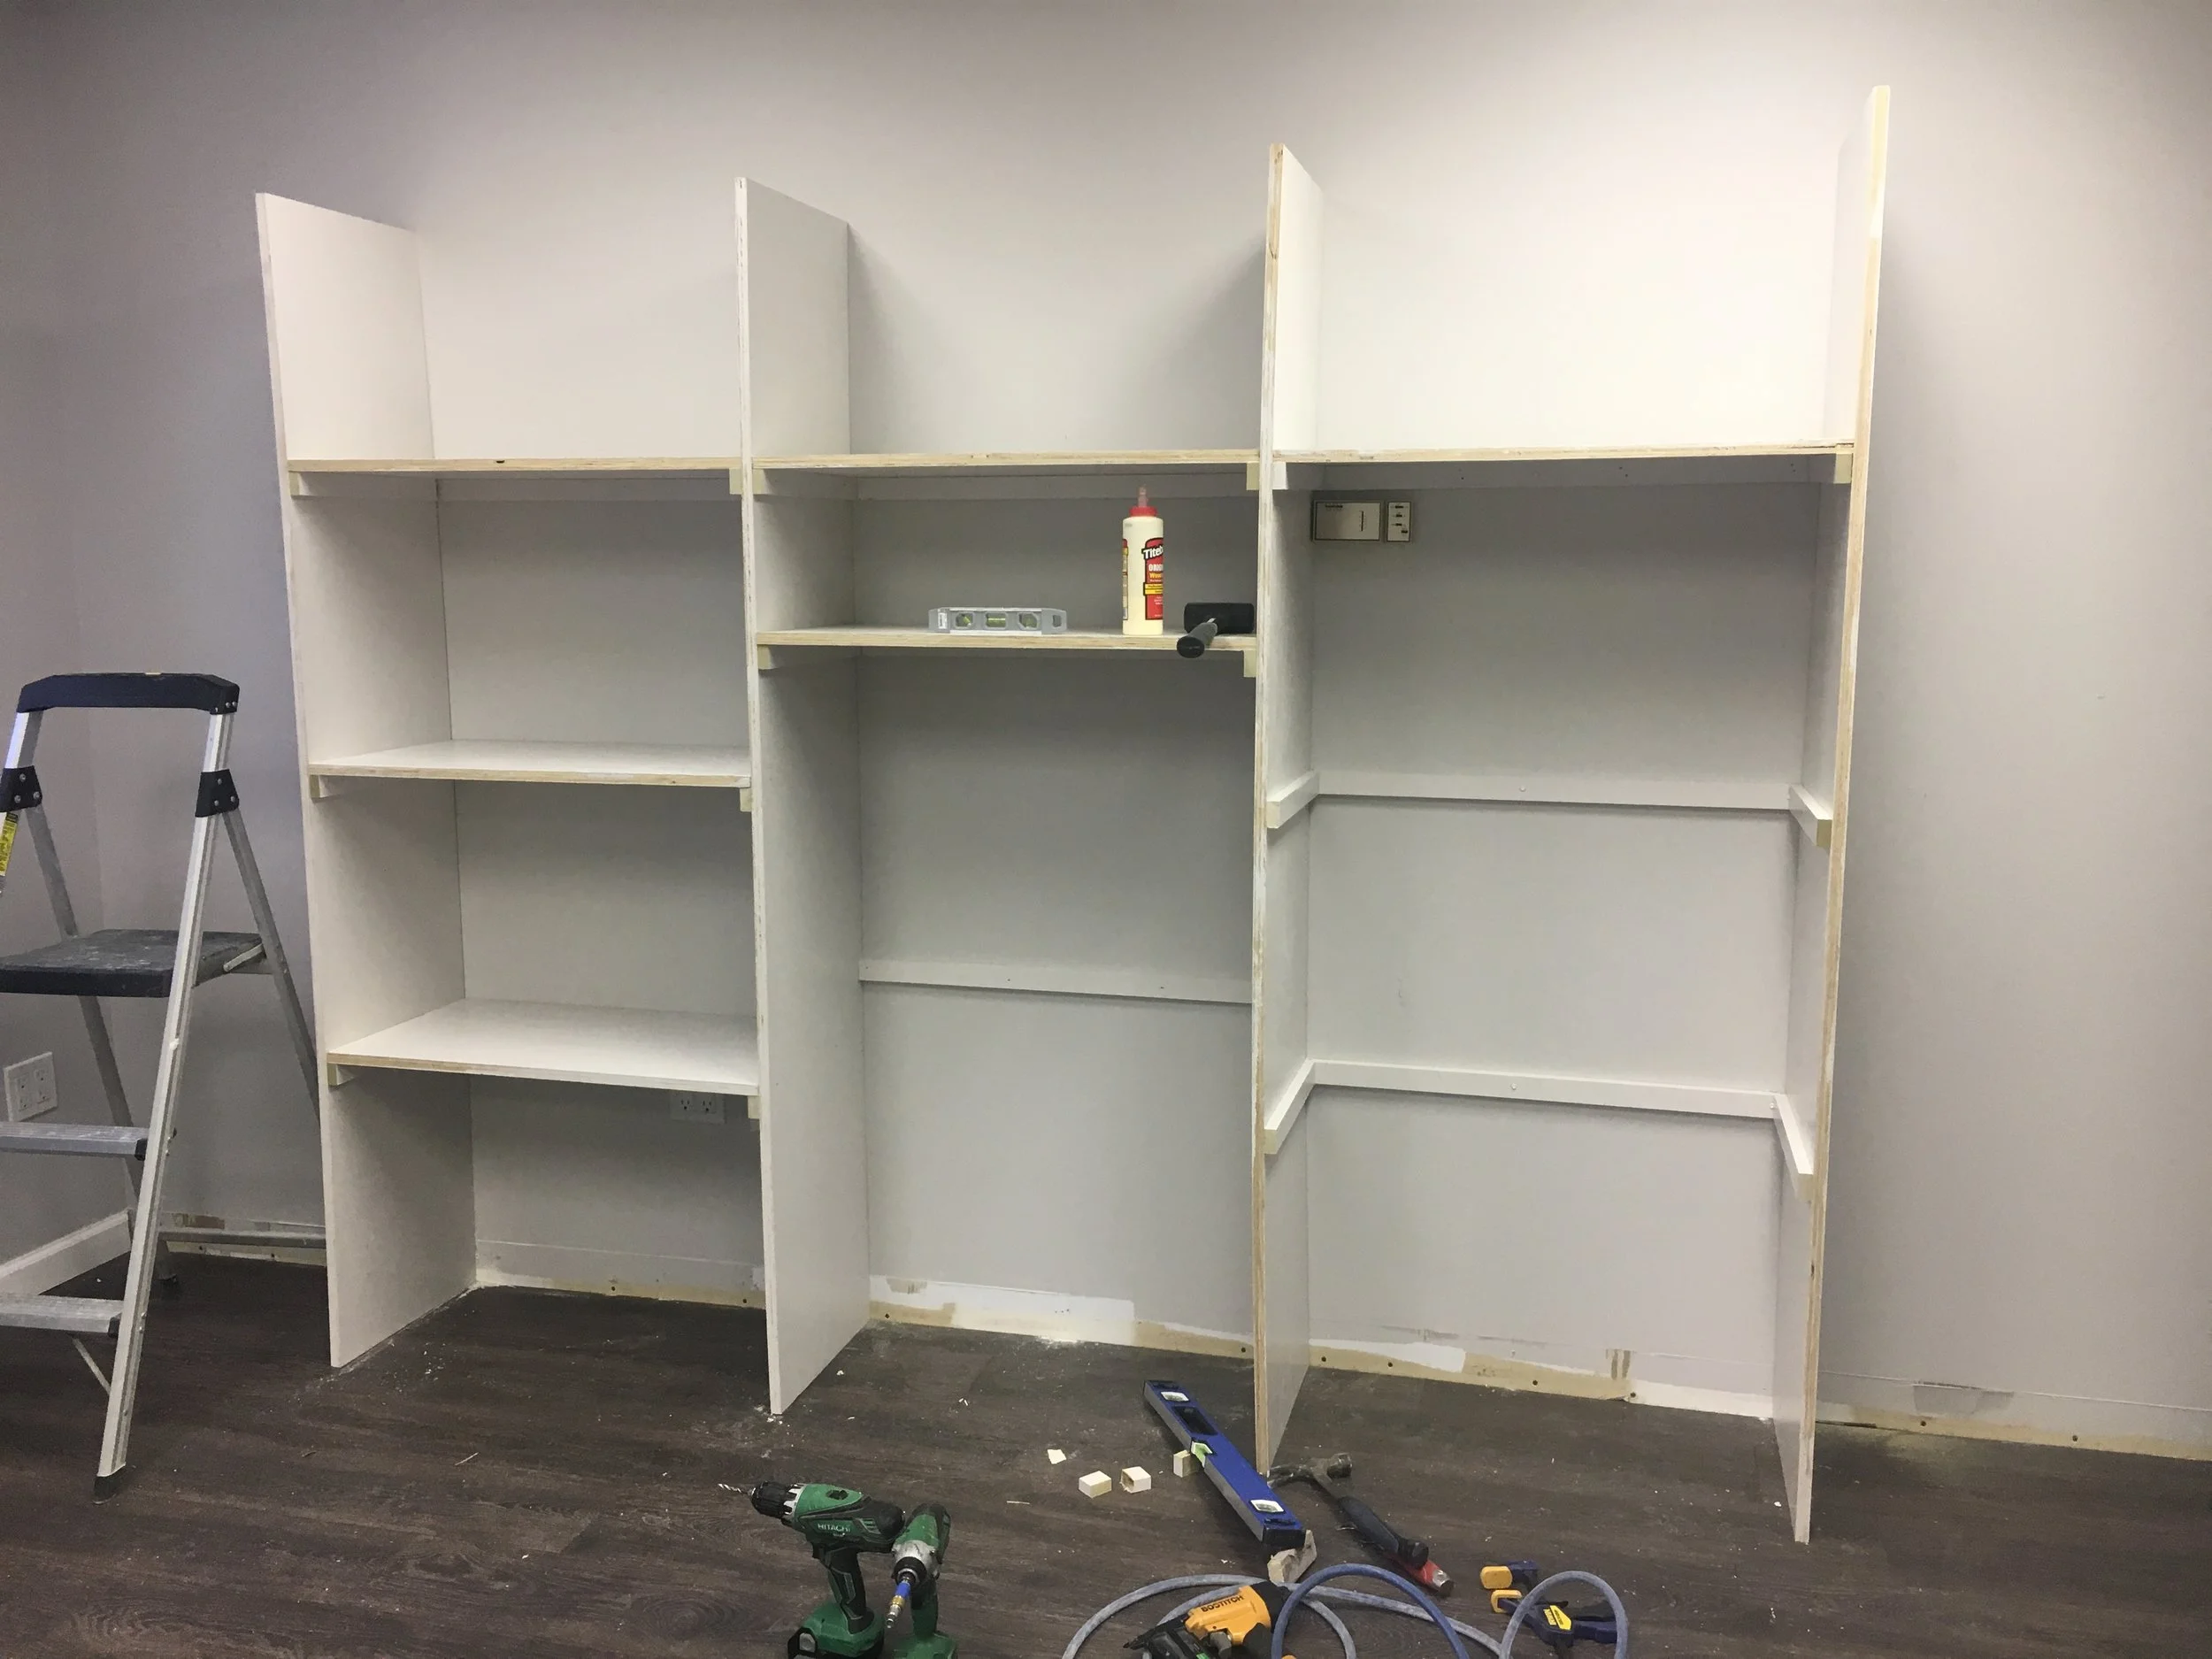
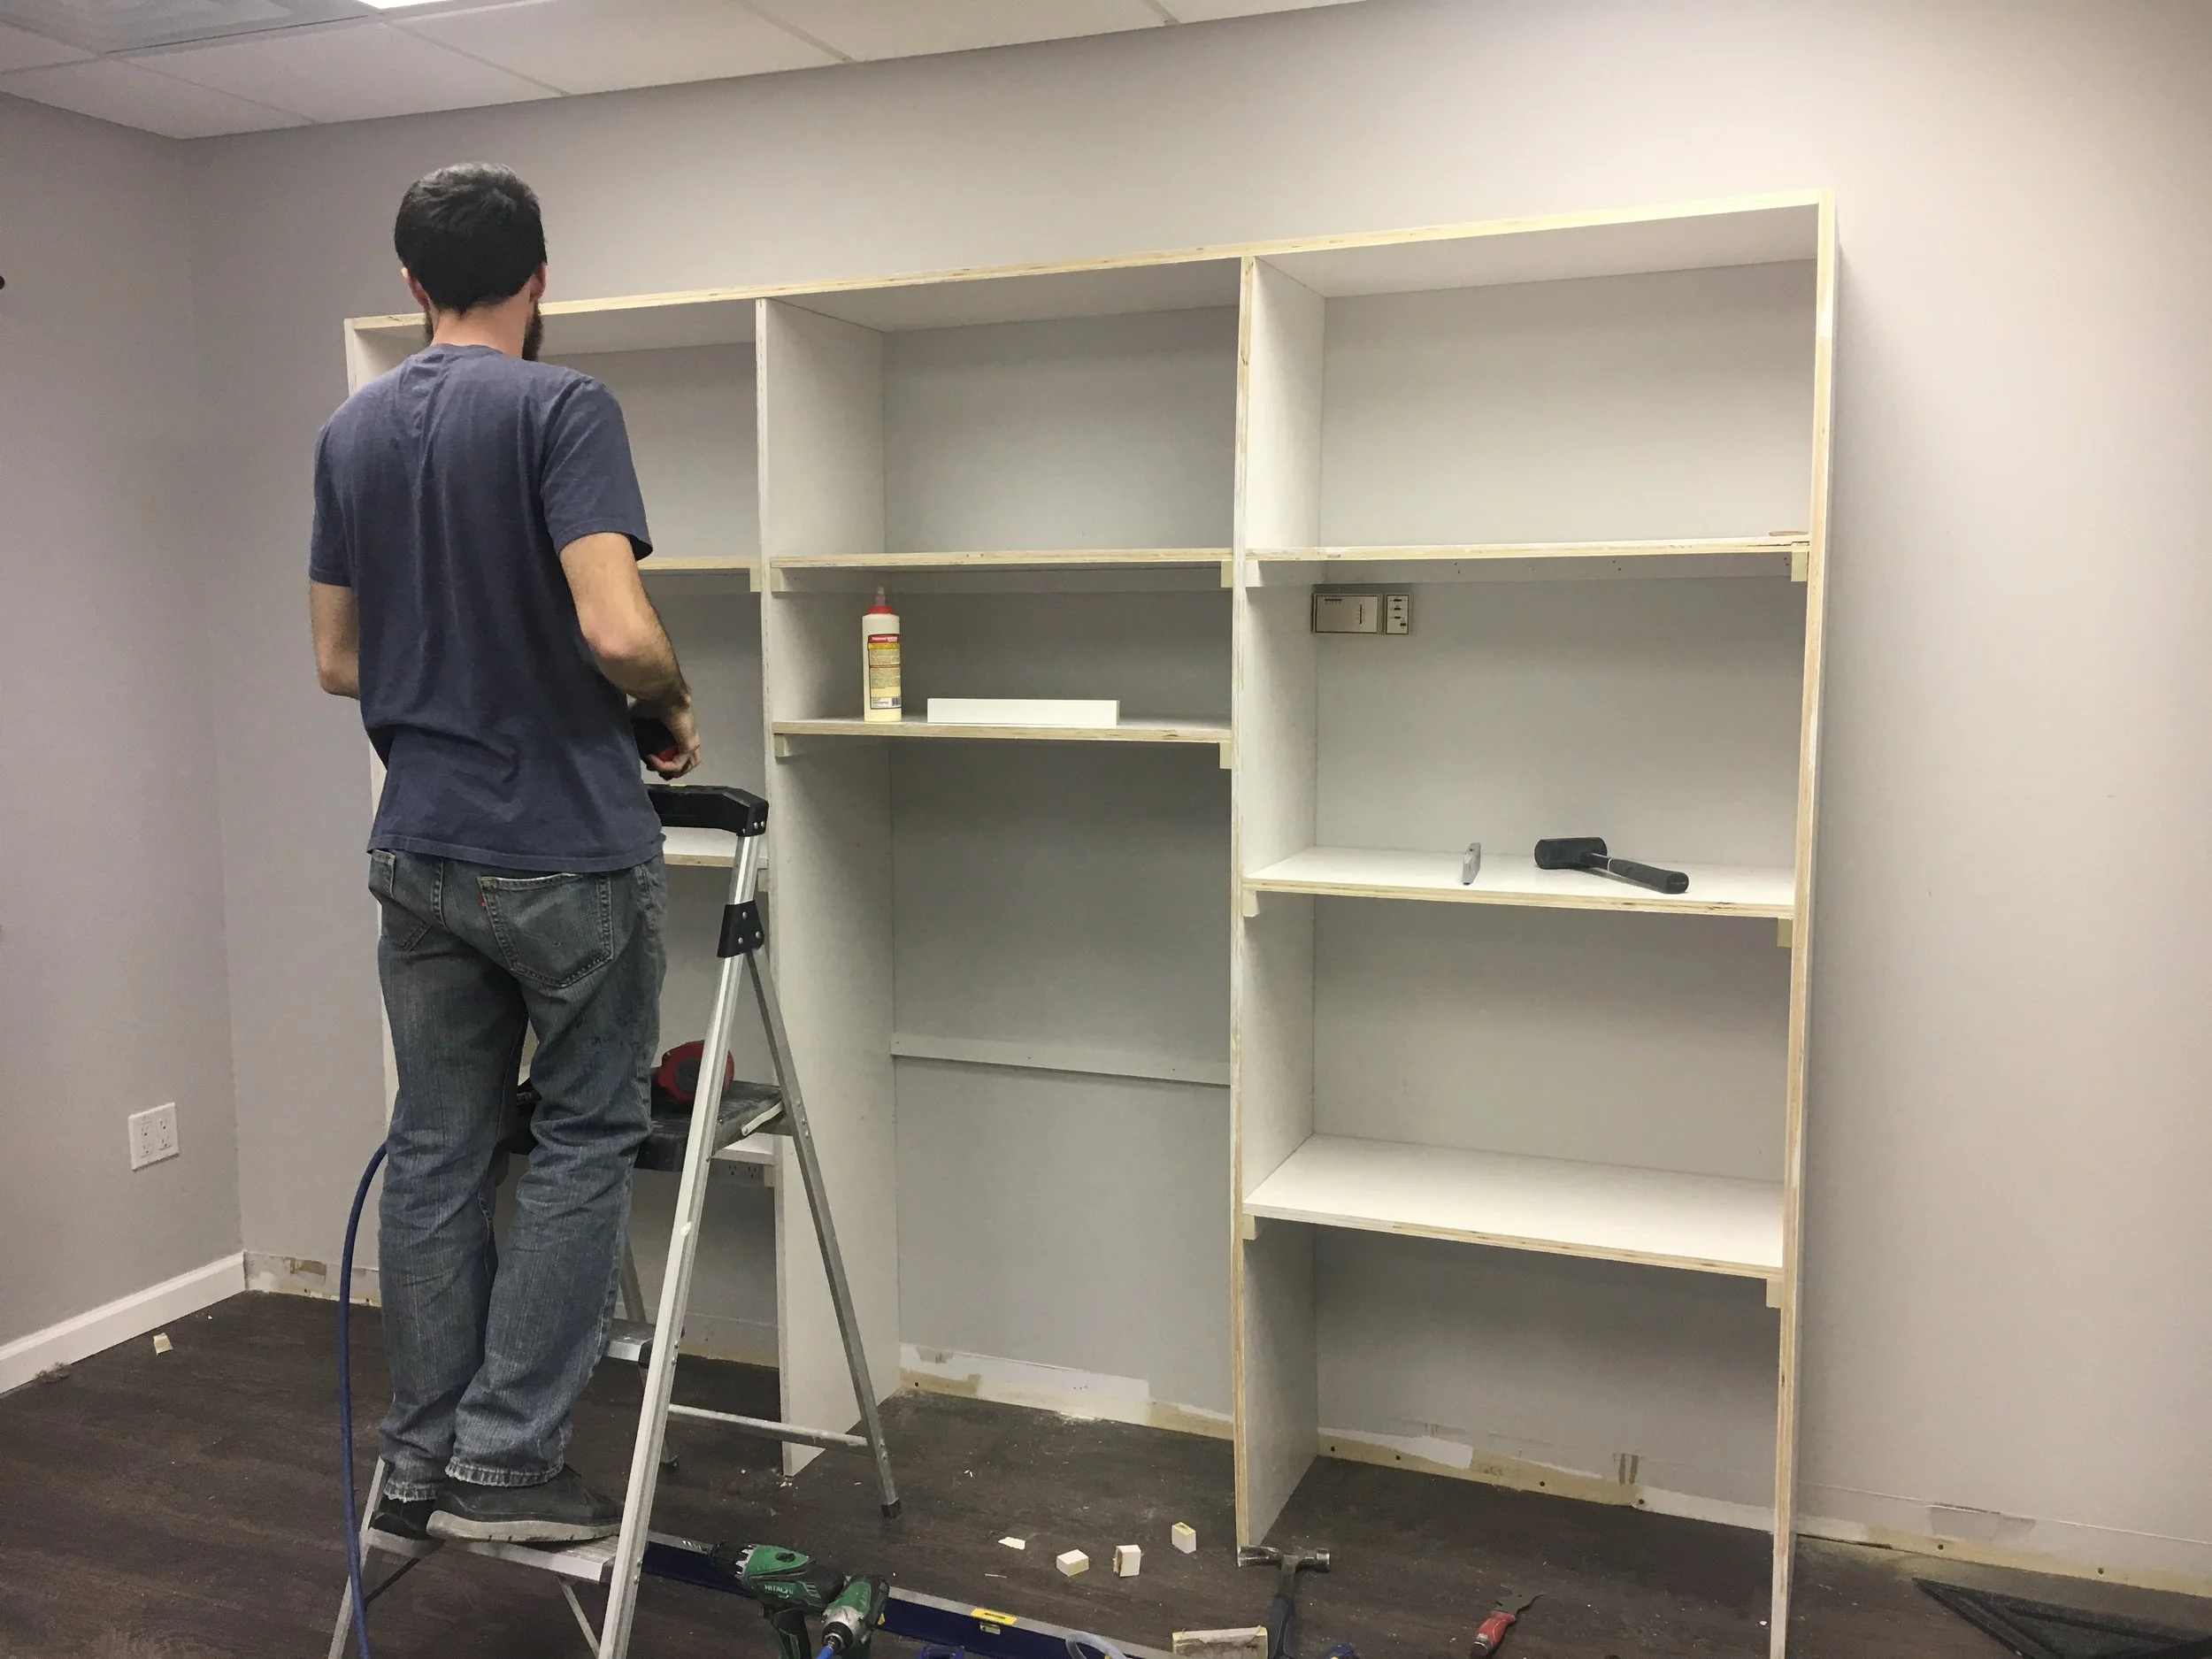
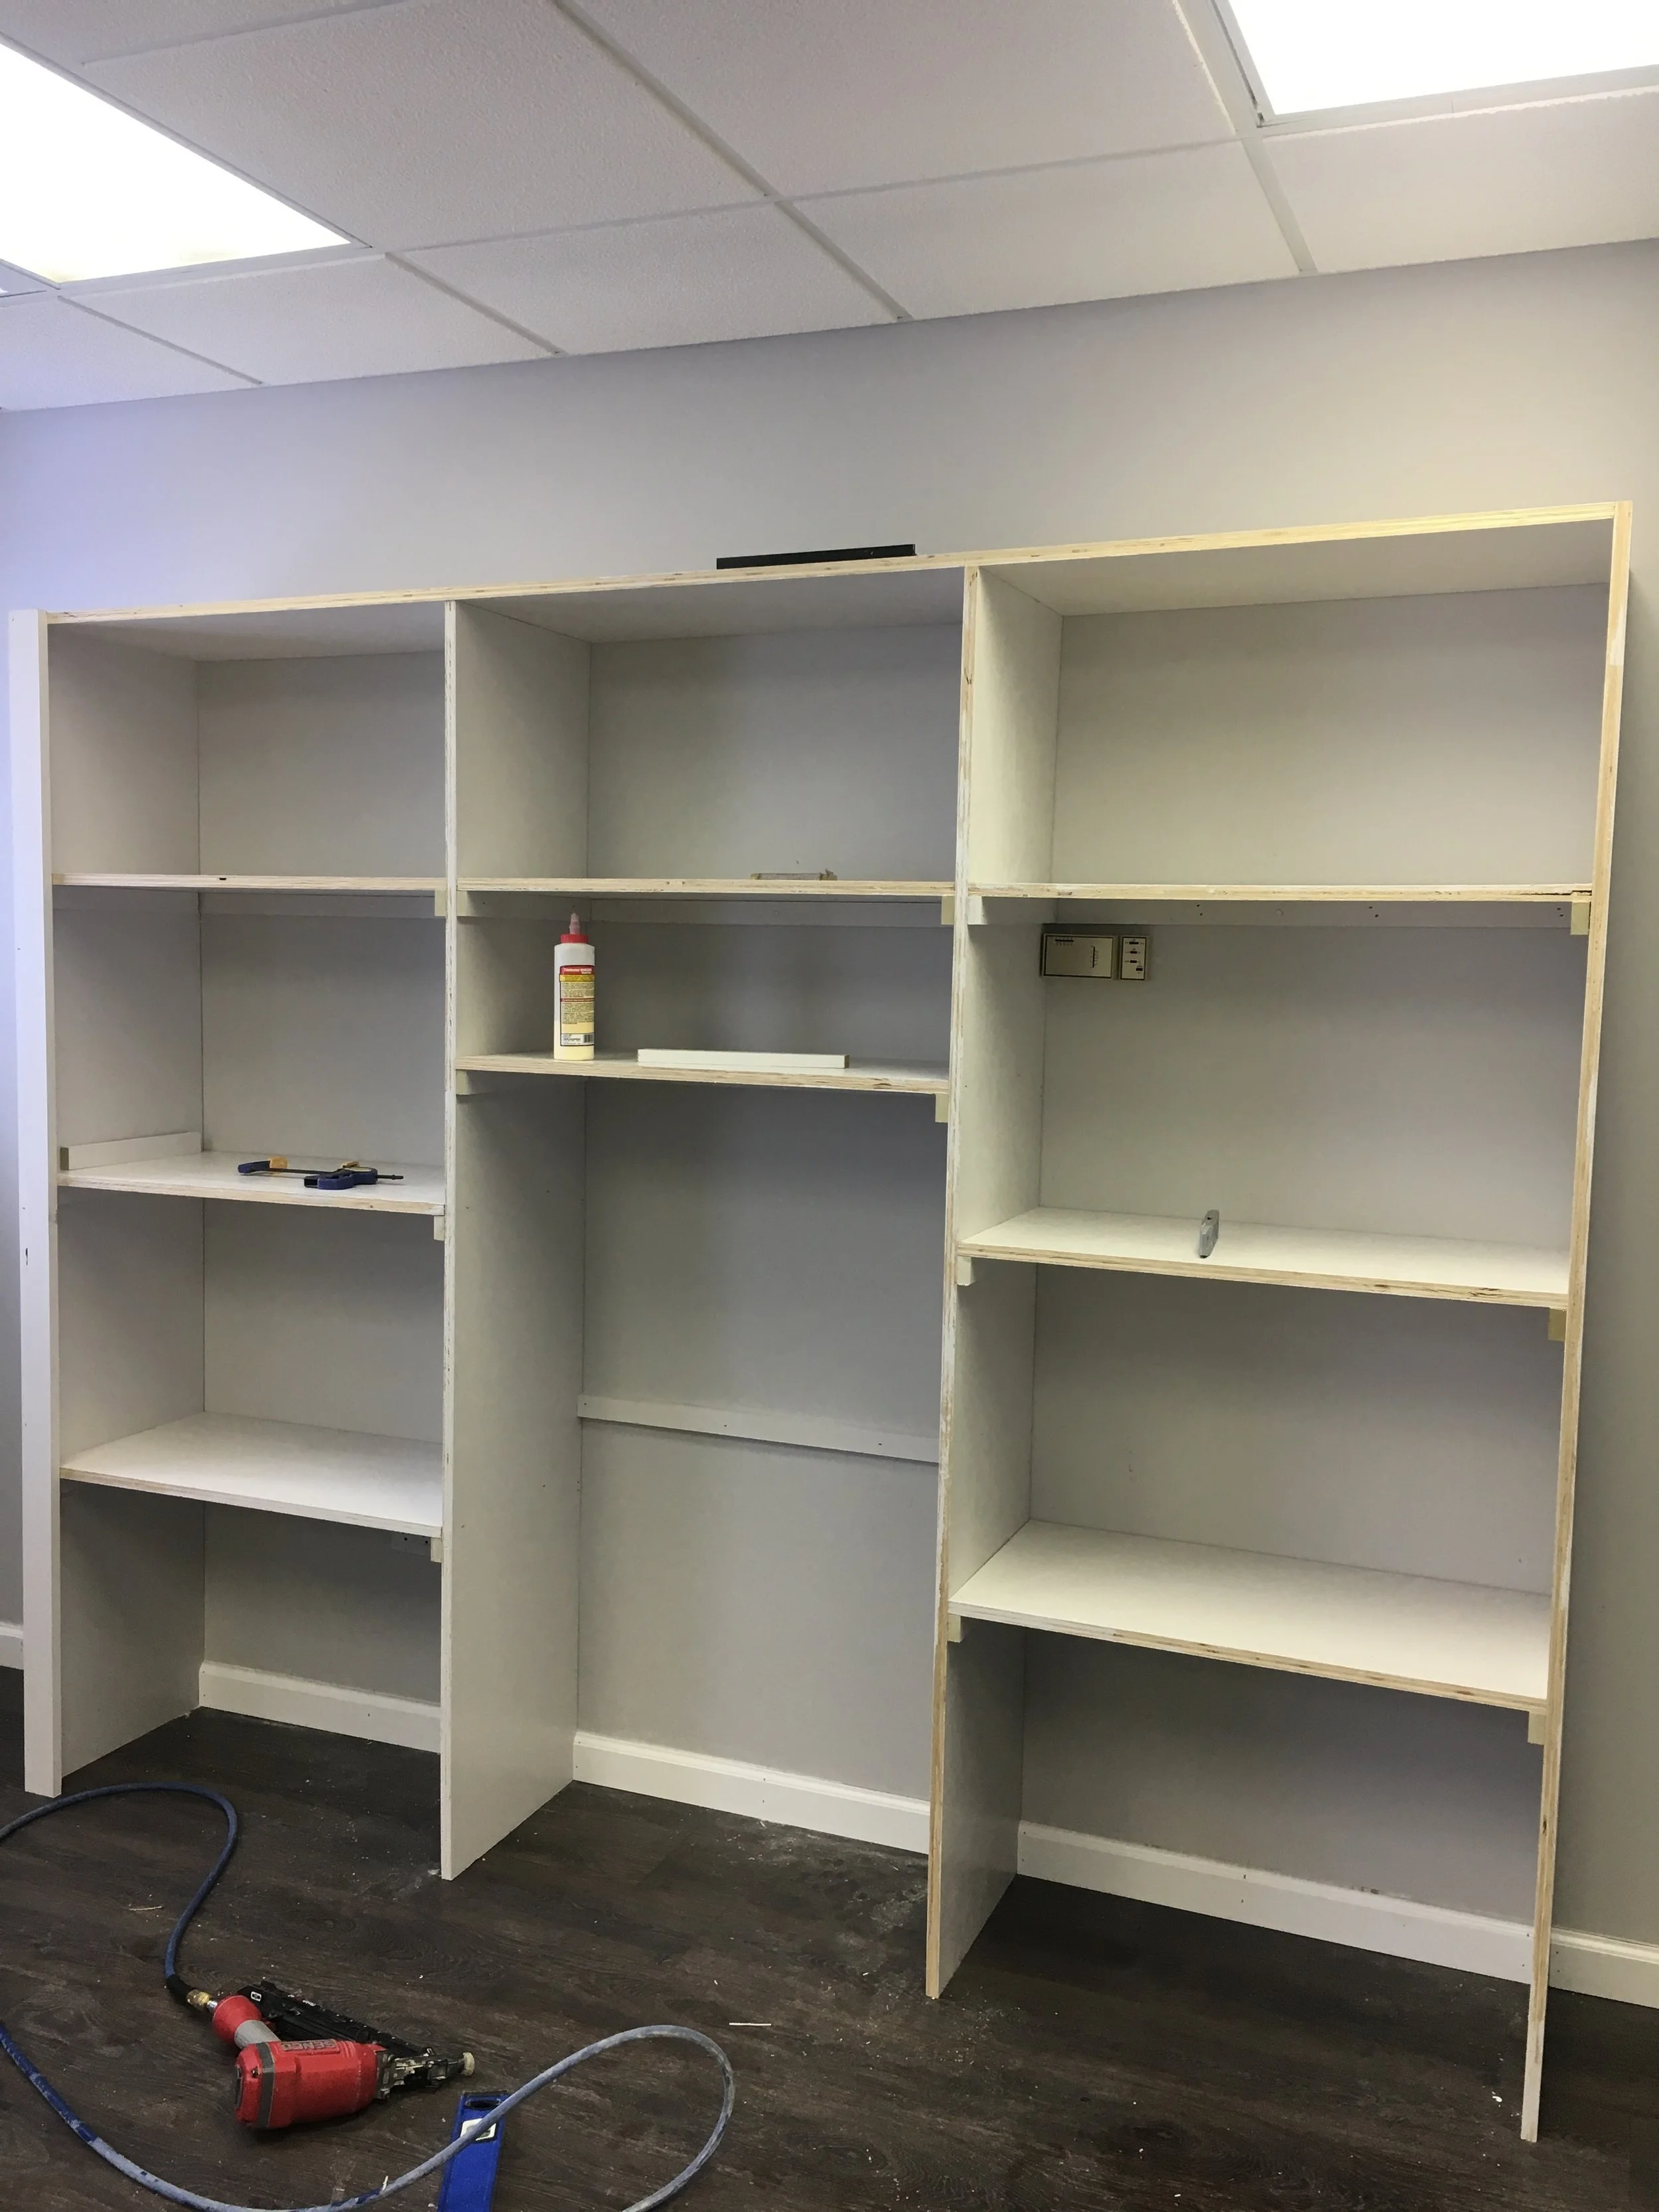
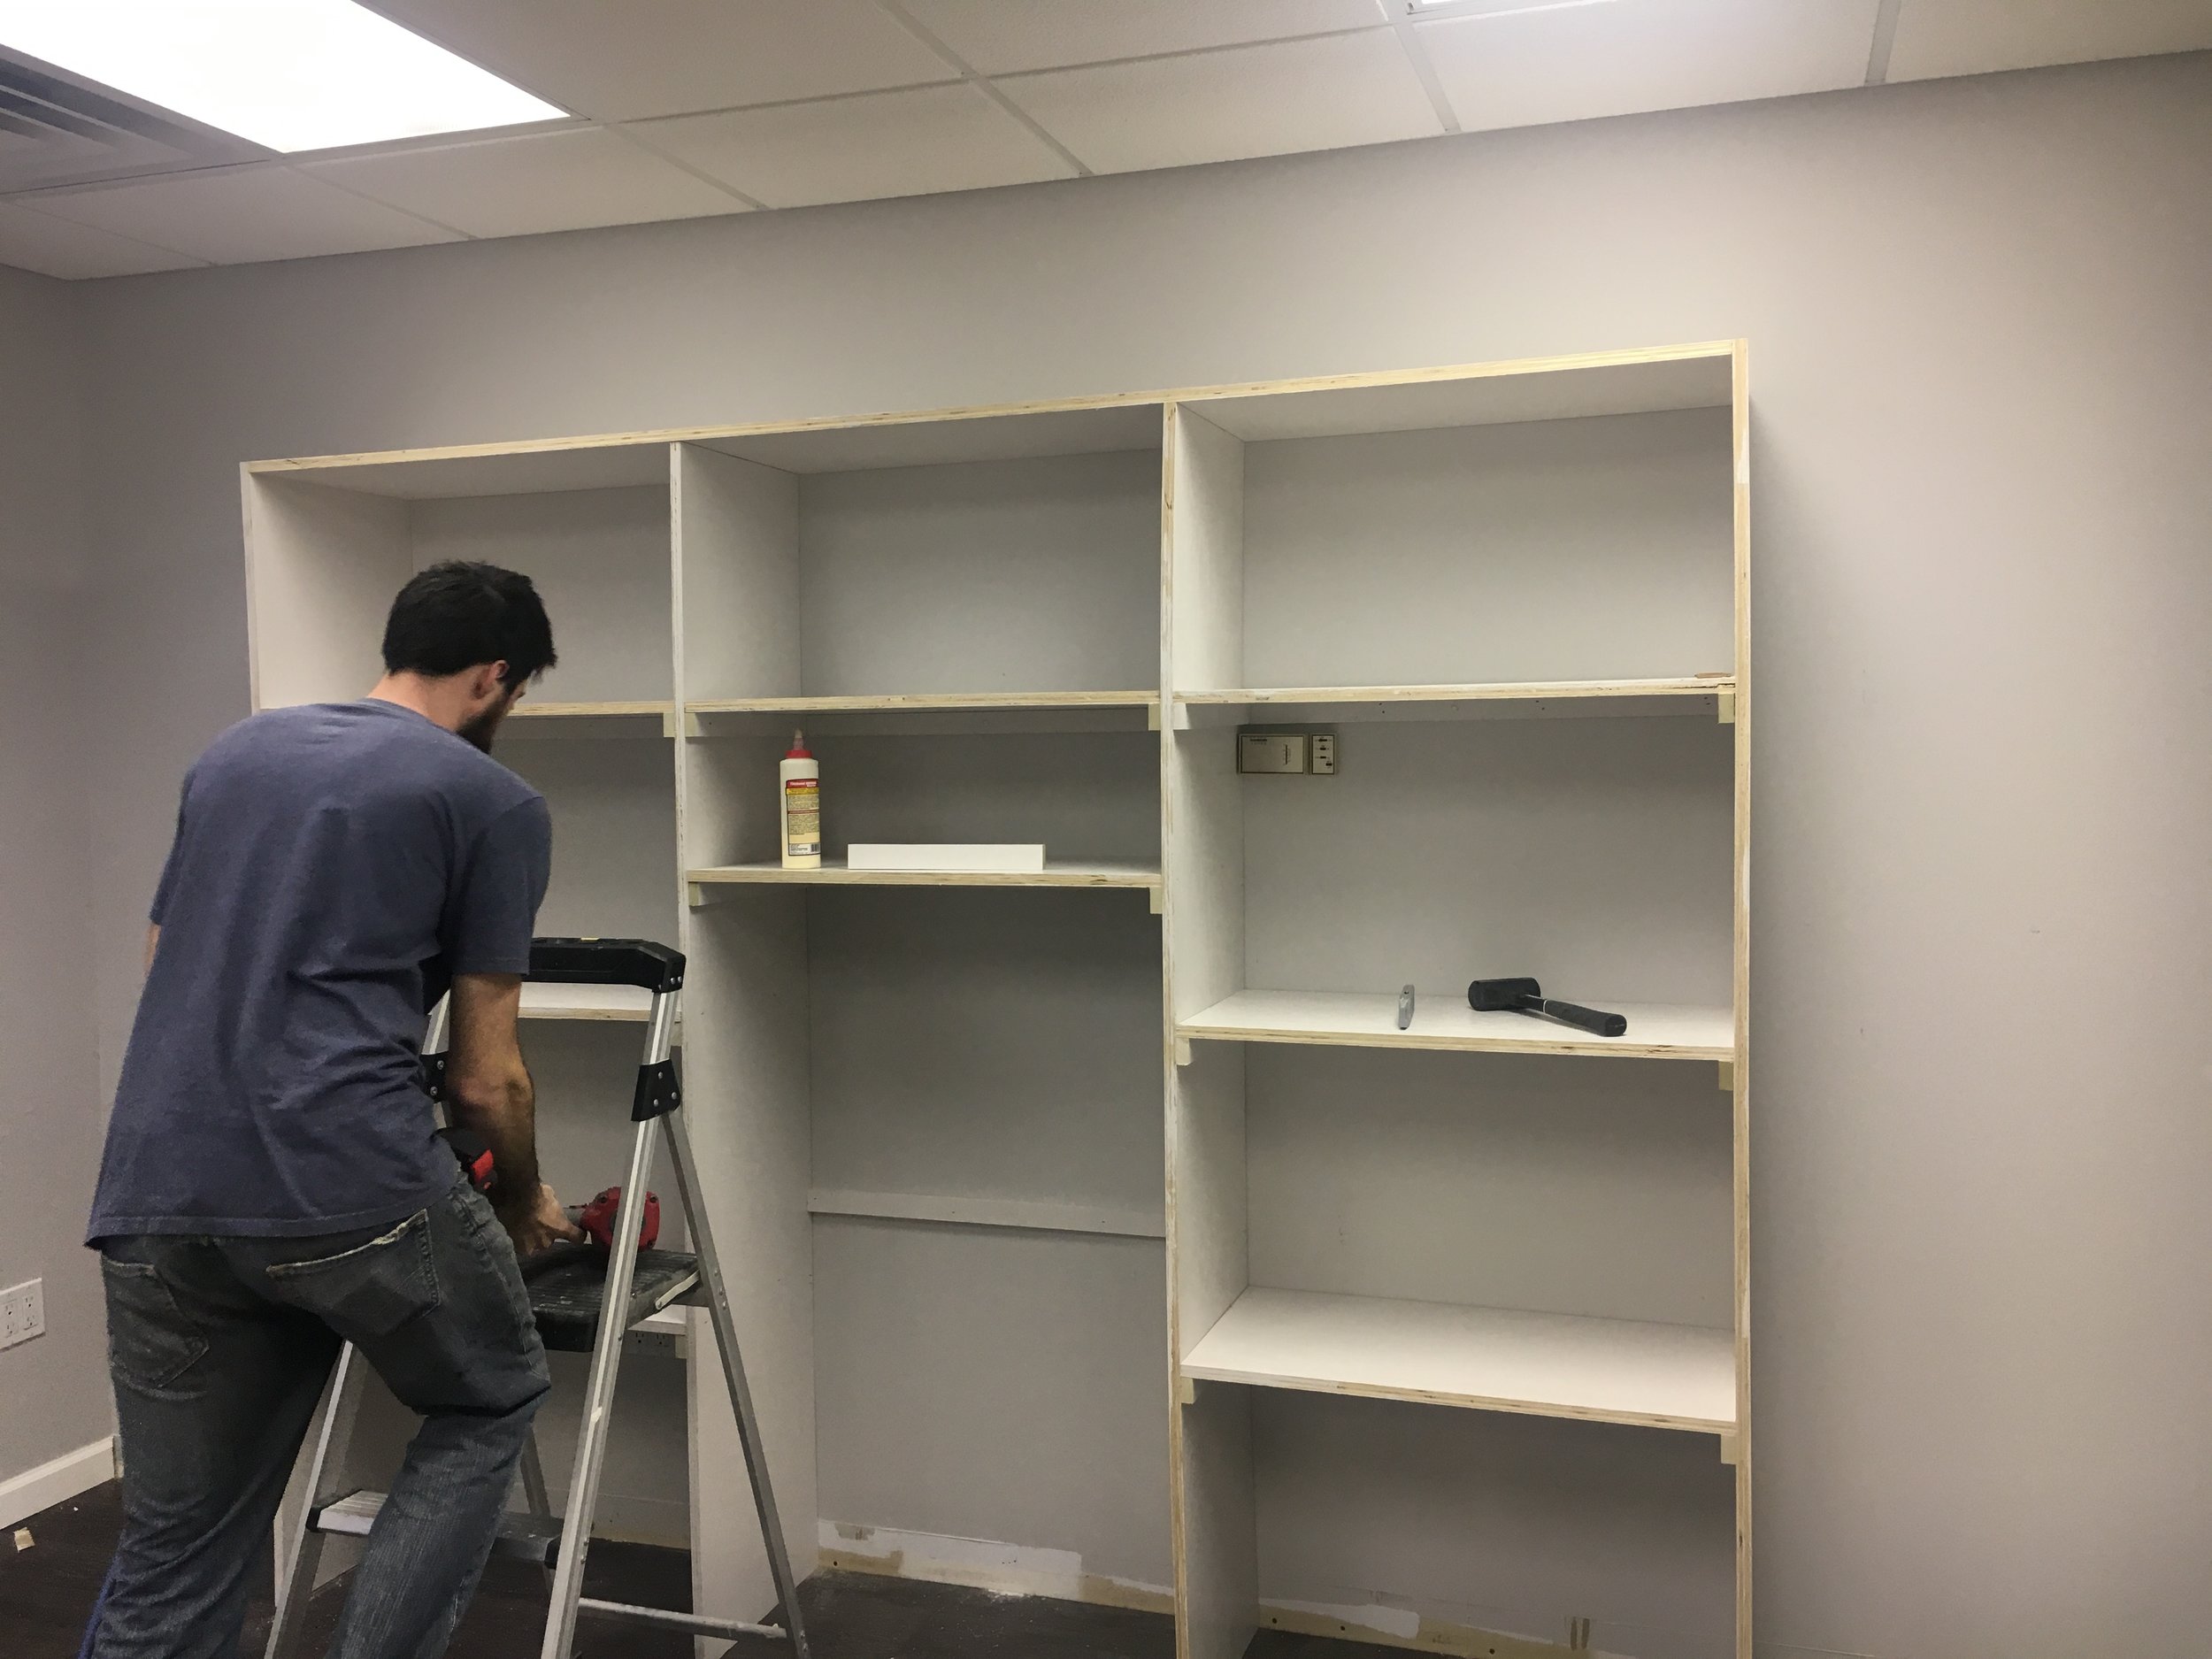
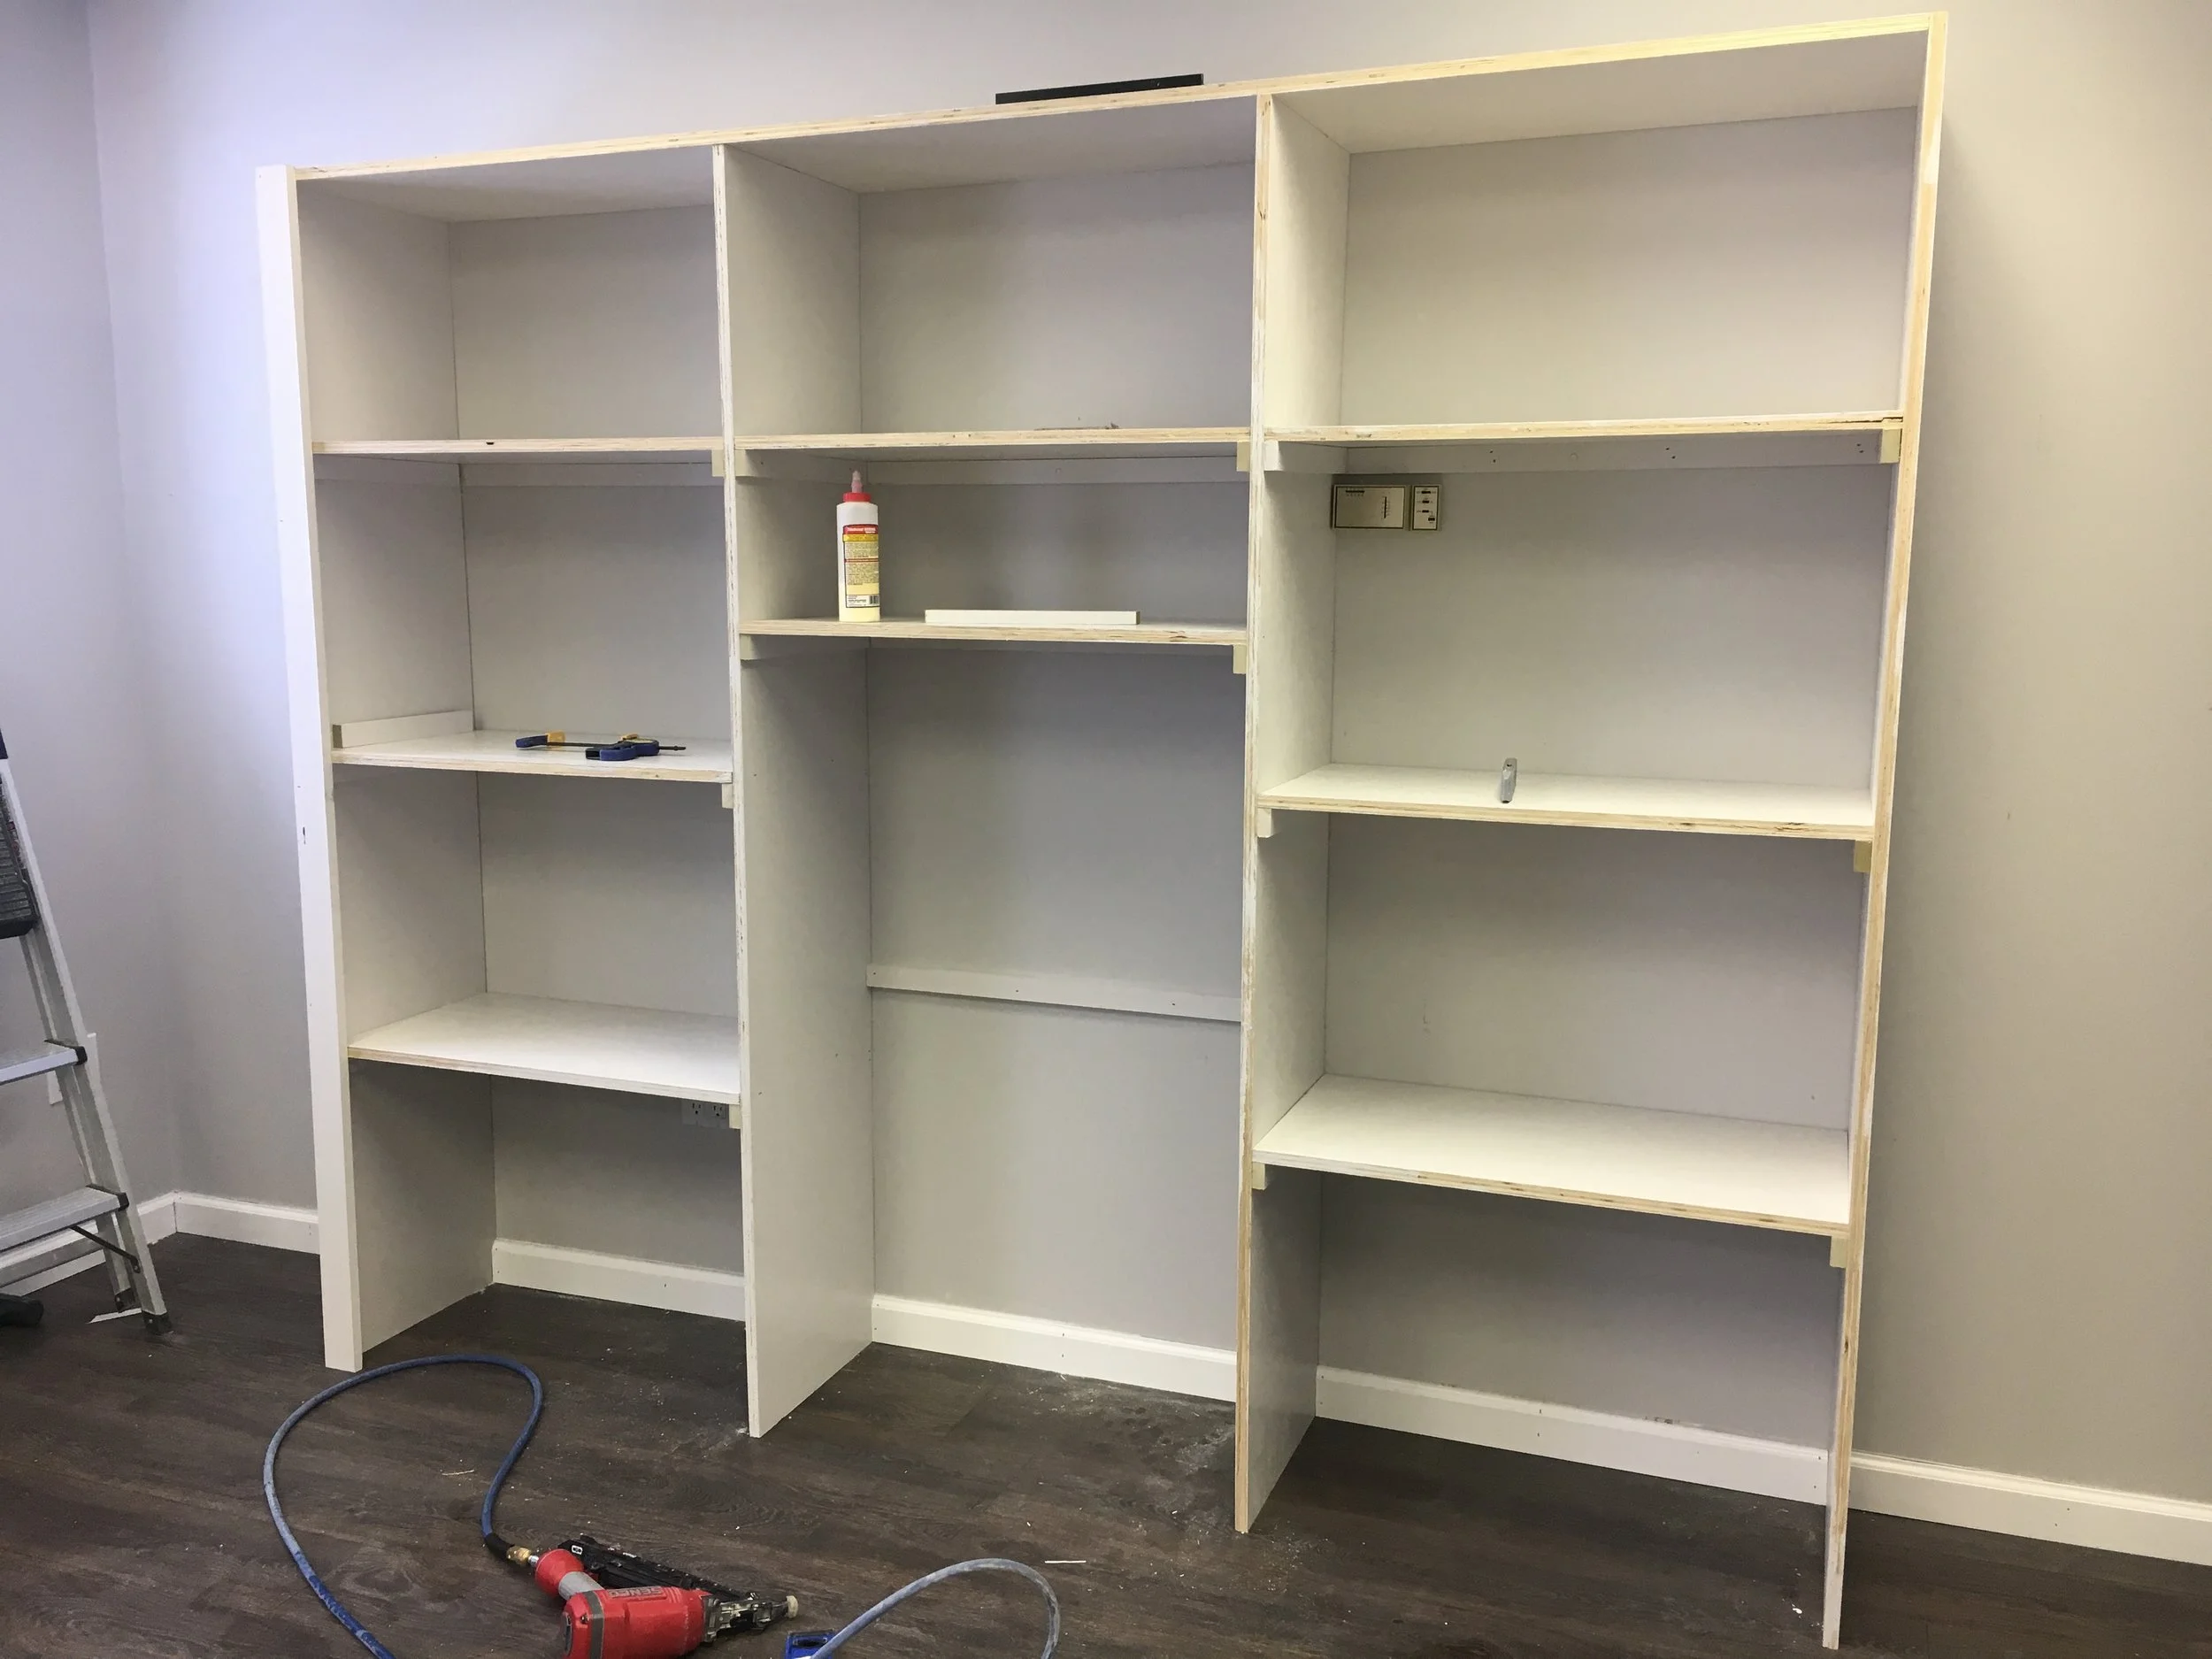
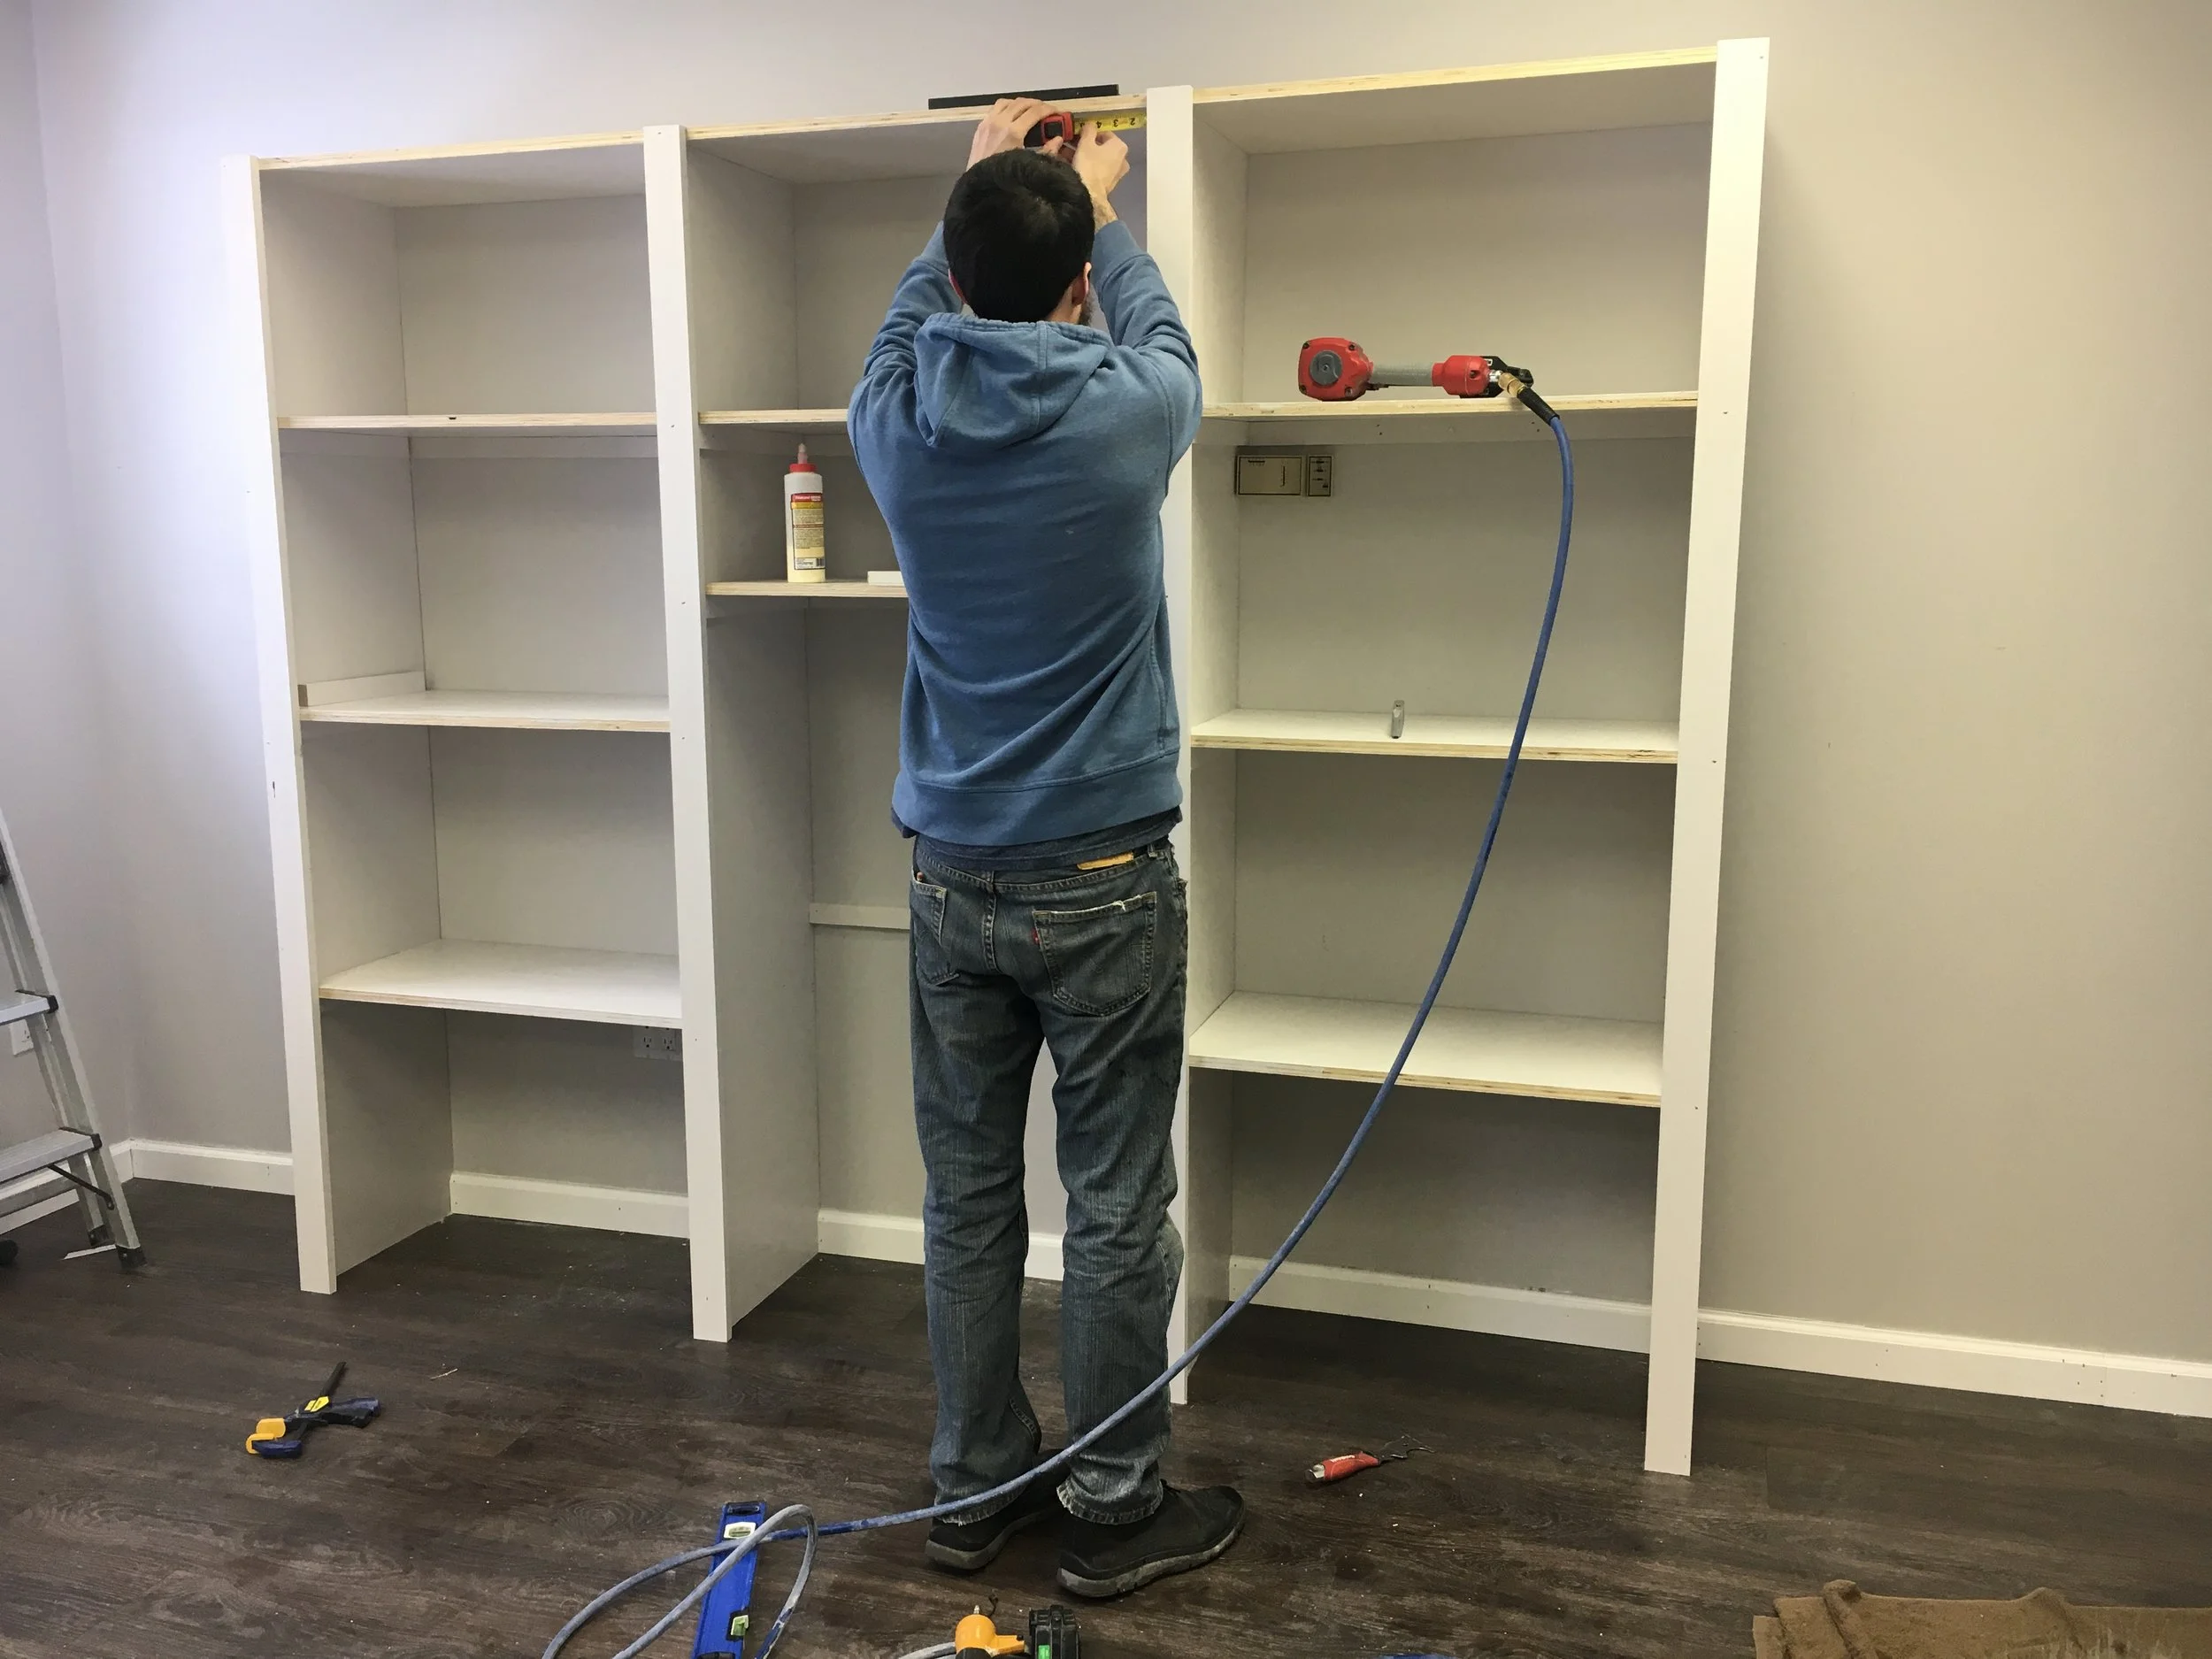
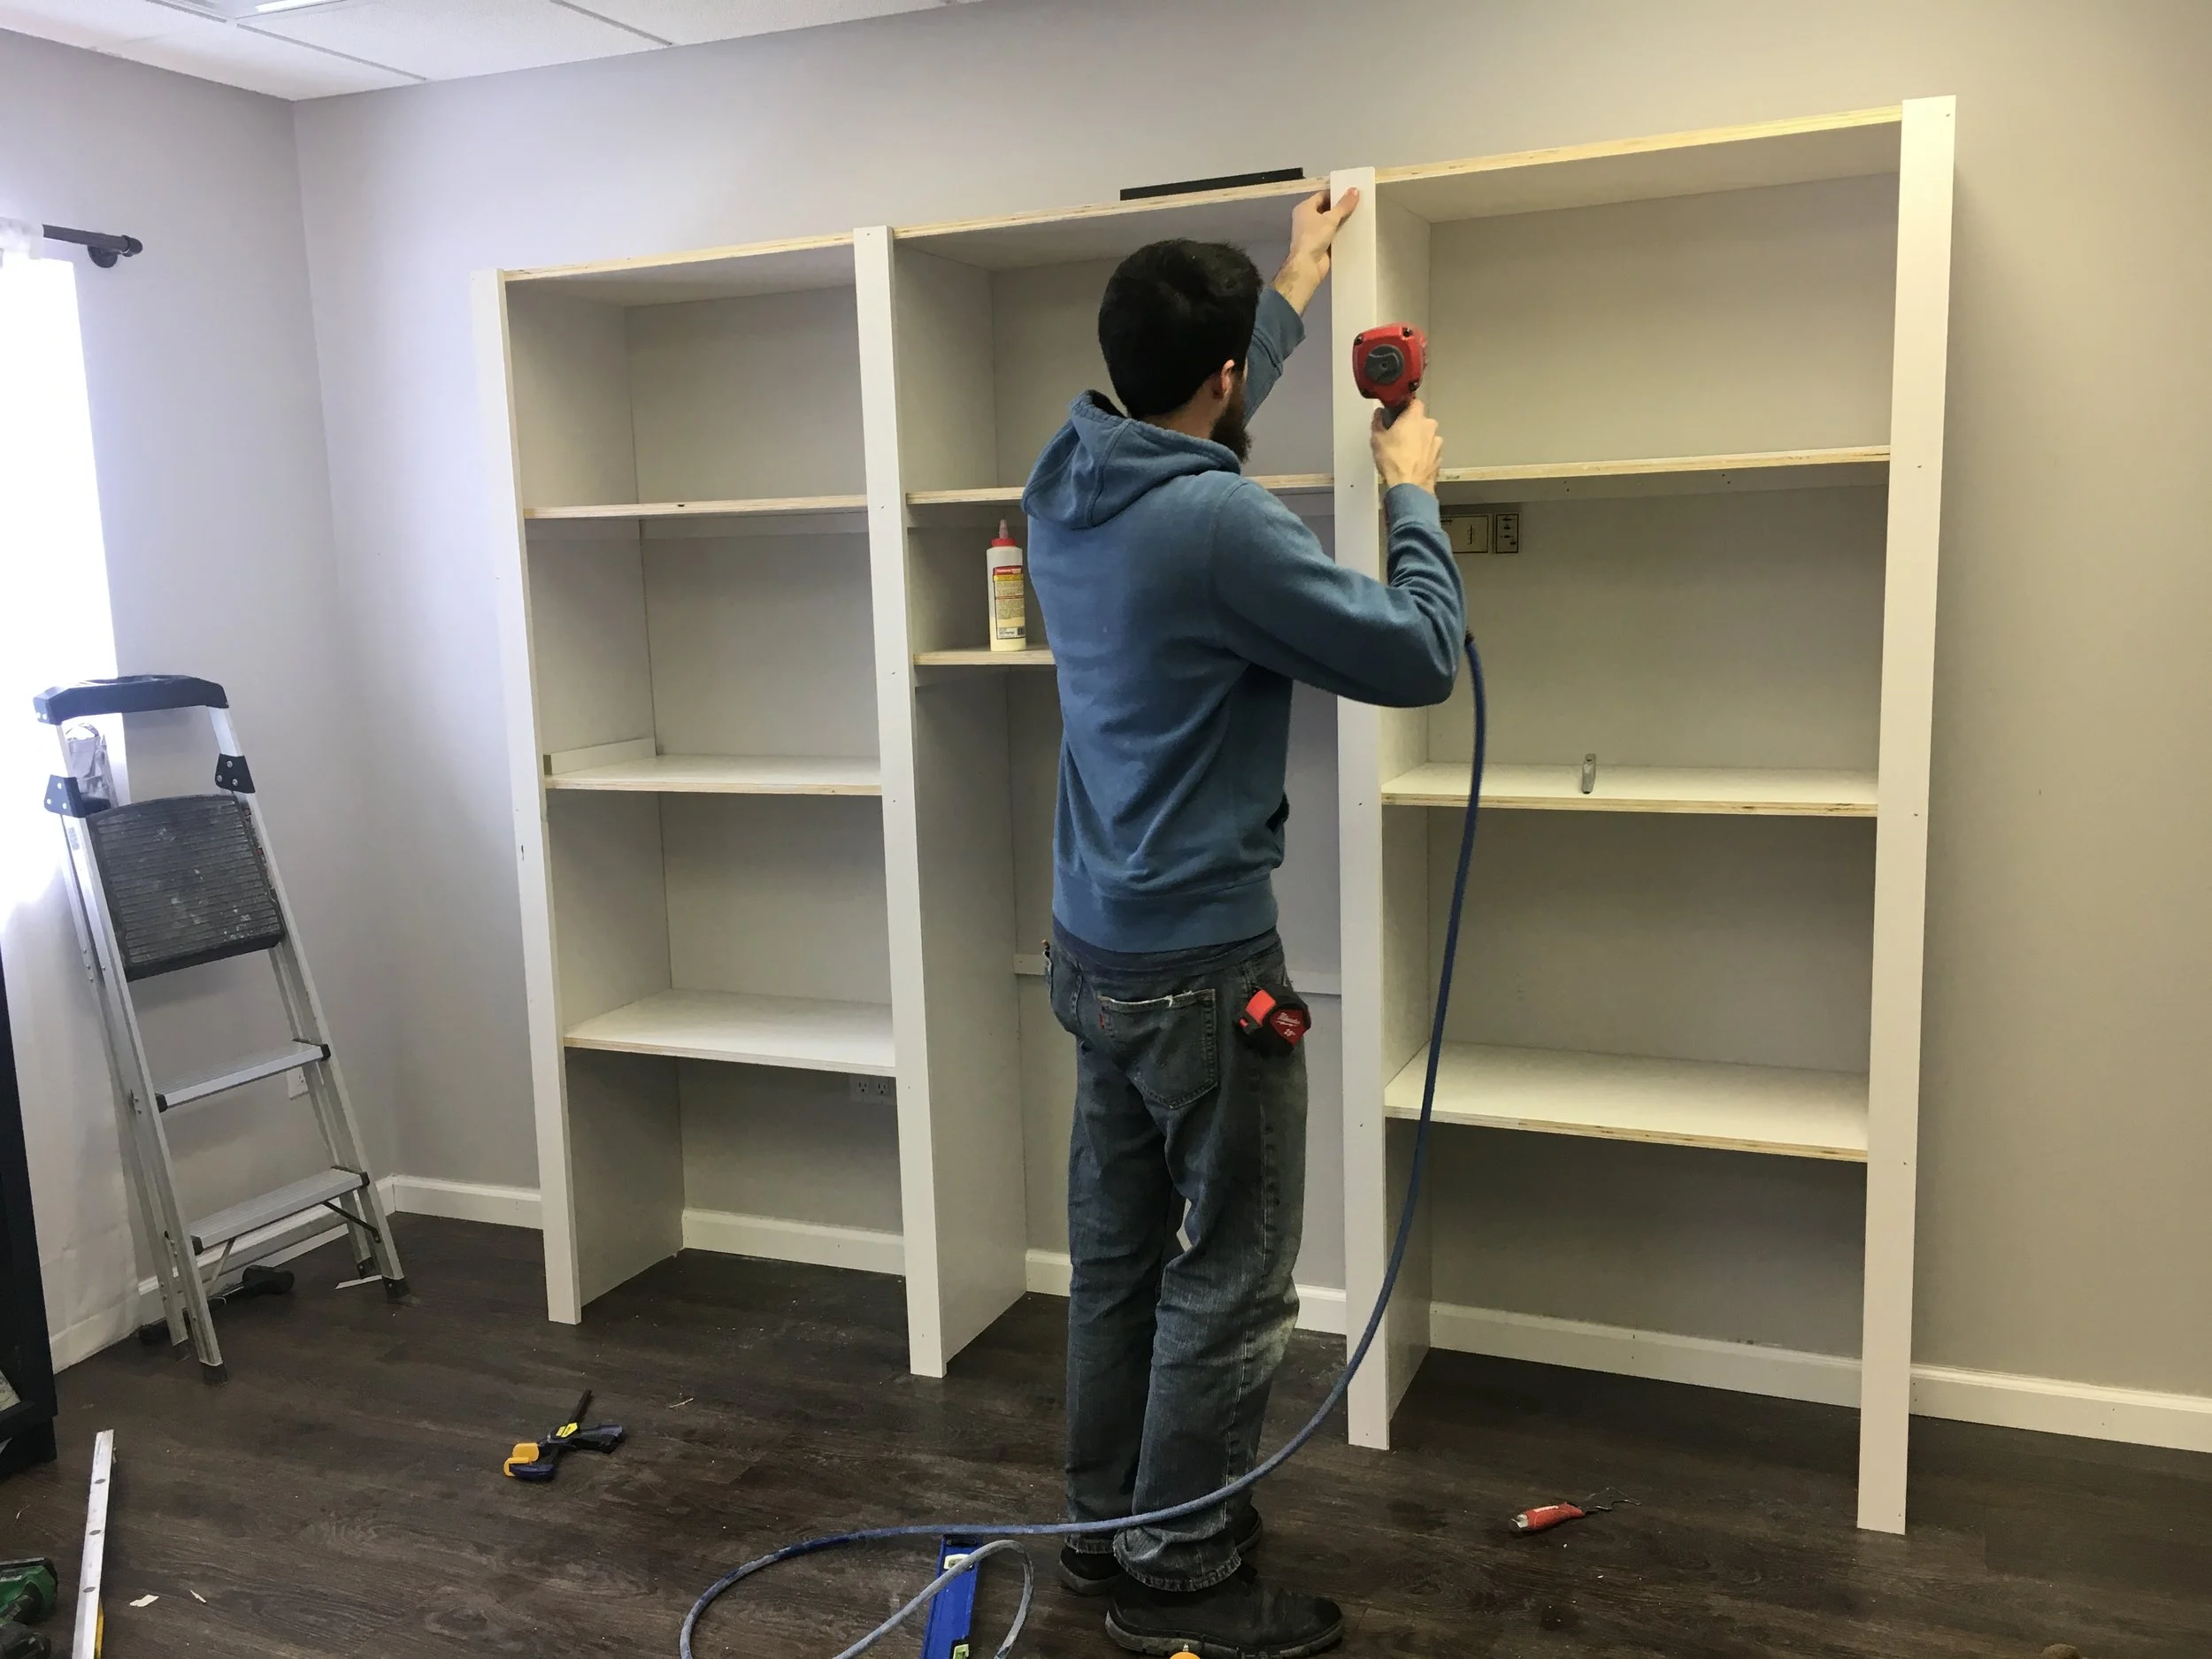
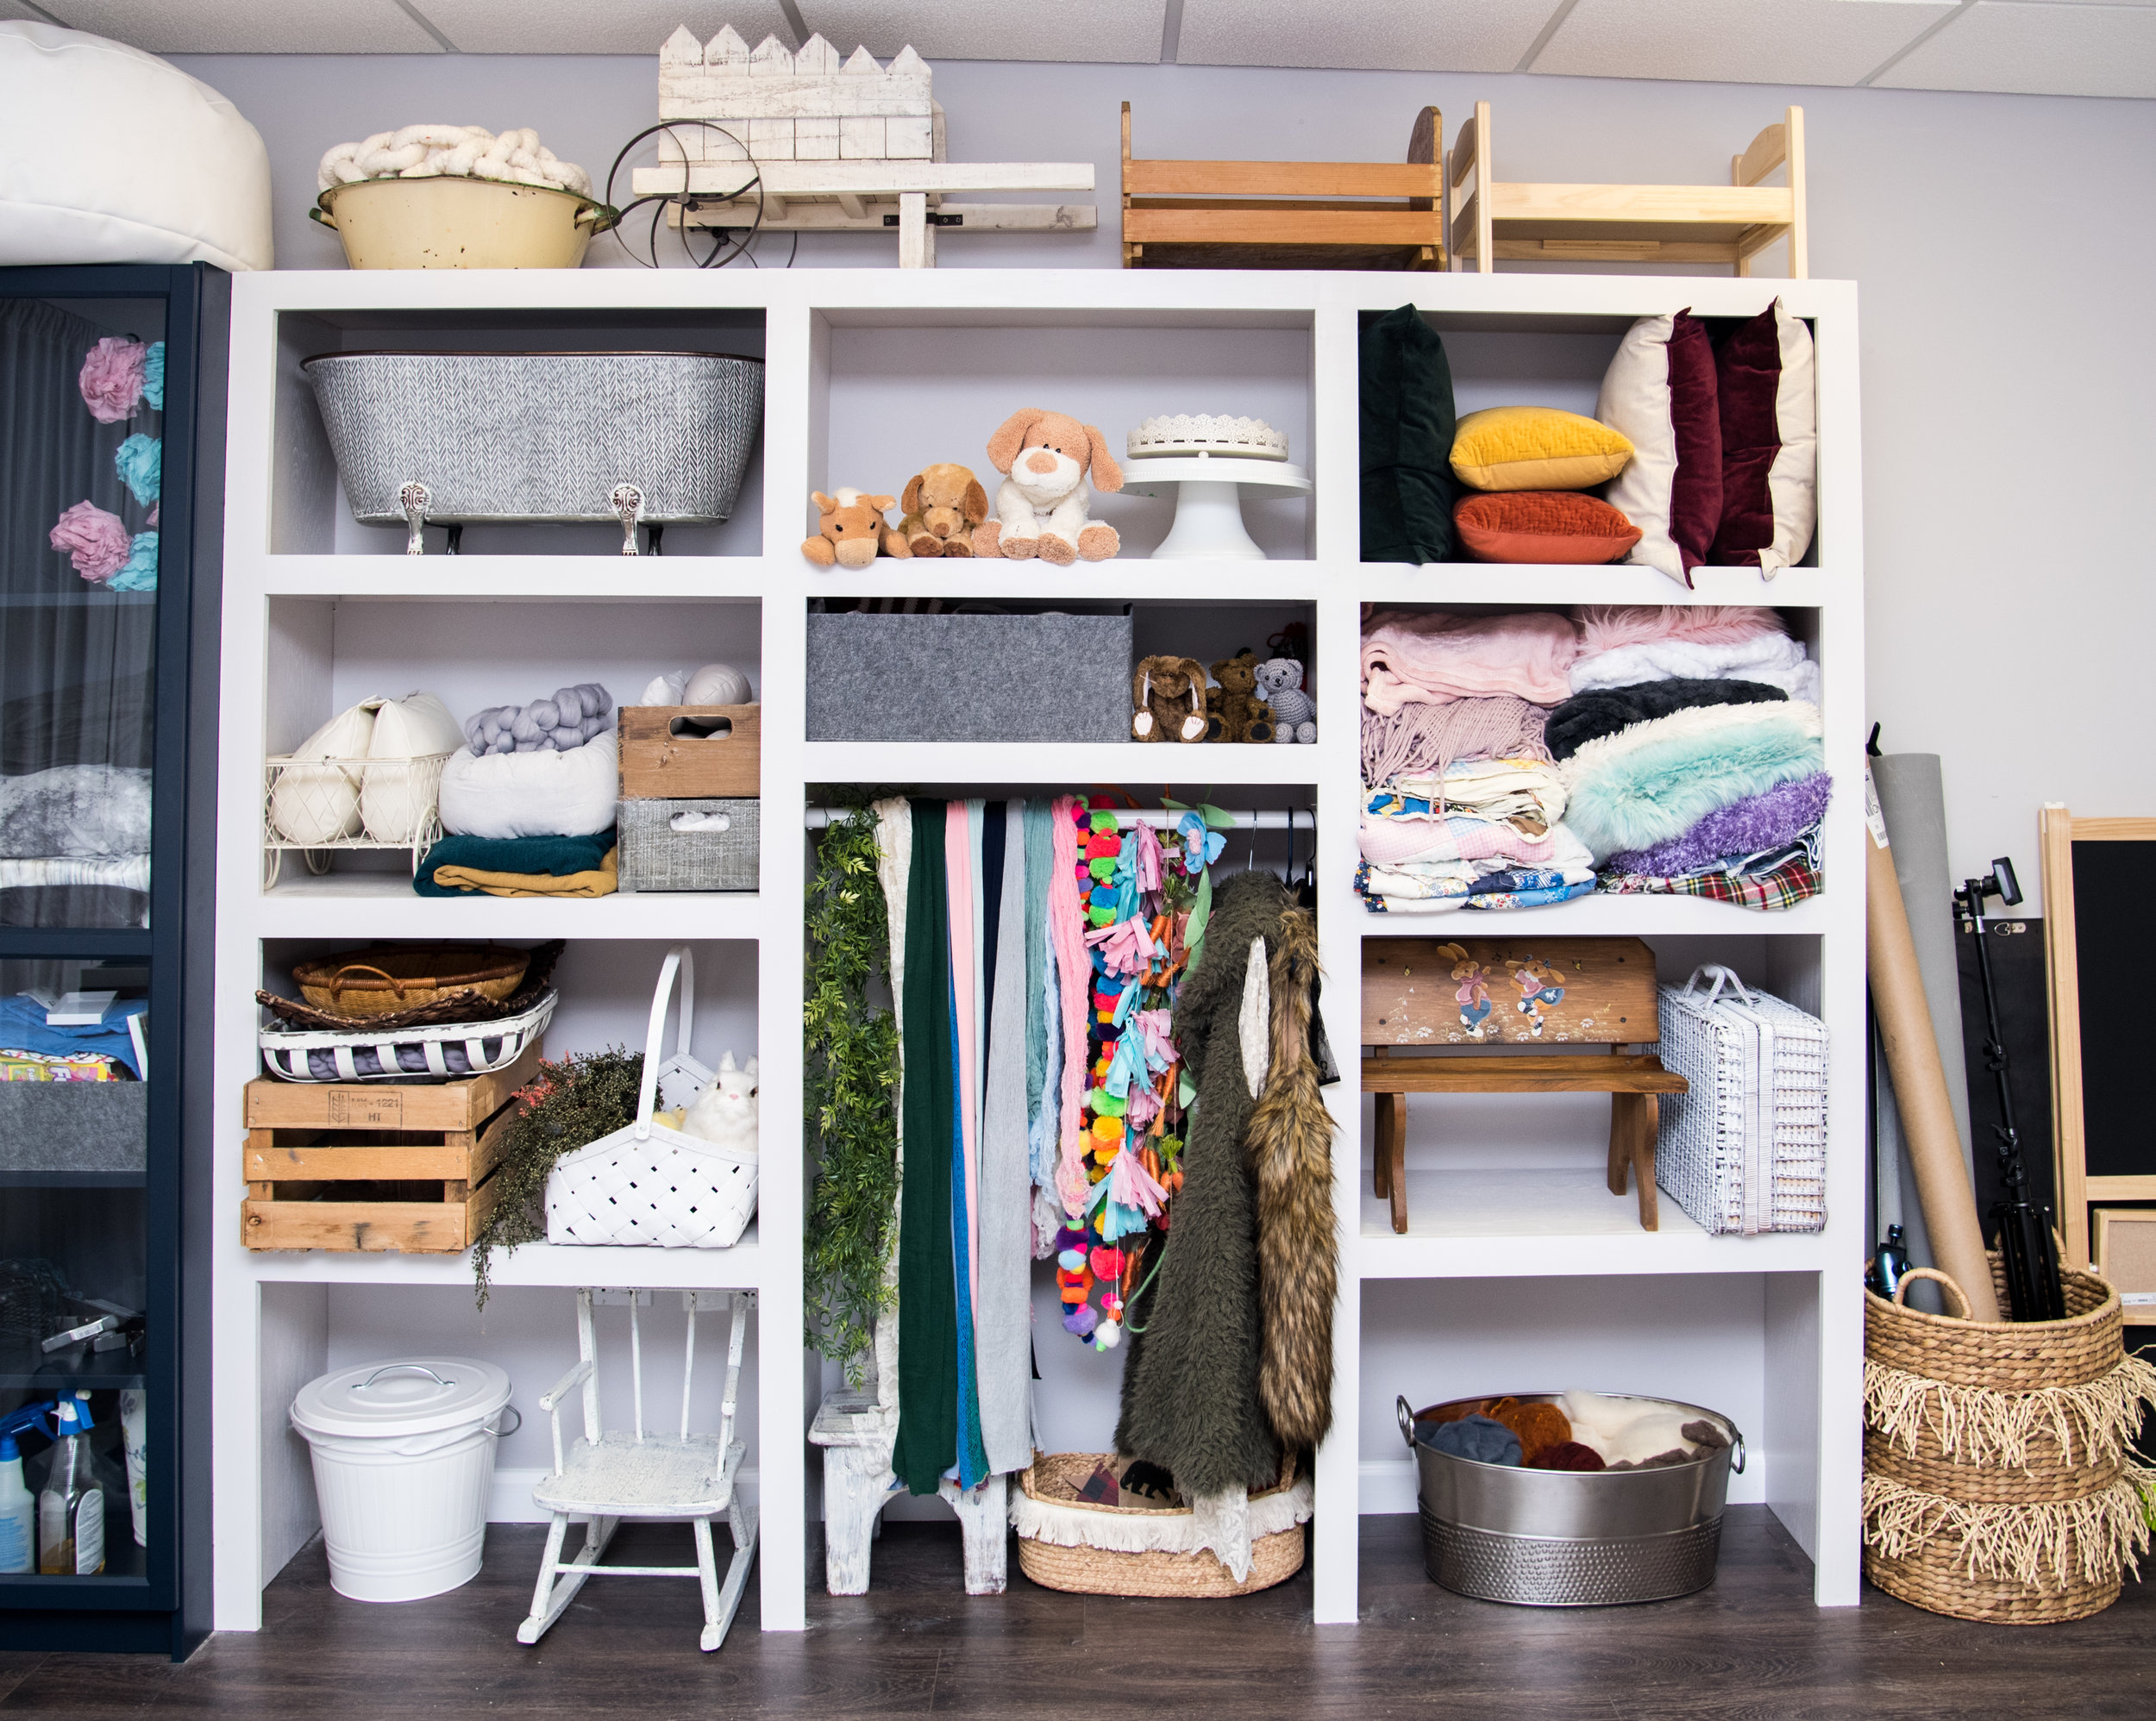
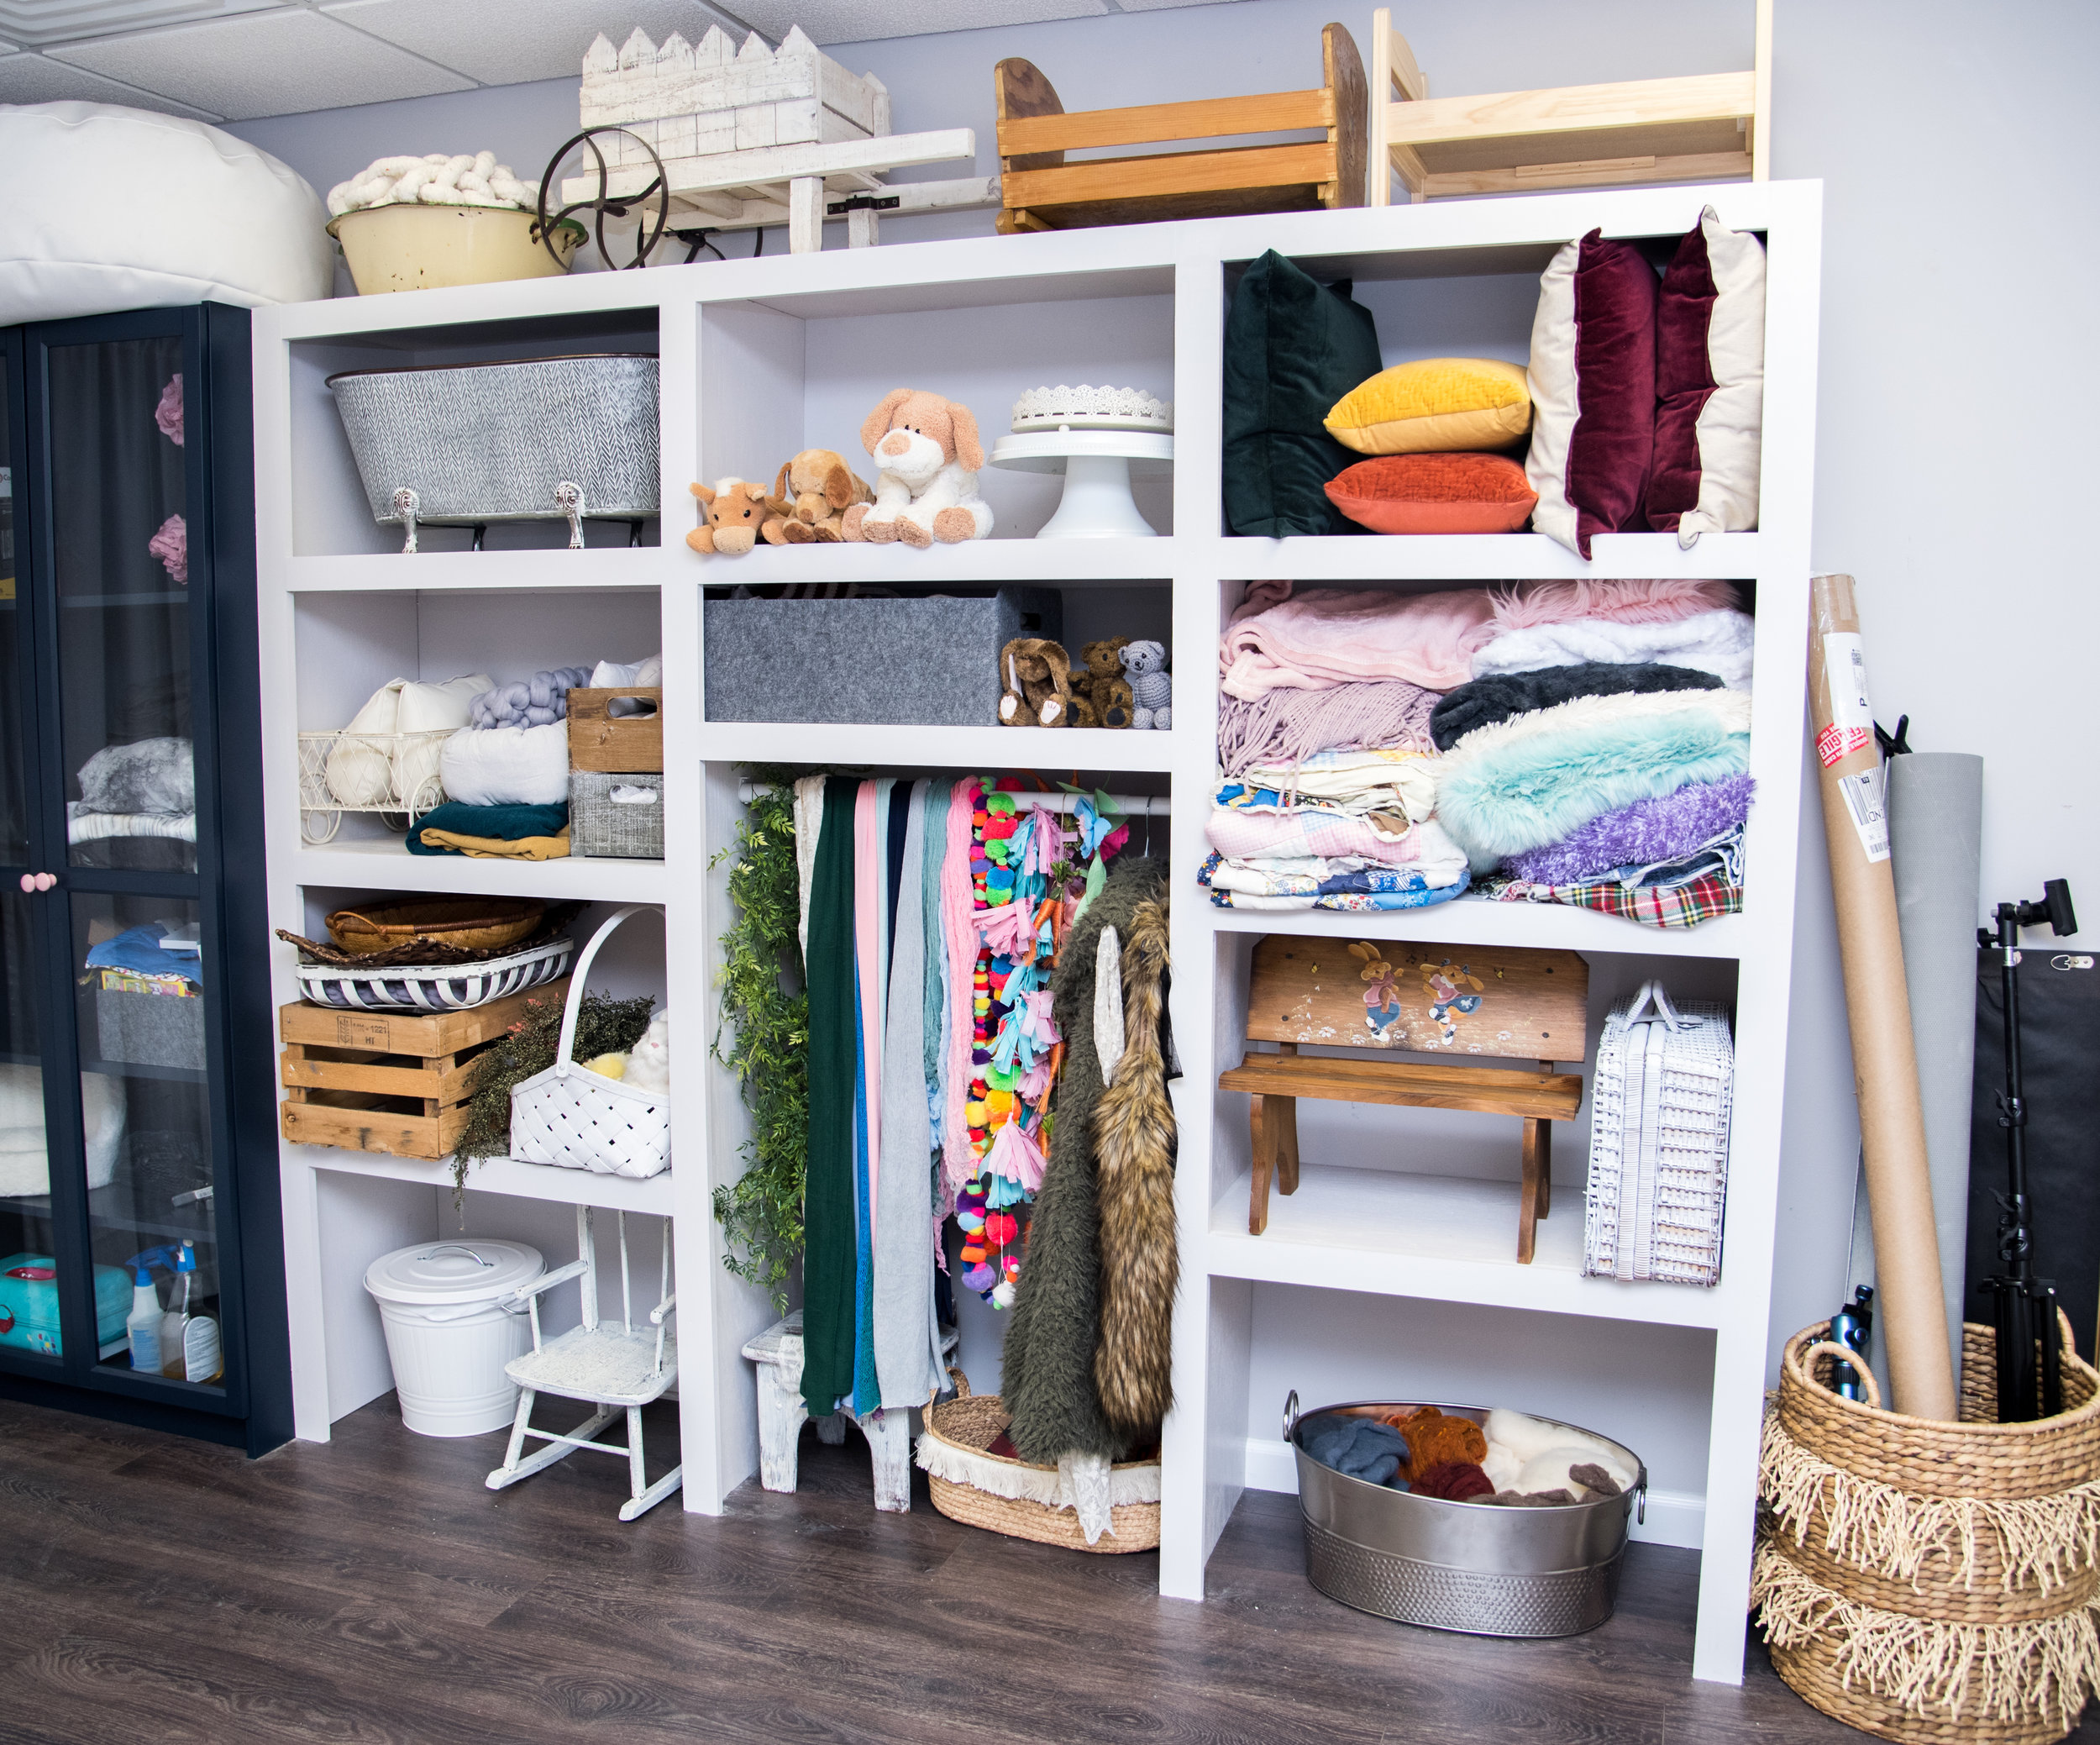
The wall that the shelf was built into had metal studs, so the screws you use may not need to be the same as what we used. The total cost was about $340, depending on the type of paint you use and if you have any wood at home like we did. I 100% recommend building your own shelf or having someone who knows what they are doing, build one for you. I had Cory (my significant other) to help build it, but it is so sturdy, he was hanging on it and it did not budge. It is super safe for having kids and clients in and out of the studio, I am so happy with it. Totally worth the money and time!
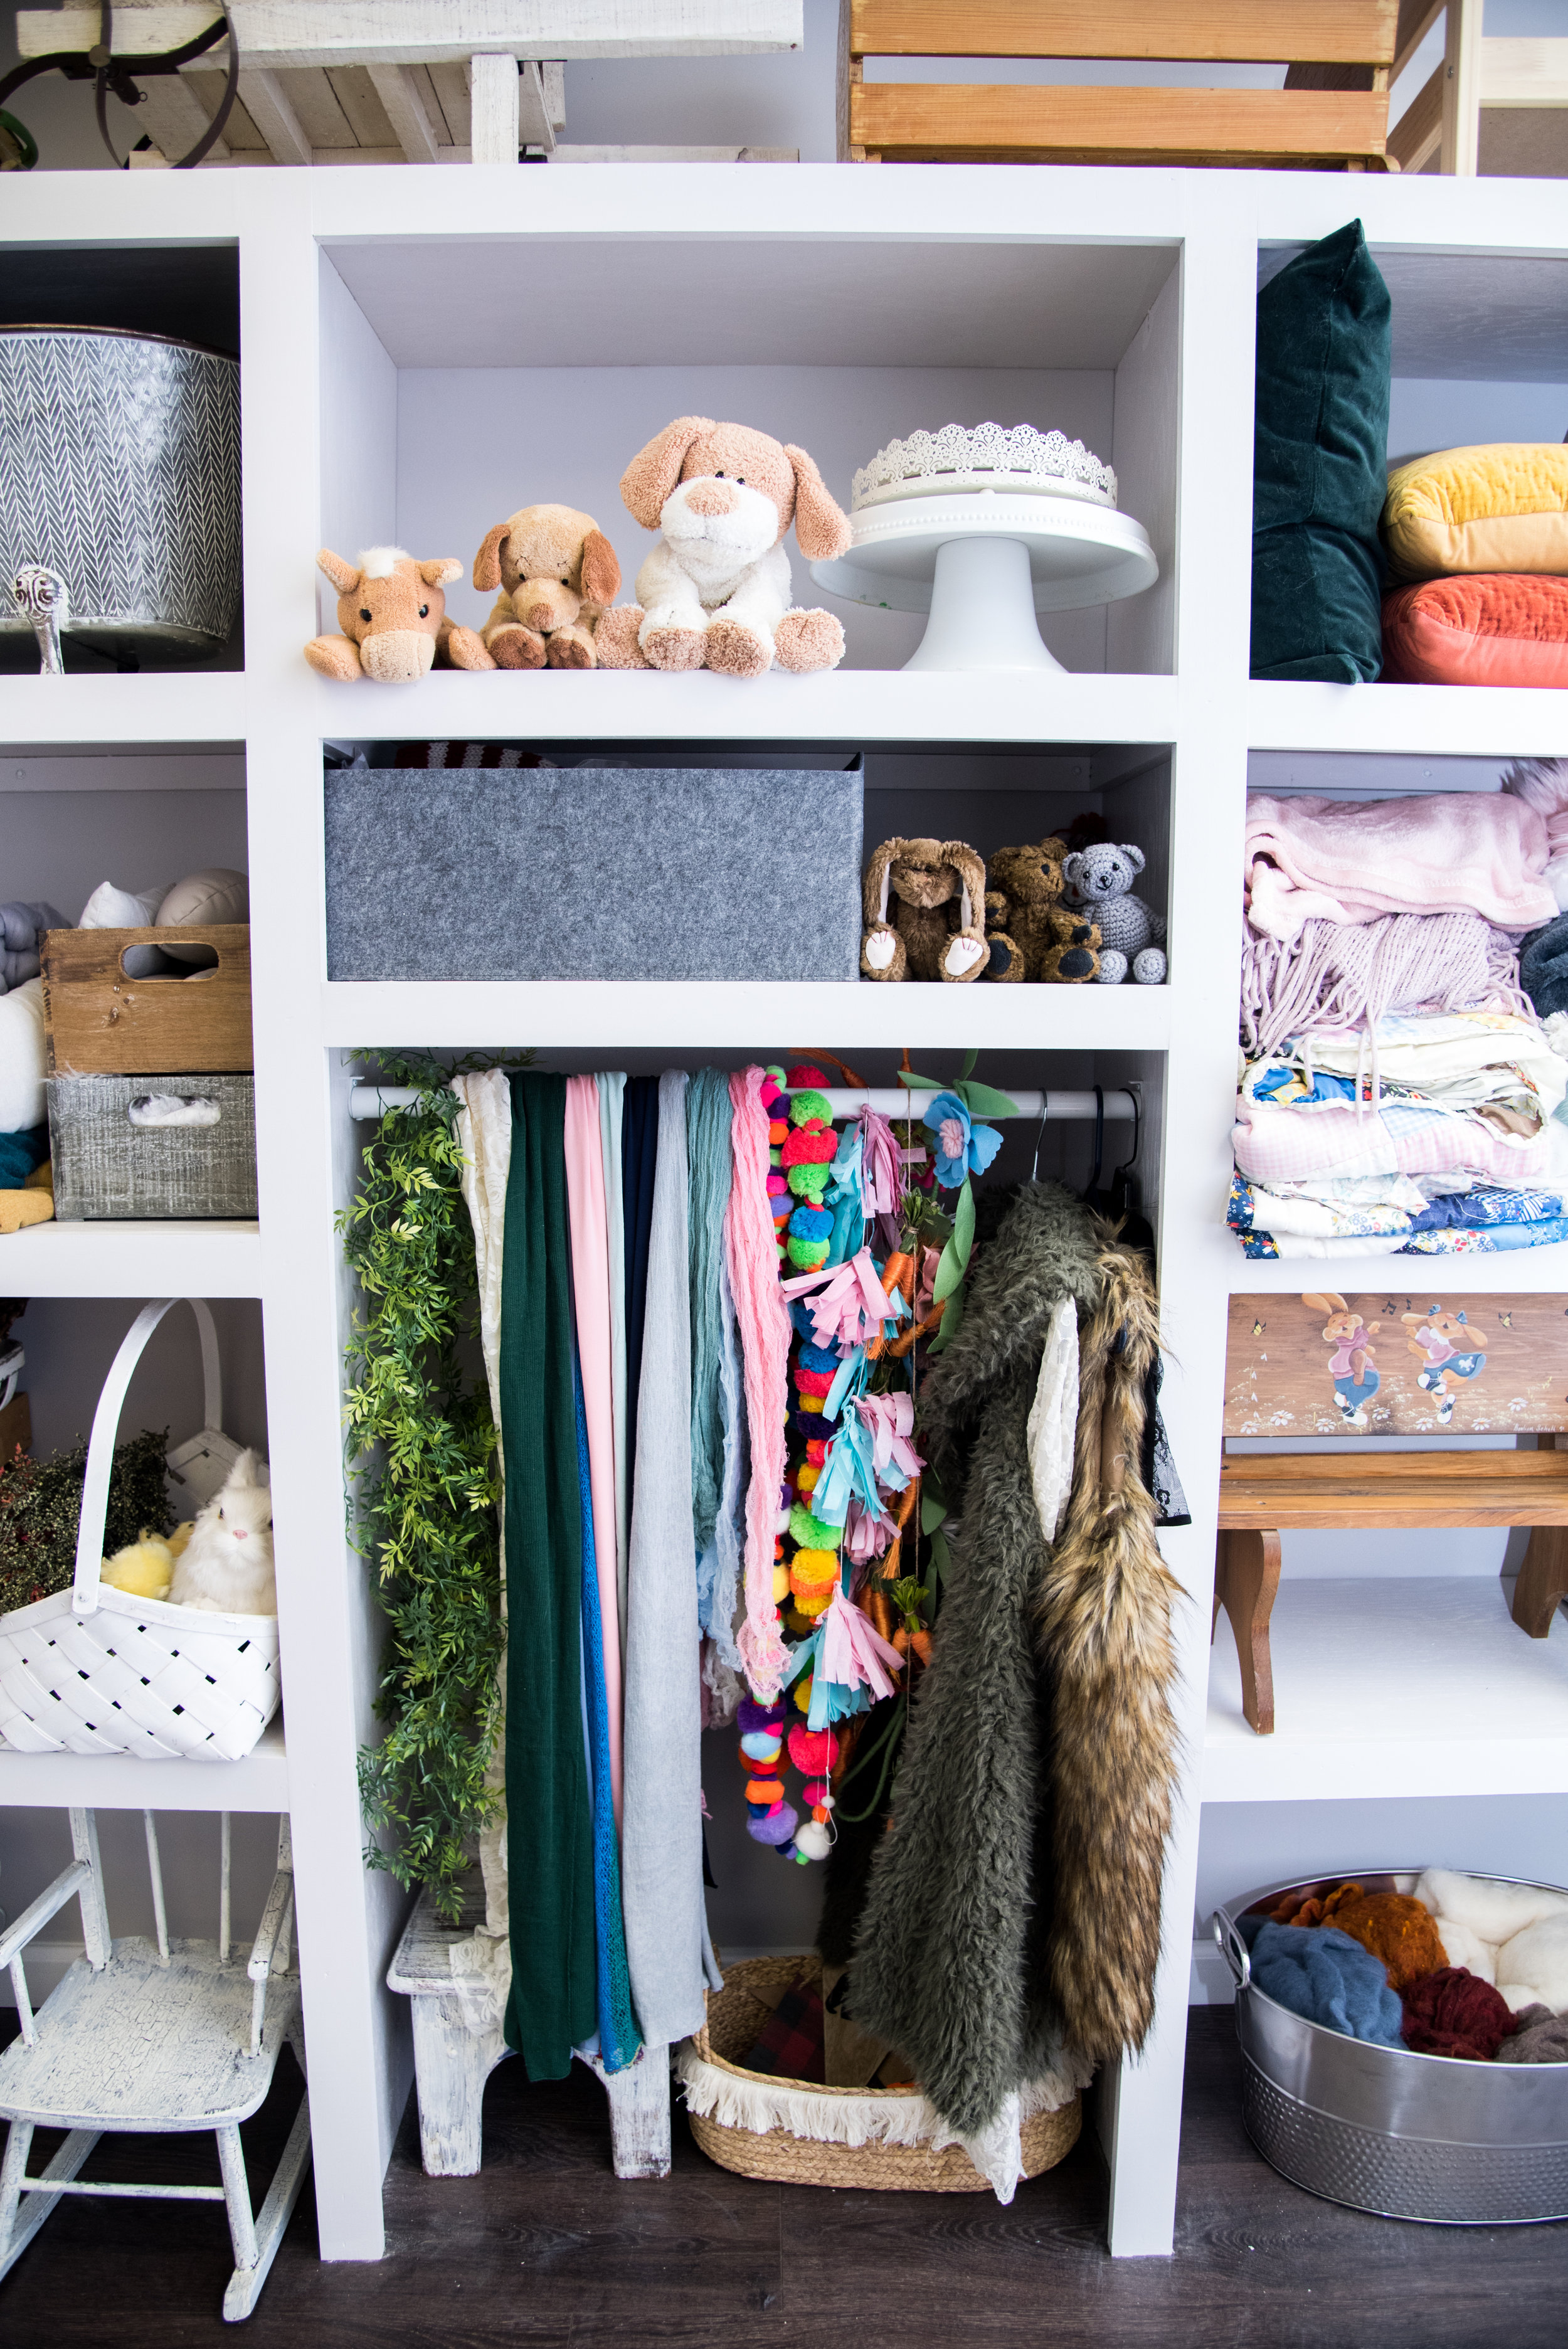
Here are a few behind the scenes shots from my phone that I captured along the way, for those who are visual learners like I am!